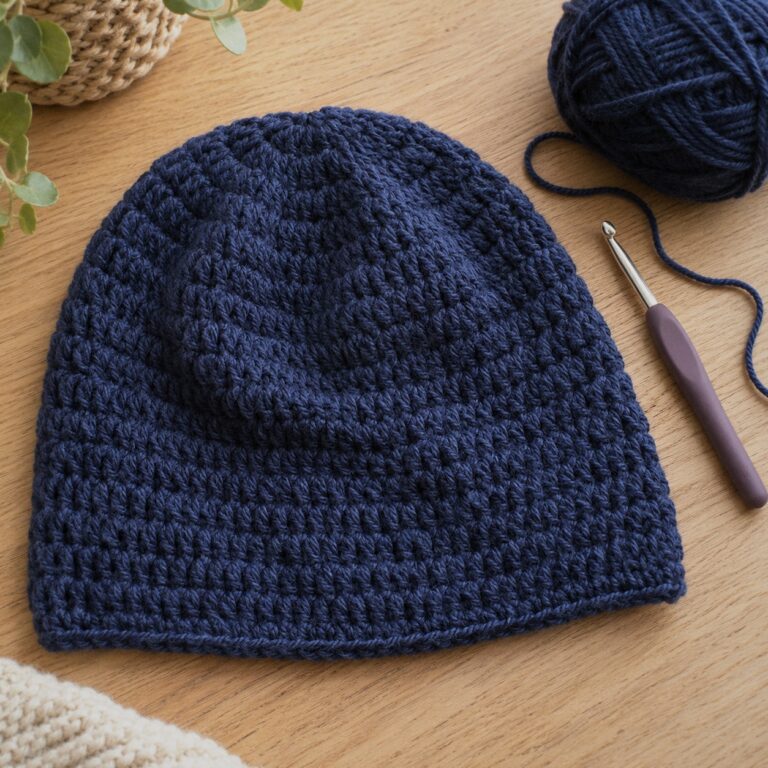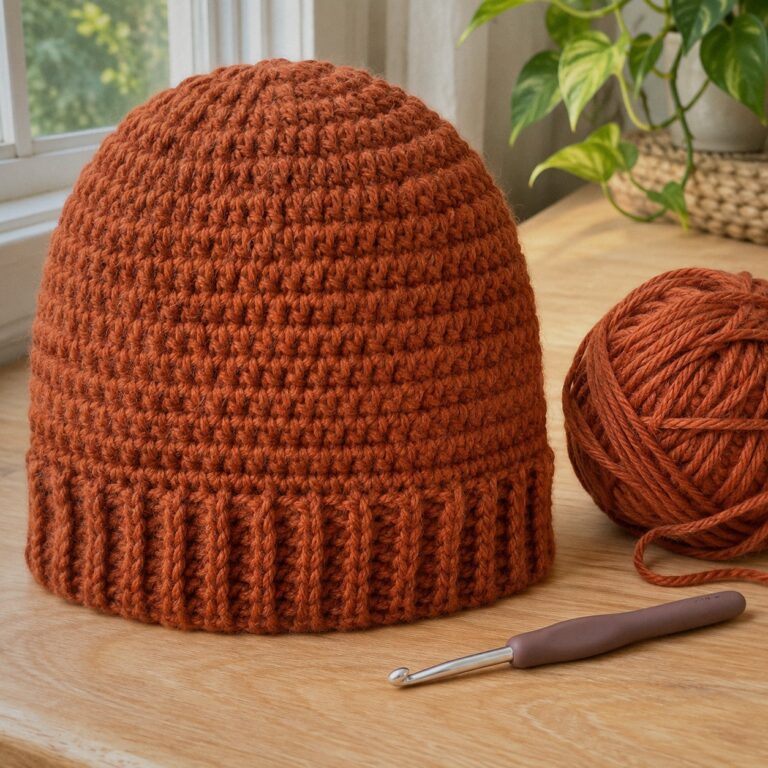
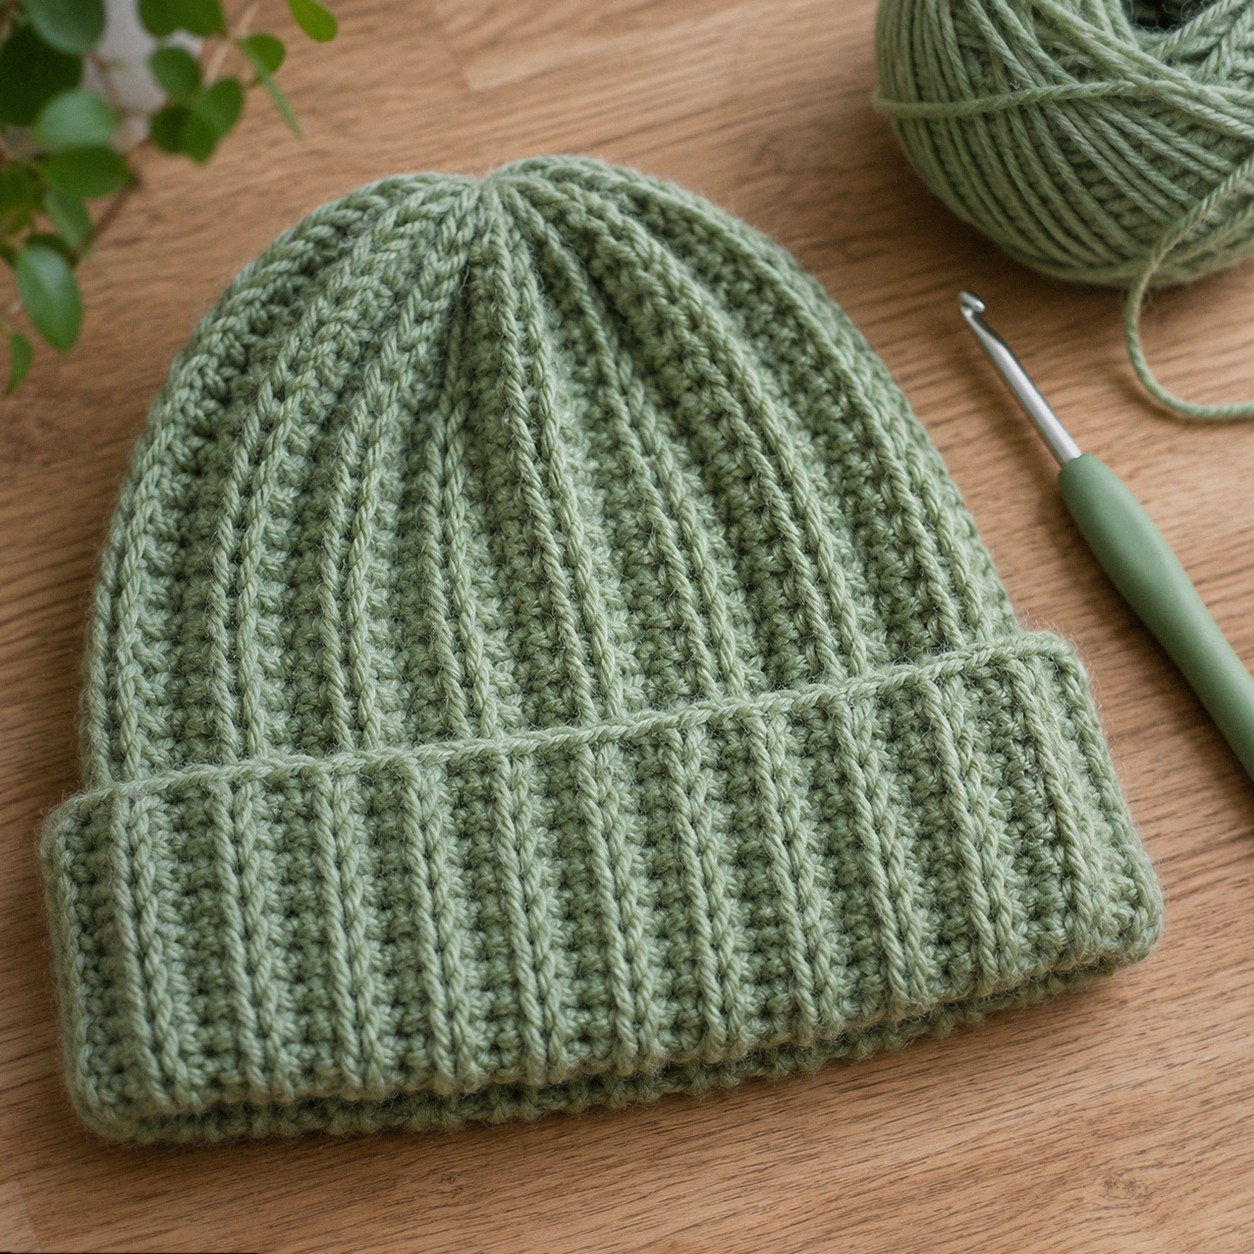
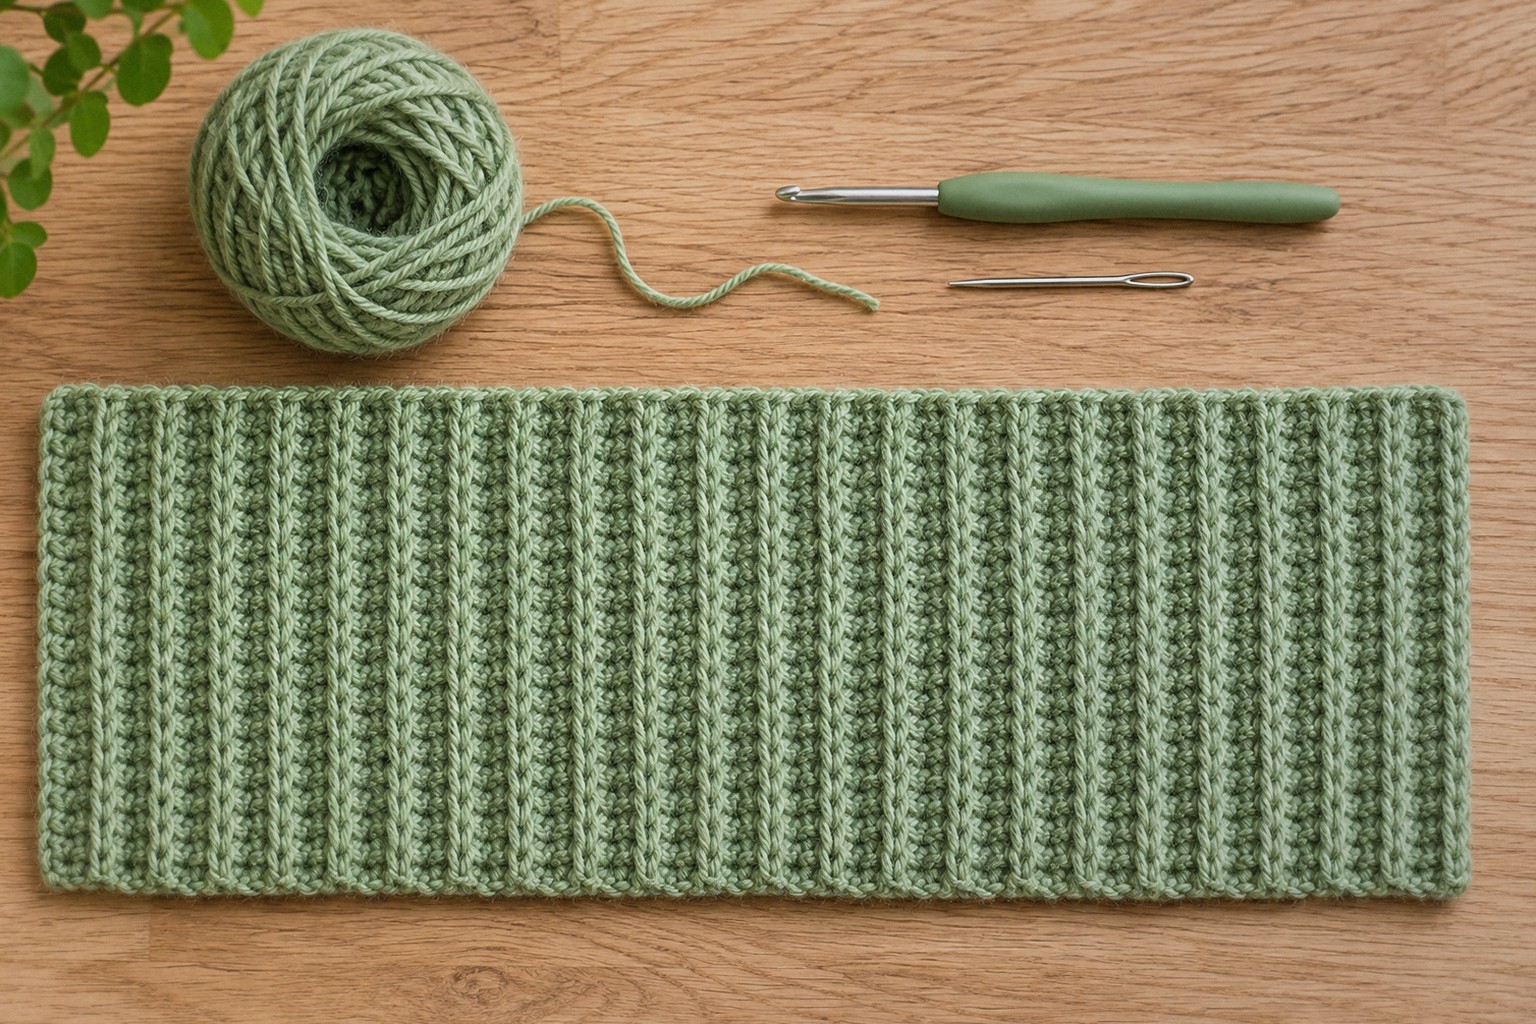
This ribbed beanie is made in the easiest possible way: a flat rectangle of half double crochet worked in the back loops, sewn into a tube and gathered at the top. Worked sideways, the back-loop ridges stand up as vertical ribs, so it looks like a knitted rib hat. There is no increasing and no working in the round, which makes it a great first hat.
It comes in four sizes, from baby to adult large. All the numbers are in the size table below.
In this post7 sections
Pattern at a glance
- Skill level: beginner (chain, hdc, back loops, seaming)
- Yarn: worsted (aran / 4) weight acrylic or wool blend
- Hook: 5 mm (US H/8)
- Gauge: 14 hdc x 11 rows = 4 in / 10 cm in back loops; check it, because hats need to fit
- Time: 1.5 to 3 hours depending on the size
Sizes
| Size | Head | Chain | Sts per row | Rows | Flat rectangle | Yarn |
|---|---|---|---|---|---|---|
| Baby (6-12 m) | 16 in / 41 cm | 22 | 20 | 38 | 13.8 x 5.7 in | 66 yd / 60 m |
| Child | 19 in / 48 cm | 28 | 26 | 46 | 16.7 x 7.4 in | 104 yd / 95 m |
| Adult S/M | 21–22 in / 53–56 cm | 32 | 30 | 52 | 18.9 x 8.6 in | 135 yd / 124 m |
| Adult L | 23 in / 58 cm | 34 | 32 | 58 | 21.1 x 9.1 in | 161 yd / 147 m |
The rectangle is about 2 in / 5 cm smaller around than the head, so the ribbing stretches to fit snugly. The stitch count sets the height of the hat; the number of rows sets how far around it goes.
Abbreviations (US terms)
- ch chain · hdc half double crochet · blo back loop only · FO fasten off
The pattern
Find your size in the table, then work that piece. The turning ch 1 never counts as a stitch.
Adult S/M
Color: start with A (sage).
Adult S/M shown. For other sizes use the chain, stitch and row numbers from the table; every row is worked the same way.
- Rnd 1: Hdc around. (30)
- Rnds 2–52: Ch 1 turn, BLO hdc around. (30)
Finish: Chain 32 and work R1 into the 3rd ch from the hook; seam the last row to the first, weave a tail through the ends of the rows at the top edge, pull tight and close.
Seaming and finishing
- Fold the rectangle so the first row meets the last row, right sides together. Slip stitch or whip stitch them together along the whole edge.
- Turn the tube right side out. Thread a long tail through the ends of the rows along one edge (this is the top), going in and out about every 0.5 in / 1 cm.
- Pull tight to gather the crown, sew a few stitches across the small hole to close it, and weave in the end.
- Fold up the bottom edge about 1.5 in / 4 cm for a brim, or leave it down for a slouchier fit.
Tips
- Deeper brim: add 4 to the chain (and 4 stitches to each row) for an extra 1.2 in / 3 cm of height.
- Pompom: a 2.5 in / 6 cm pompom sewn over the gathered crown hides it completely.
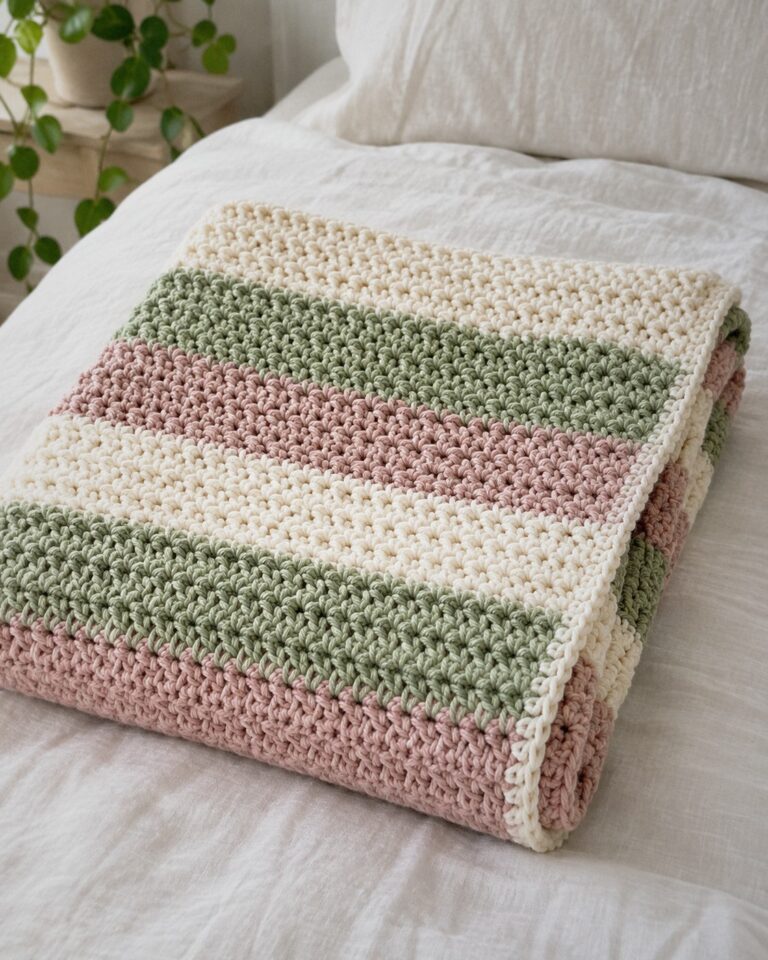
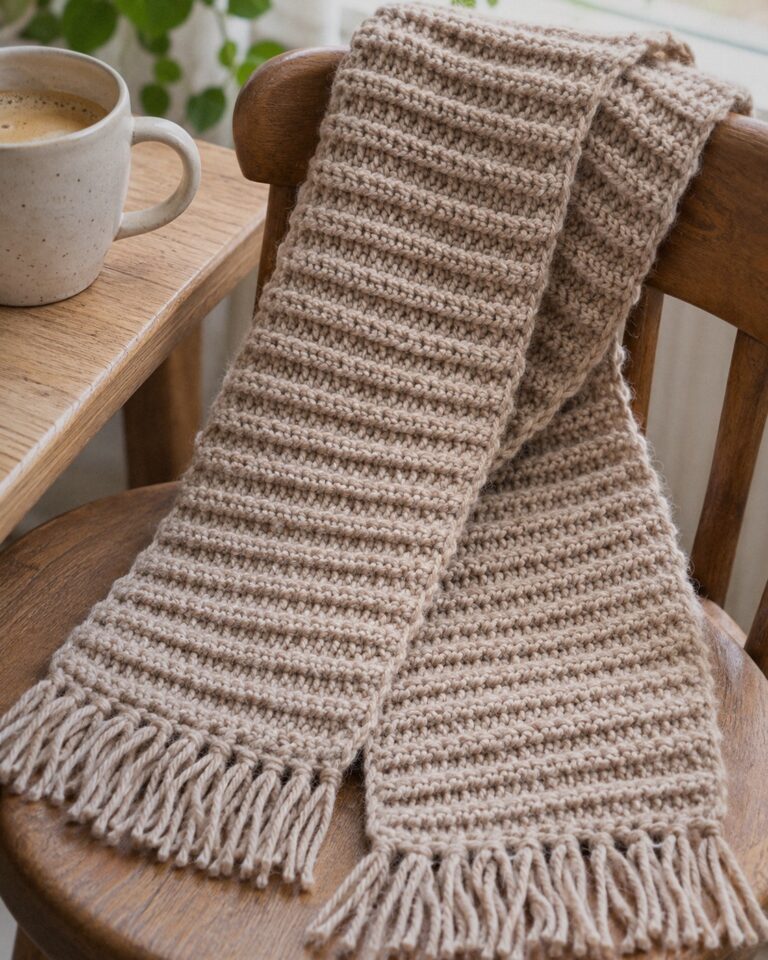
- Matching set: our beginner crochet scarf uses the same stitch.
FAQ
My beanie is too loose.
Take out a few rows before seaming: every 3 rows is about 1 in / 2.5 cm around. Check that your gauge matches; a looser gauge makes a bigger hat.
Can I make it in rounds?
This version is designed sideways for the vertical ribs. Working in rounds gives horizontal stripes instead.
New to reading patterns? See how to read a crochet pattern.