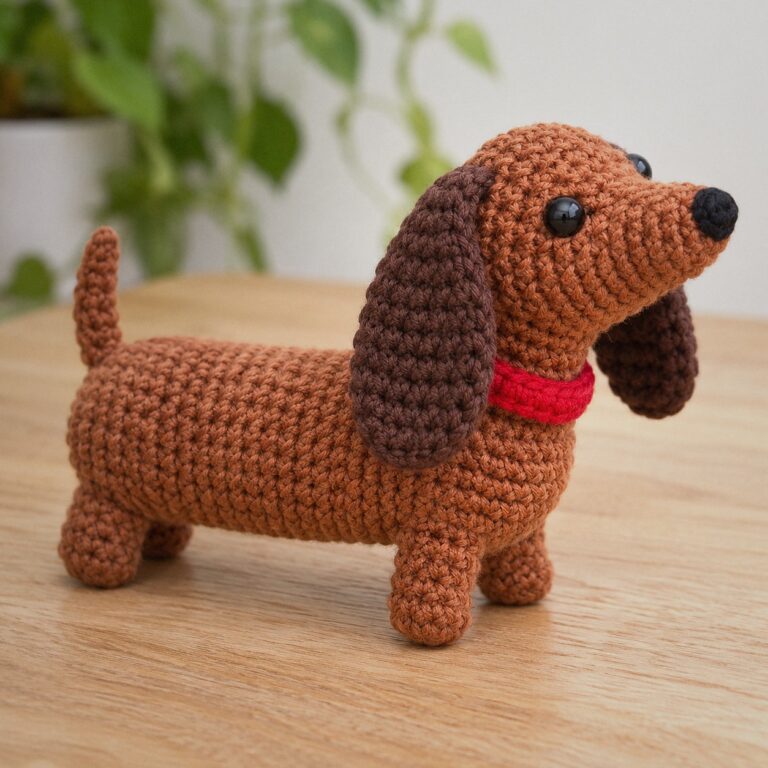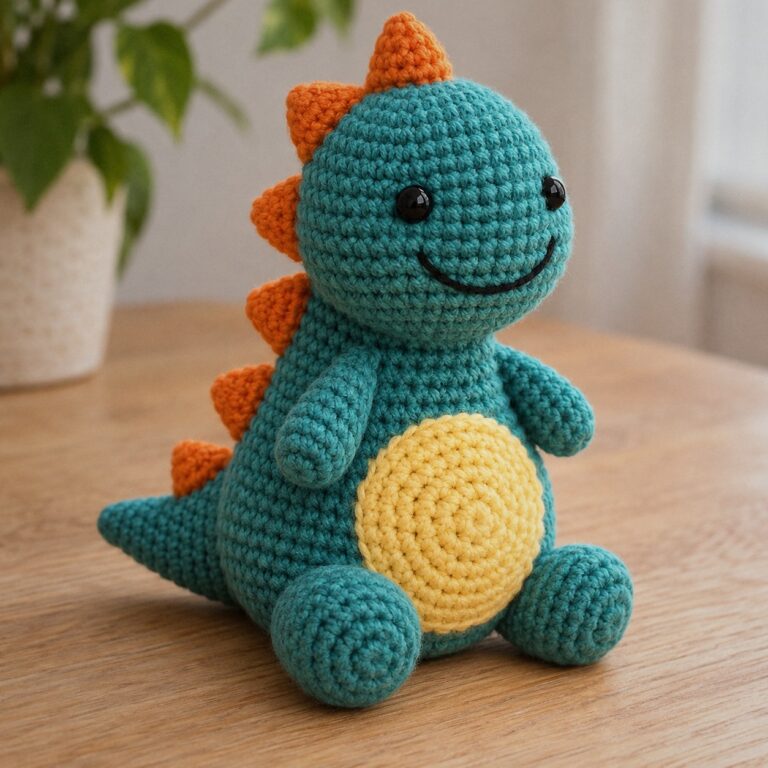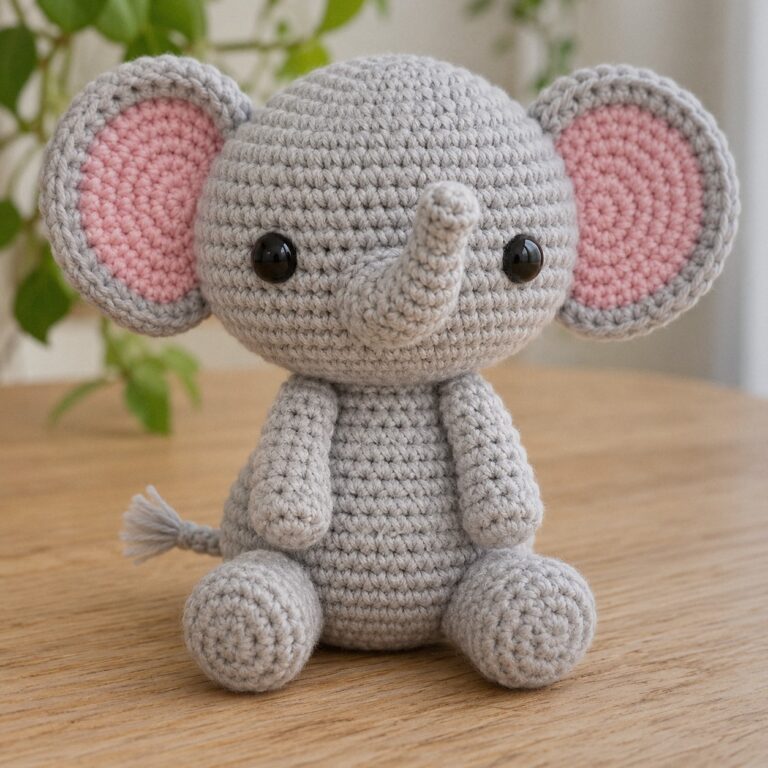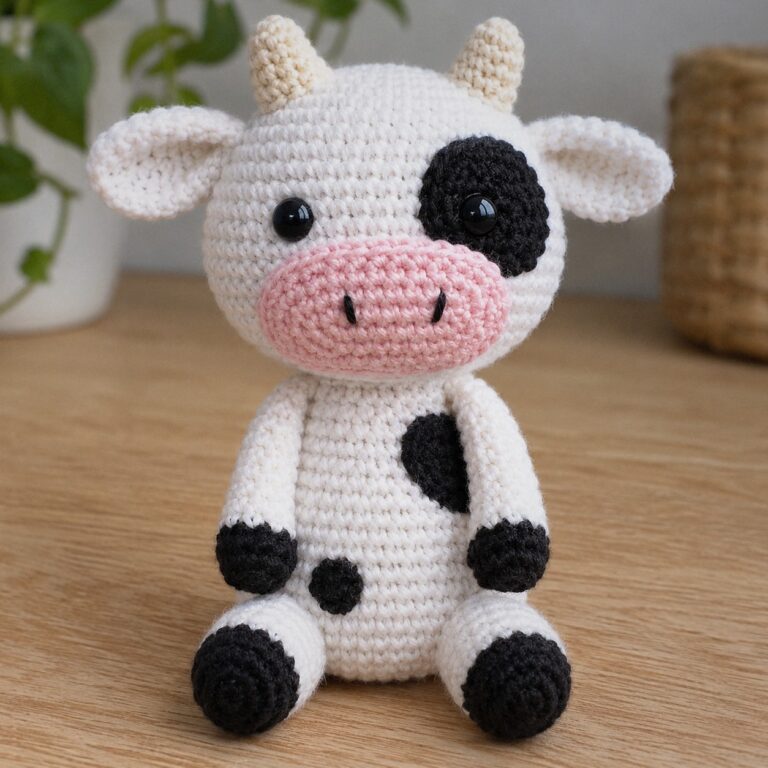
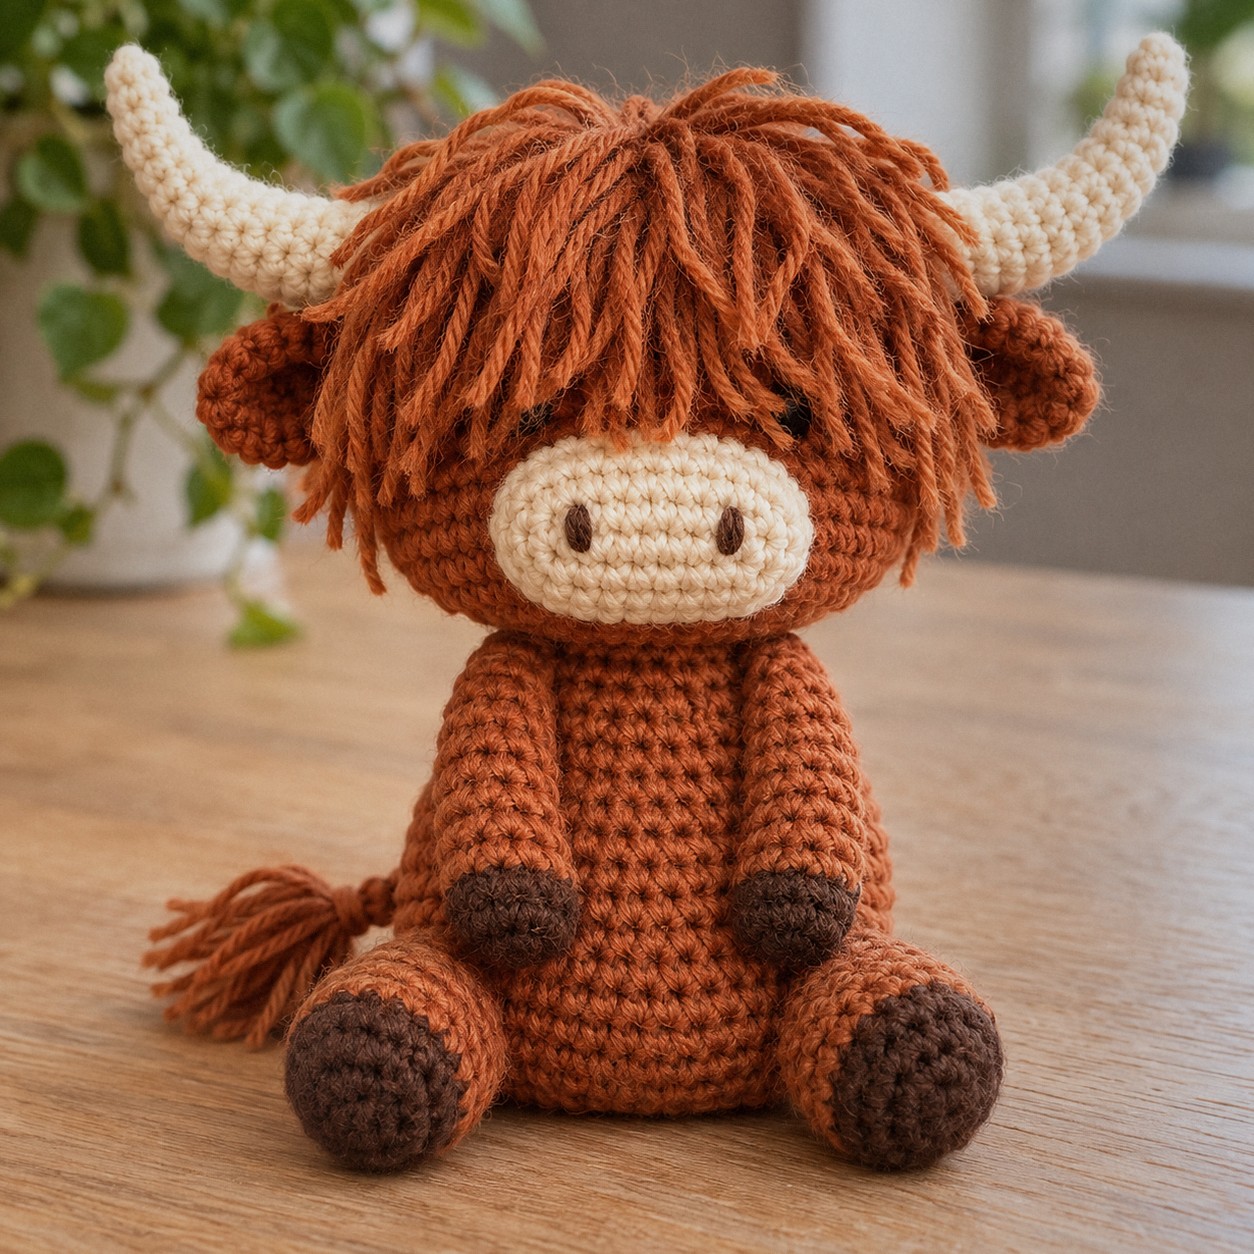
The Highland cow is all about the fringe: a shaggy rust-colored mop that falls over the eyes, two long curved horns and a soft cream muzzle peeking out underneath. Under the hair it is a simple sitting toy, and the fringe is knotted on at the end with a crochet hook, the same way you would add a tassel.
It is about 3.5 in / 9 cm tall sitting, plus the horns. Every round has its stitch count, and the full pattern is in a printable PDF.
In this post7 sections
Pattern at a glance
- Skill level: easy (MR, sc, inc, invisible dec, an oval start, knotting fringe)
- Finished size: about 3.5 in / 9 cm tall sitting
- Yarn: DK cotton, about 71 yd / 65 m in total
- Hook: 2.5 mm (US B/1–C/2)
- Time: about 4 hours with the fringe
Materials
- DK cotton in rust brown (A) for the head, body, limbs and fringe, about 57 yd / 52 m
- DK cotton in cream (B) for the muzzle and horns, about 10 yd / 9 m
- DK cotton in dark brown (C) for the hooves and nostrils, about 5 yd / 4 m
- 6 mm safety eyes (they are mostly hidden by the fringe)
- 2.5 mm hook, stitch marker, tapestry needle, fiberfill
- A pet slicker brush or a stiff comb if you want a fluffy fringe
Abbreviations (US terms)
- MR magic ring · sc single crochet · inc 2 sc in one stitch · dec invisible decrease · FO fasten off
- blo / flo back loop only / front loop only · ch chain · sl st slip stitch · hdc / dc half double / double crochet
Before you start
- Cotton gives a neat, stringy fringe. For a fluffy fringe, brush the strands out with a pet slicker brush; the cotton splits into soft fibers.
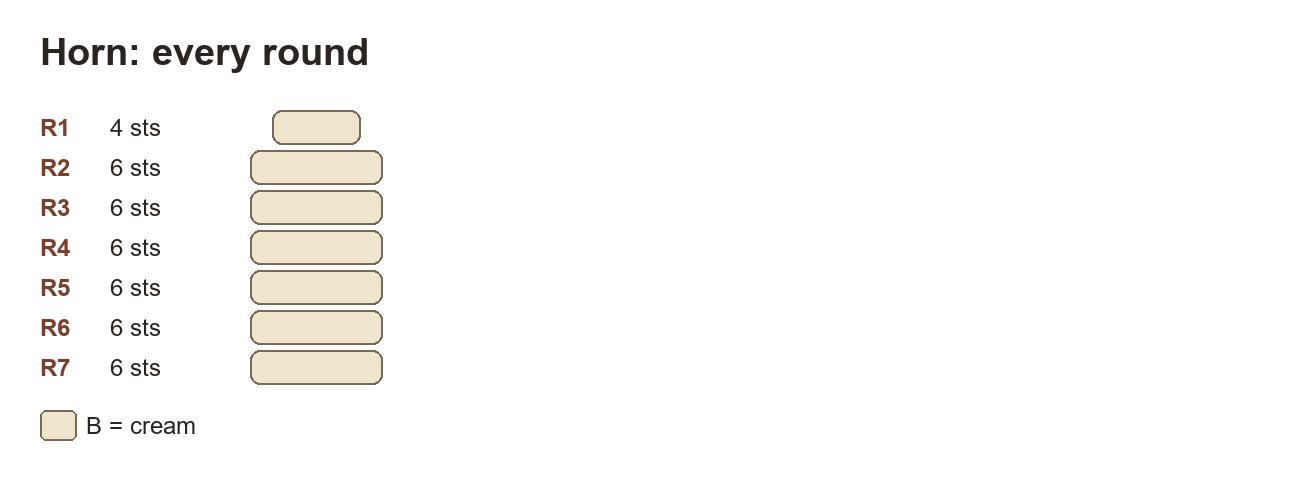
- The horns are 7 rounds of 6 stitches. Stuff them lightly and bend them before sewing so they curve up.
- The muzzle is an oval started on a chain of 6 (12 stitches in the first round).
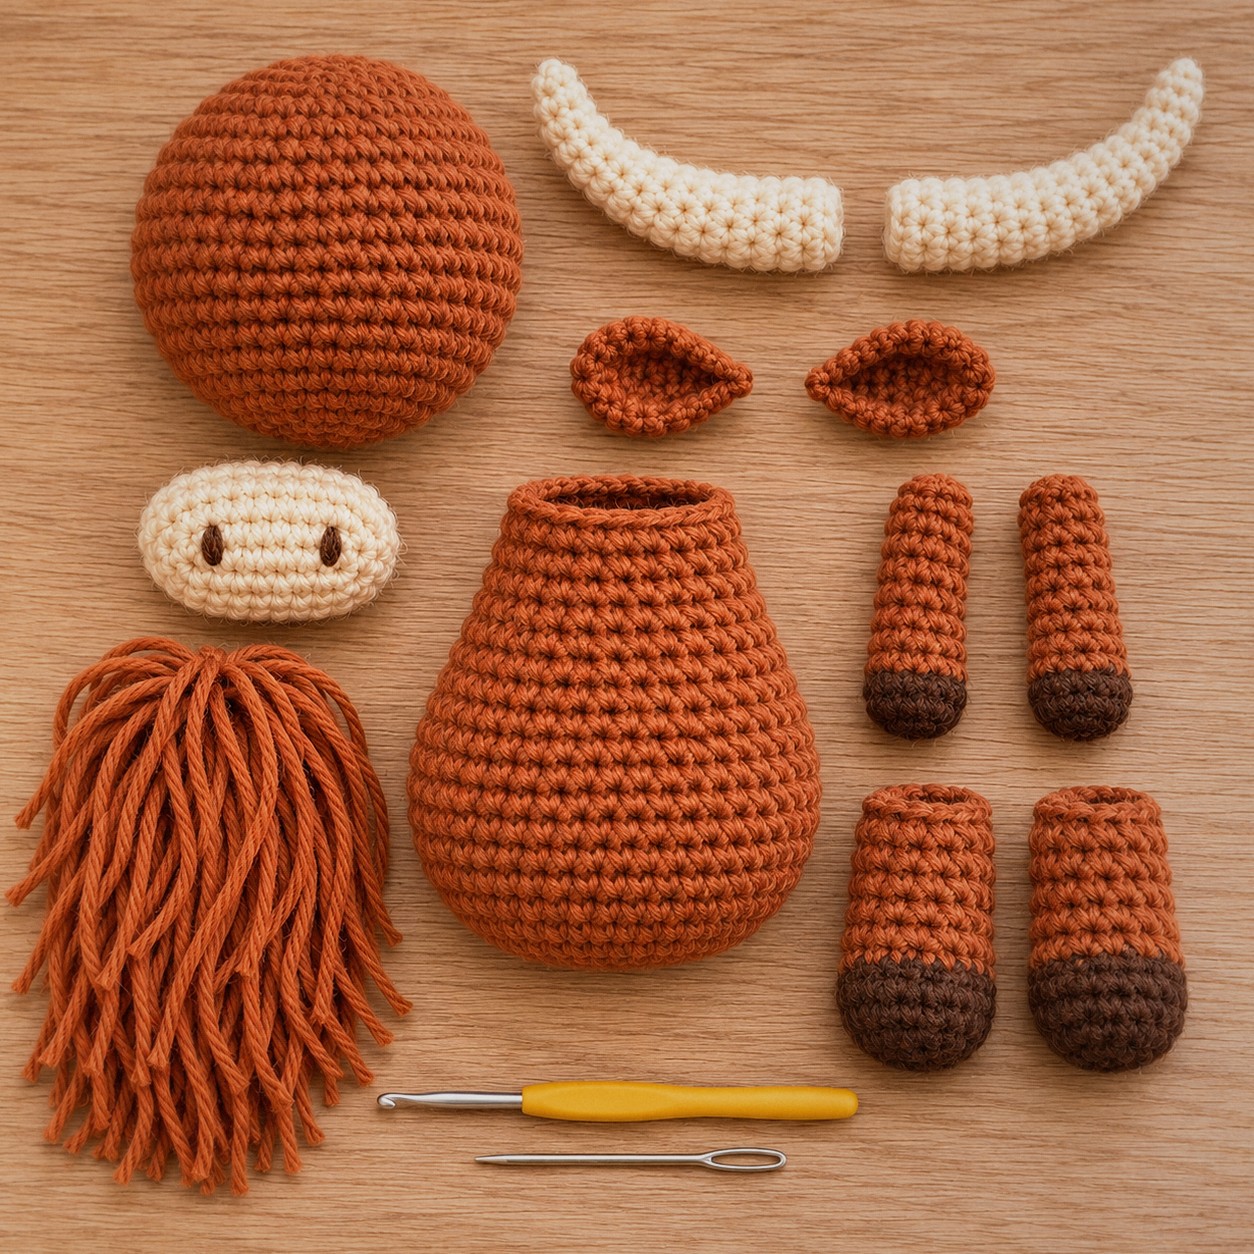
The pattern
Head
Color: start with A (rust brown).
- Rnd 1: 6 sc in a magic ring. (6)
- Rnd 2: Inc ×6. (12)
- Rnd 3: (sc, inc) ×6. (18)
- Rnd 4: Sc, inc, (2 sc, inc) ×5, sc. (24)
- Rnd 5: (3 sc, inc) ×6. (30)
- Rnd 6: 2 sc, inc, (4 sc, inc) ×5, 2 sc. (36)
- Rnds 7–13: Sc around. (36)
- Rnd 14: (4 sc, dec) ×6. (30)
- Rnd 15: (3 sc, dec) ×6. (24)
- Rnd 16: Sc, dec, (2 sc, dec) ×5, sc. (18)
- Rnd 17: (sc, dec) ×6. (12)
- Rnd 18: Dec ×6. (6)
Placement: Eyes: 6 mm safety eyes between R10 and R11, 9 sts apart (insert before R15), mostly hidden by the fringe.
Placement: Muzzle centered below the eyes, its top edge on R11.
Finish: Stuff firmly after R17, FO and close the hole.
Muzzle
Color: start with B (cream).
An oval cup, started on a chain.
- Rnd 1: Sc around. (12)
- Rnd 2: (sc, inc) ×6. (18)
- Rnd 3: (2 sc, inc) ×6. (24)
- Rnds 4–5: Sc around. (24)
Placement: Nostrils in C: two small straight stitches over R2, 6 sts apart.
Finish: Ch 6; in the 2nd ch from the hook work 1 sc, sc in the next 3 ch, 3 sc in the last ch, then along the other side sc in the next 3 ch and 2 sc in the last ch (12 sts, an oval); stuff lightly and sew on.
Horn (make 2)
Color: start with B (cream).
Long and thin: seven rounds of six stitches.
- Rnd 1: 4 sc in MR. (4)
- Rnd 2: (sc, inc) ×2. (6)
- Rnds 3–7: Sc around. (6)
Finish: Stuff lightly, bend into a curve and sew on at the upper sides of the head on R5, pointing out and up.
Ear (make 2)
Color: start with A (rust brown).
- Rnd 1: 6 sc in a magic ring. (6)
- Rnd 2: (sc, inc) ×3. (9)
- Rnds 3–4: Sc around. (9)
Finish: Flatten and sew on just under the horns, pointing out.
Body
Color: start with A (rust brown).
- Rnd 1: 6 sc in a magic ring. (6)
- Rnd 2: Inc ×6. (12)
- Rnd 3: (sc, inc) ×6. (18)
- Rnd 4: Sc, inc, (2 sc, inc) ×5, sc. (24)
- Rnd 5: (3 sc, inc) ×6. (30)
- Rnds 6–9: Sc around. (30)
- Rnd 10: (3 sc, dec) ×6. (24)
- Rnds 11–13: Sc around. (24)
- Rnd 14: Sc, dec, (2 sc, dec) ×5, sc. (18)
- Rnds 15–16: Sc around. (18)
Finish: FO with a long tail, stuff firmly, sew the open end under the head.
Arm (make 2)
Color: start with C (dark brown).
Dark brown hoof first, then rust.
- Rnd 1: 6 sc in a magic ring. (6)
- Rnd 2: (2 sc, inc) ×2. (8)
- Rnd 3: Switch to A (rust brown). Sc around. (8)
- Rnds 4–9: Sc around. (8)
Finish: Stuff only the paw, flatten the top and sew on at the sides of the body just below the head.
Leg (make 2)
Color: start with C (dark brown).
Round 3 in back loops makes the top of the hoof.
- Rnd 1: 6 sc in a magic ring. (6)
- Rnd 2: Inc ×6. (12)
- Rnd 3: BLO sc around. (12)
- Rnd 4: Switch to A (rust brown). Sc around. (12)
- Rnd 5: Sc around. (12)
- Rnd 6: (2 sc, dec) ×3. (9)
- Rnd 7: Sc around. (9)
Finish: Stuff, FO and sew on at the bottom front of the body so the toy sits.
Fringe and tail
Cut about 40 lengths of rust brown, 3 in / 8 cm each. Fold each one in half, pull the fold through a stitch with your hook, pass the ends through the loop and tighten. Fill the forehead between the horns from round 4 to round 10, then add a few on top of the head. Brush and trim so the fringe just covers the eyes. Knot 6 lengths at the back of the body for the tail.
Assembly
- Sew the muzzle to the lower face, top edge on round 11, stuffing it a little.
- Sew the horns at the upper sides of the head on round 5, pointing out and up, and the ears just under them.
- Sew the body under the head, arms just below the head, legs at the bottom front so it sits.
- Knot on the fringe and tail last.
FAQ
Can I use fluffy yarn for the fringe?
Yes. A mohair blend or brushed acrylic gives an instantly fluffy fringe without brushing. Keep the body in cotton so the stitches stay neat.
The horns droop.
Stuff them a little more firmly, or slide a short piece of pipe cleaner inside before sewing (leave it out for small children).
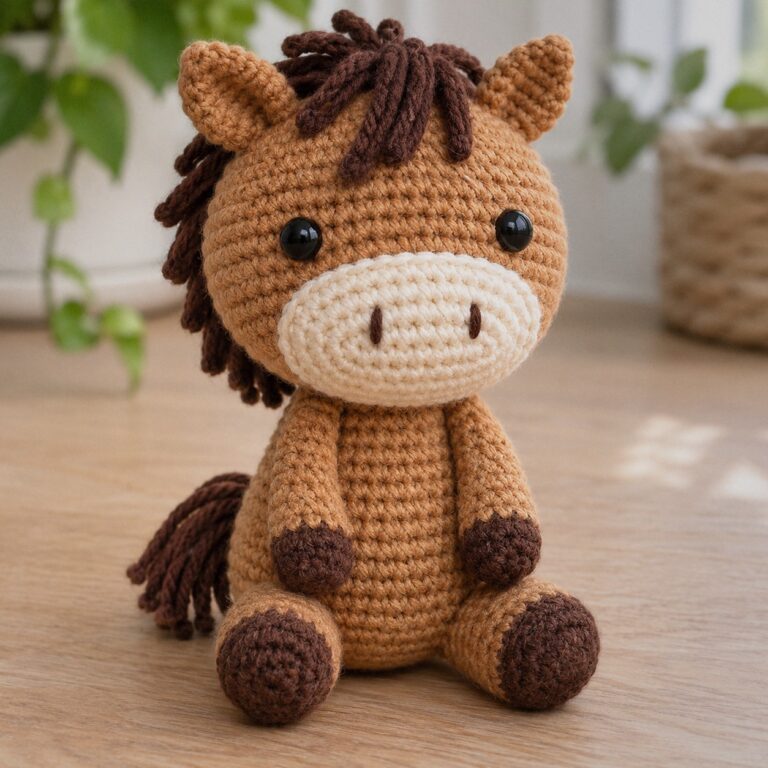
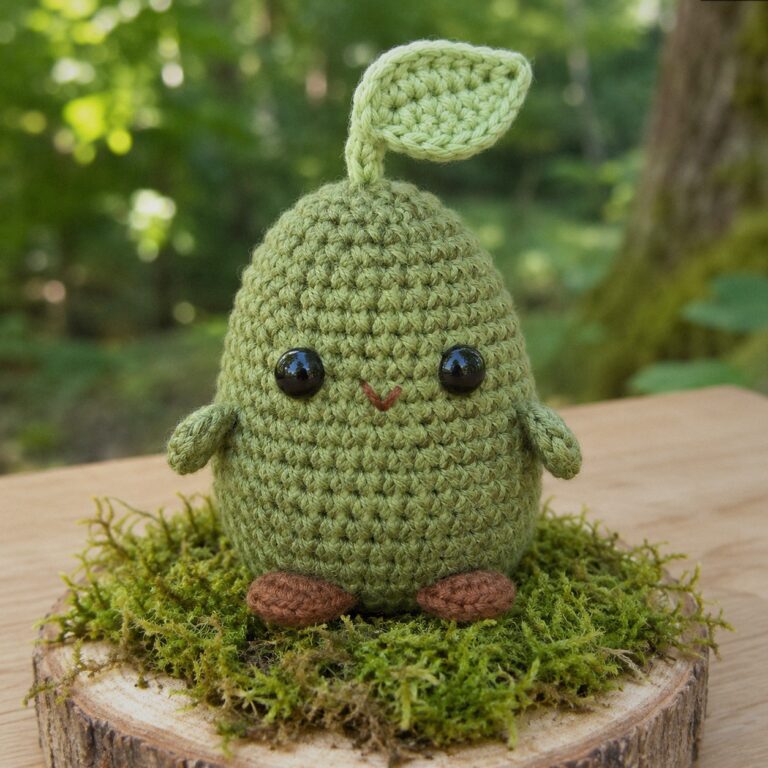
The plain version: our black and white crochet cow. More animals: the pony and the puppy.