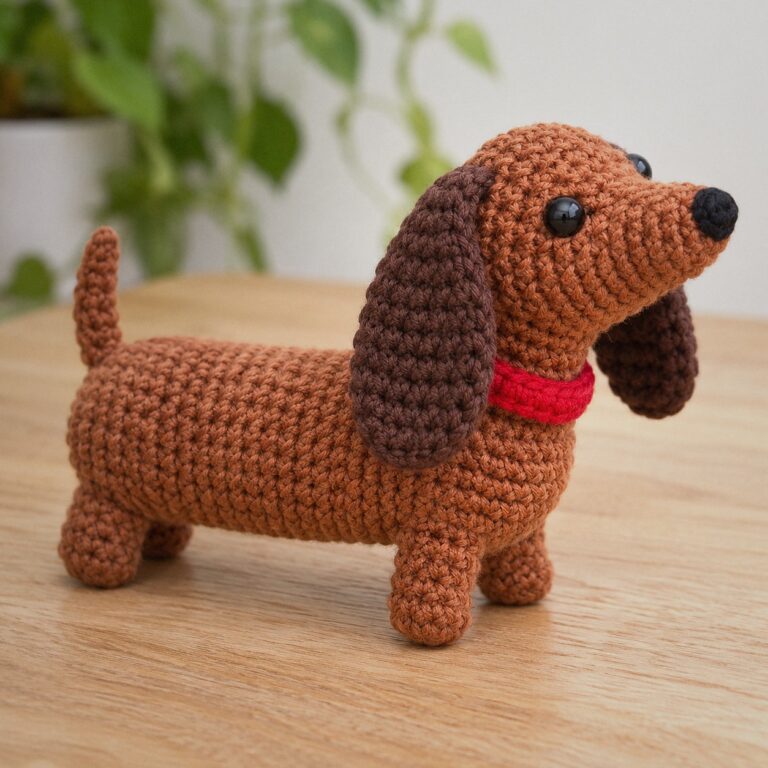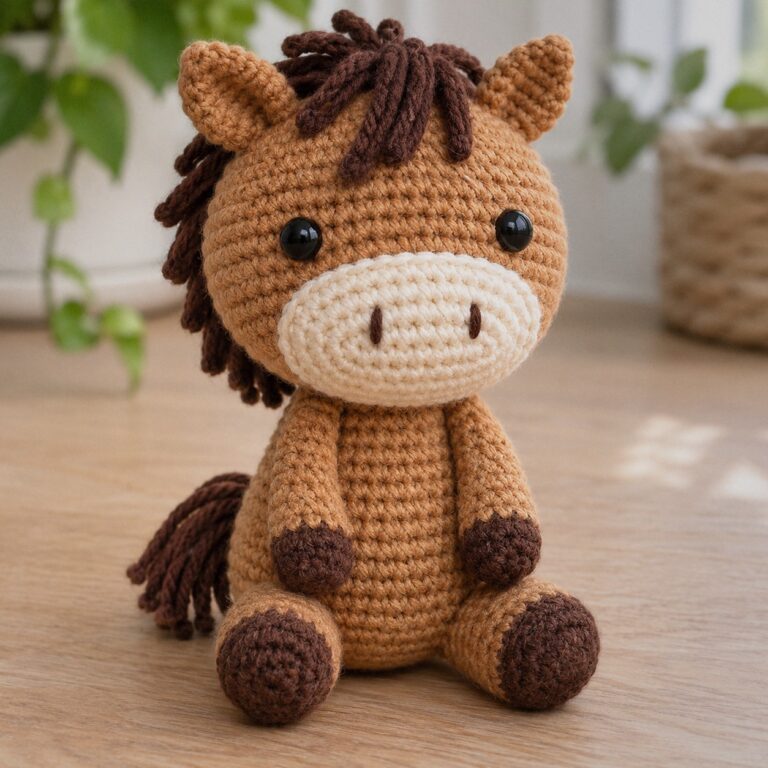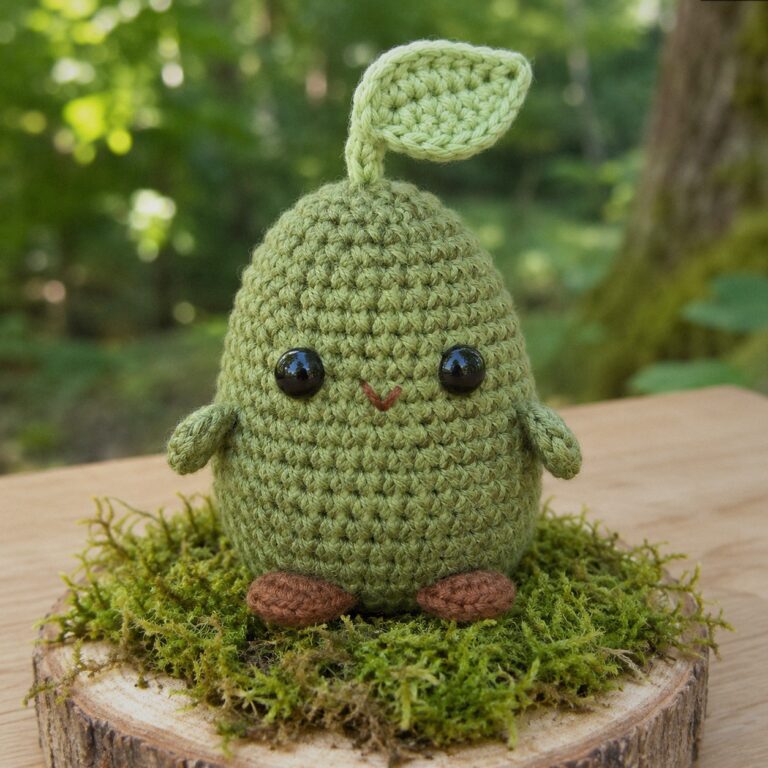
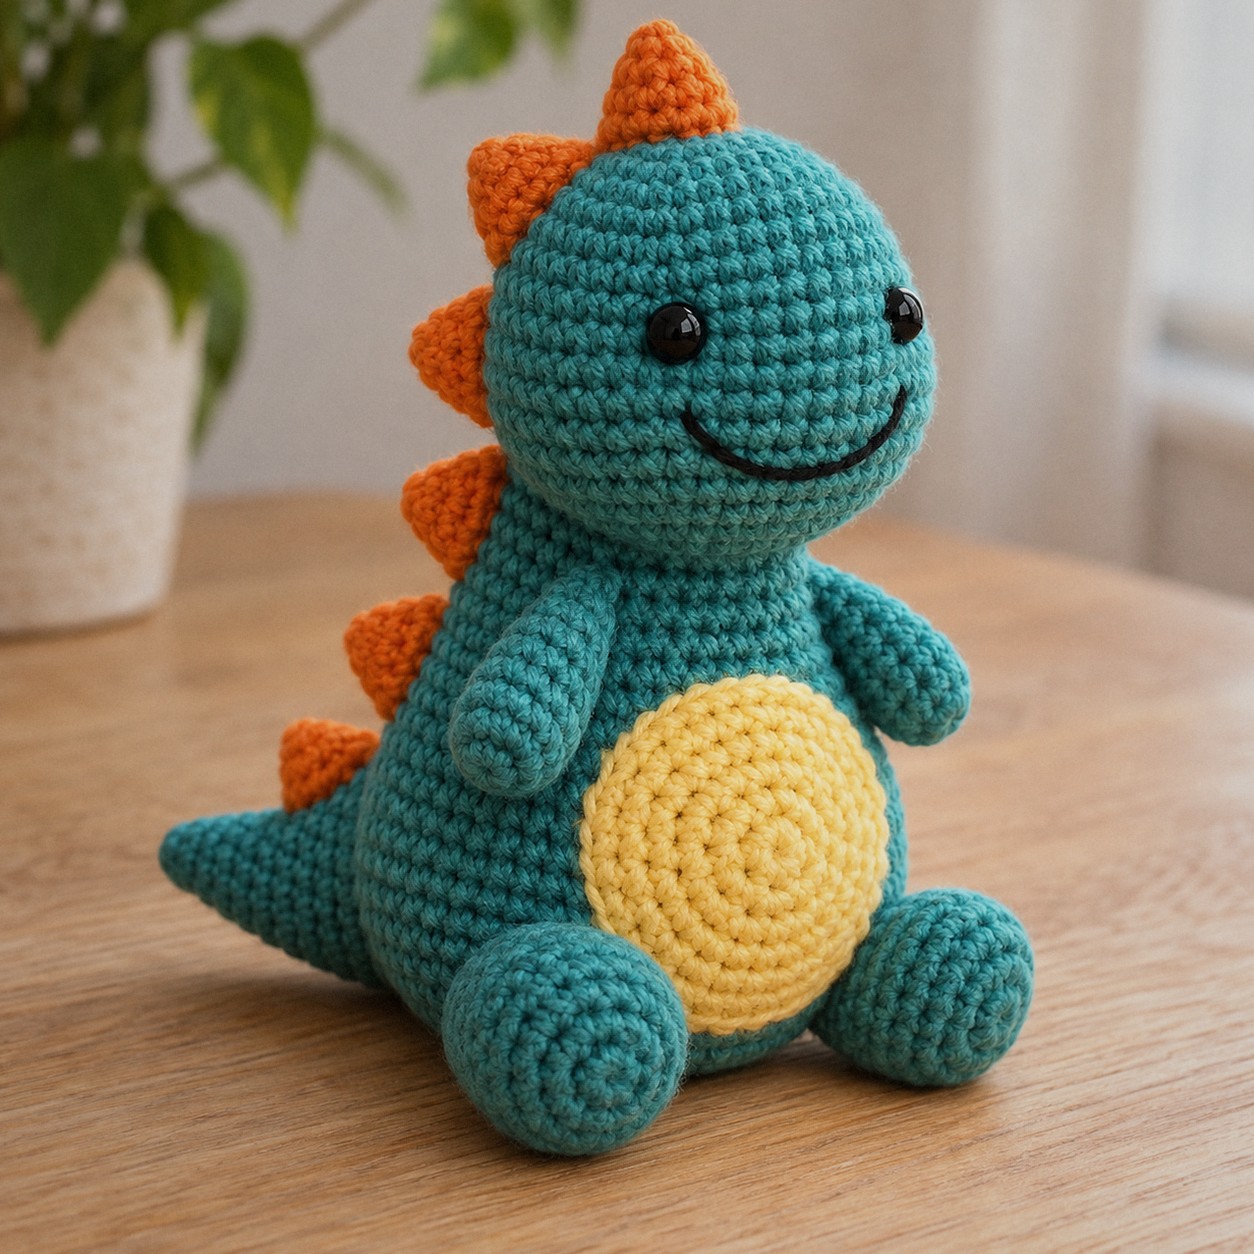
A cheerful little dinosaur in teal with a big yellow belly, a wide smile and a row of orange spikes running from the top of its head down to the tail. It is a friendly, round dino rather than a fierce one, and a good toy to make in whatever colors a child picks.
It is about 3.5 in / 9 cm tall sitting. Every round has its stitch count, and there is a printable PDF of the full pattern.
In this post8 sections
Pattern at a glance
- Skill level: easy (MR, sc, inc, invisible dec, embroidery)
- Finished size: about 3.5 in / 9 cm tall sitting
- Yarn: DK cotton, about 63 yd / 58 m in total
- Hook: 2.5 mm (US B/1–C/2)
- Time: about 3.5 hours
Materials
- DK cotton in teal (A) for the head, body, limbs and tail, about 56 yd / 51 m
- DK cotton in light yellow (B) for the belly, a small amount
- DK cotton in orange (C) for the spikes, about 4 yd / 4 m
- 8 mm safety eyes (one pair)
- Black yarn for the smile
- 2.5 mm hook, stitch marker, tapestry needle, fiberfill
Abbreviations (US terms)
- MR magic ring · sc single crochet · inc 2 sc in one stitch · dec invisible decrease · FO fasten off
- blo / flo back loop only / front loop only · ch chain · sl st slip stitch · hdc / dc half double / double crochet
Before you start
- The head is a 30-stitch ball, the same width as the body, so the dino looks chunky rather than big-headed.
- Embroider the smile before closing the head: one long straight stitch across round 5, tacked down in the middle with a tiny stitch to make it curve.
- The five spikes are the same size. Sew them a little closer together on the head and a little further apart down the back.
The pattern
Head
Color: start with A (teal).
- Rnd 1: 6 sc in a magic ring. (6)
- Rnd 2: Inc ×6. (12)
- Rnd 3: (sc, inc) ×6. (18)
- Rnd 4: Sc, inc, (2 sc, inc) ×5, sc. (24)
- Rnd 5: (3 sc, inc) ×6. (30)
- Rnds 6–11: Sc around. (30)
- Rnd 12: (3 sc, dec) ×6. (24)
- Rnd 13: Sc, dec, (2 sc, dec) ×5, sc. (18)
- Rnd 14: (sc, dec) ×6. (12)
- Rnd 15: Dec ×6. (6)
Placement: Eyes: 8 mm safety eyes between R7 and R8, 8 sts apart (insert before R13).
Placement: Nostrils: two small straight stitches near the front on R3.
Placement: Smile: a wide straight-stitch smile across R5.
Finish: Stuff firmly after R14, FO and close.
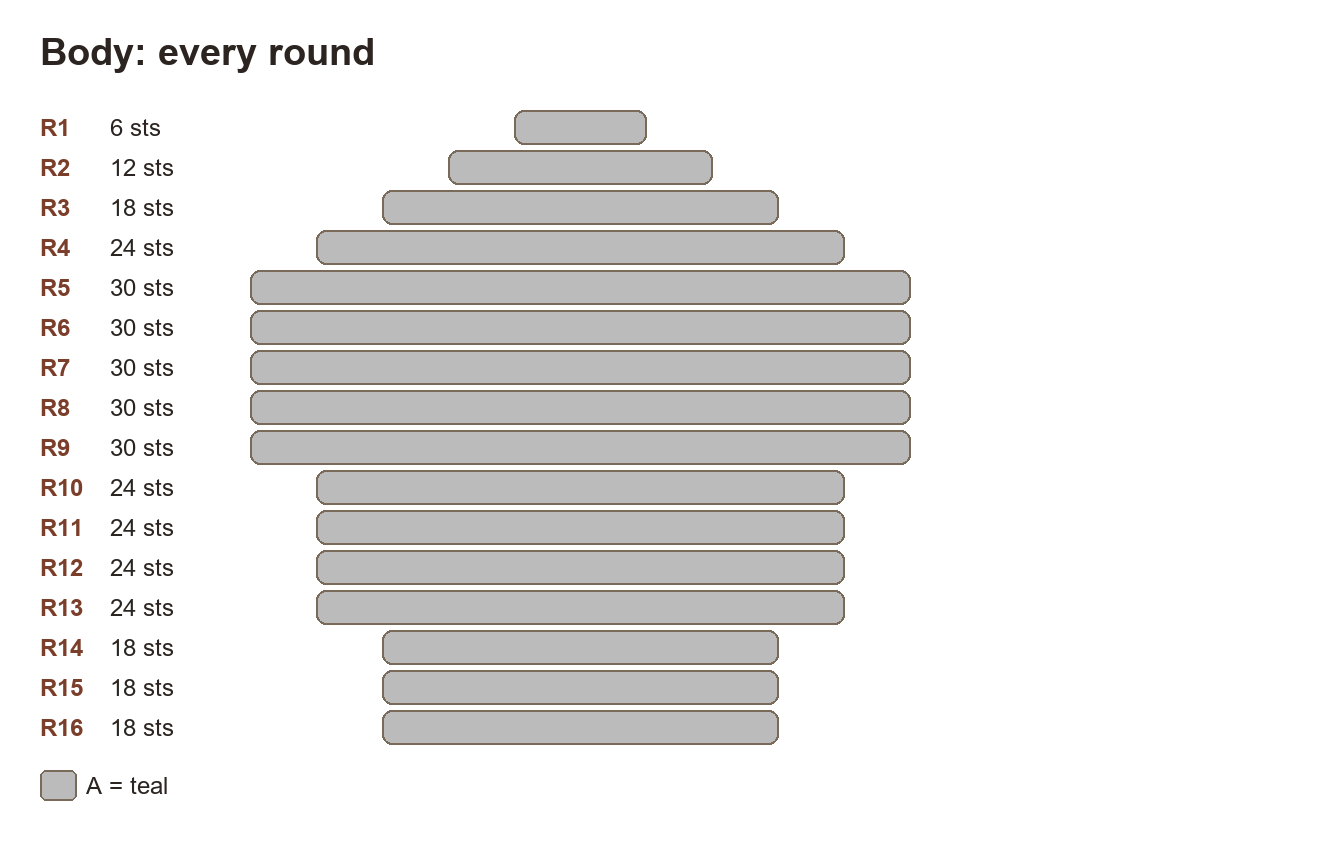
Body
Color: start with A (teal).
- Rnd 1: 6 sc in a magic ring. (6)
- Rnd 2: Inc ×6. (12)
- Rnd 3: (sc, inc) ×6. (18)
- Rnd 4: Sc, inc, (2 sc, inc) ×5, sc. (24)
- Rnd 5: (3 sc, inc) ×6. (30)
- Rnds 6–9: Sc around. (30)
- Rnd 10: (3 sc, dec) ×6. (24)
- Rnds 11–13: Sc around. (24)
- Rnd 14: Sc, dec, (2 sc, dec) ×5, sc. (18)
- Rnds 15–16: Sc around. (18)
Finish: FO with a long tail, stuff firmly, sew the open end under the head.
Belly
Color: start with B (light yellow).
- Rnd 1: 6 sc in a magic ring. (6)
- Rnd 2: Inc ×6. (12)
- Rnd 3: (sc, inc) ×6. (18)
- Rnd 4: Sc, inc, (2 sc, inc) ×5, sc. (24)
Finish: Sew to the front of the body, its center on R7.
Spike (make 5)
Color: start with C (orange).
- Rnd 1: 4 sc in MR. (4)
- Rnd 2: (sc, inc) ×2. (6)
- Rnd 3: Sc around. (6)
Finish: Flatten and sew in a line from the top of the head down the back to the tail, big to small.
Tail
Color: start with A (teal).
A cone that grows by 2 stitches every other round.
- Rnd 1: 4 sc in MR. (4)
- Rnd 2: (sc, inc) ×2. (6)
- Rnd 3: Sc around. (6)
- Rnd 4: (2 sc, inc) ×2. (8)
- Rnd 5: Sc around. (8)
- Rnd 6: (3 sc, inc) ×2. (10)
- Rnd 7: Sc around. (10)
- Rnd 8: (4 sc, inc) ×2. (12)
- Rnds 9–10: Sc around. (12)
Finish: Stuff lightly, sew to the back of the body at R3-R6.
Arm (make 2)
Color: start with A (teal).
- Rnd 1: 6 sc in a magic ring. (6)
- Rnd 2: (2 sc, inc) ×2. (8)
- Rnds 3–9: Sc around. (8)
Finish: Stuff only the paw, flatten the top and sew on at the sides of the body just below the head.
Leg (make 2)
Color: start with A (teal).
- Rnd 1: 6 sc in a magic ring. (6)
- Rnd 2: Inc ×6. (12)
- Rnds 3–5: Sc around. (12)
- Rnd 6: (2 sc, dec) ×3. (9)
- Rnd 7: Sc around. (9)
Finish: Stuff, FO and sew on at the bottom front of the body so the toy sits.
Assembly
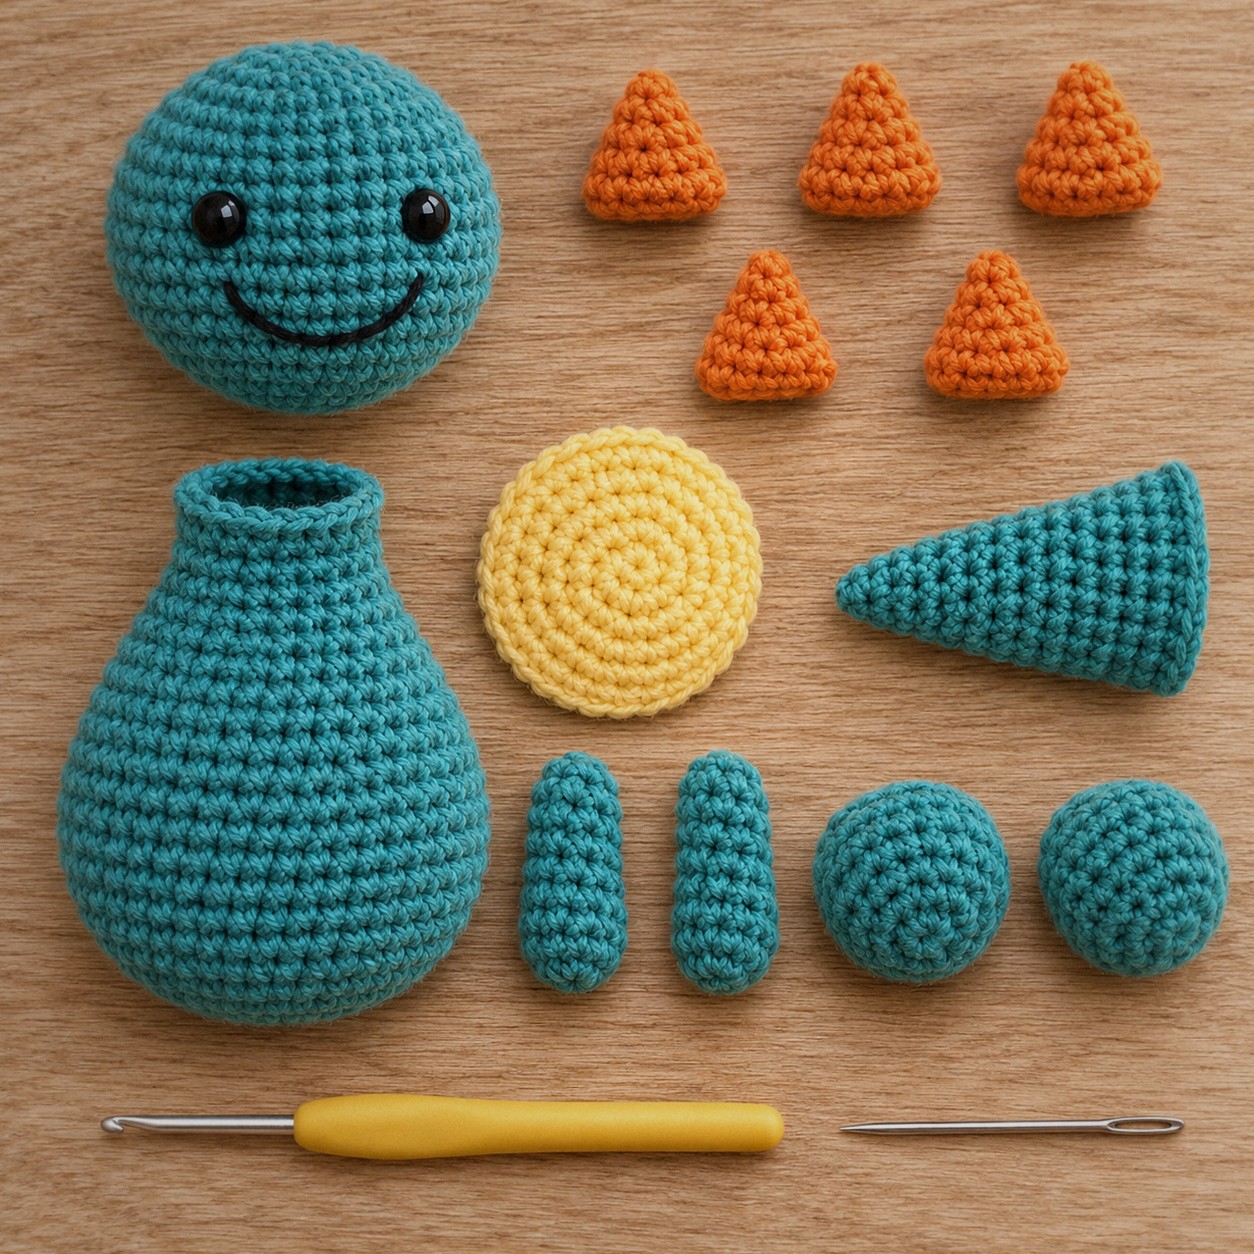
- Sew the body under the head and the belly circle to the front of the body, its center on round 7.
- Pin the five spikes in a line from the top of the head, down the back of the head and the back of the body, and sew each one on.
- Sew the tail to the back of the body between rounds 3 and 6 so it rests on the table and helps the dino sit.
- Sew the arms just below the head and the legs at the bottom front.
Tips
- Color ideas: purple with green spikes, green with yellow spikes, or pastel pink with white spikes.
- Stegosaurus-style: use the flat dragon wing shape for bigger plates along the back.
- For a baby: embroider the eyes and use the same yarn for the spikes, sewn on very firmly.
FAQ
Is this the same as the dragon pattern?
They are built the same way, but the dino has a smaller head, a belly circle, a row of spikes and no wings or horns. Our little dragon is the winged version.
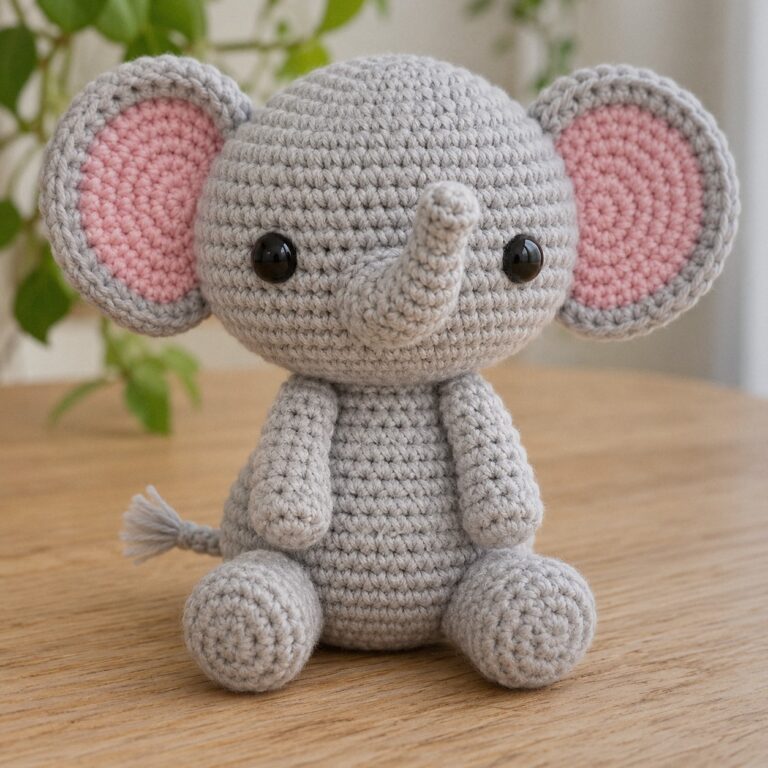
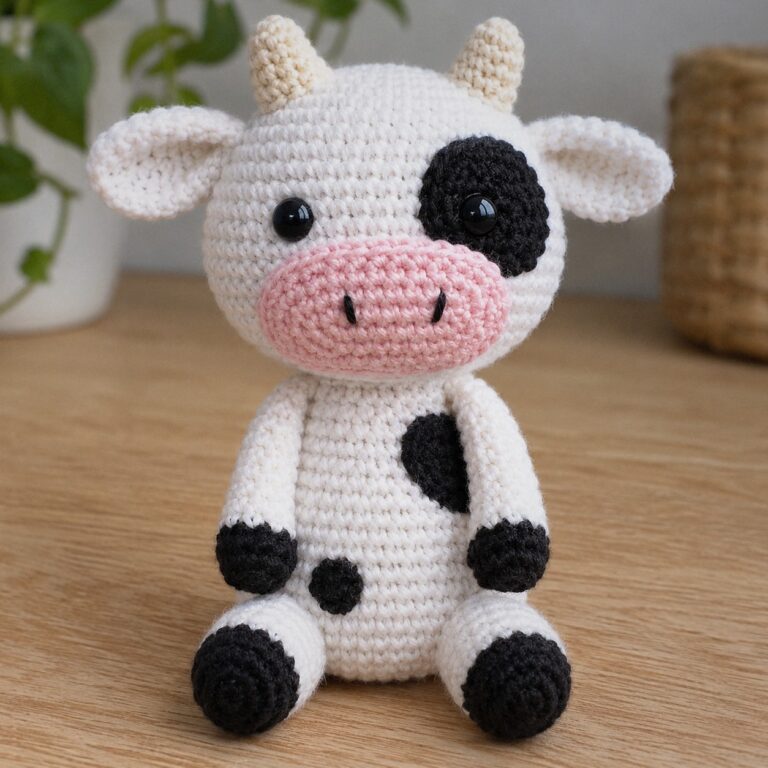
More animals: the baby elephant and the cow.