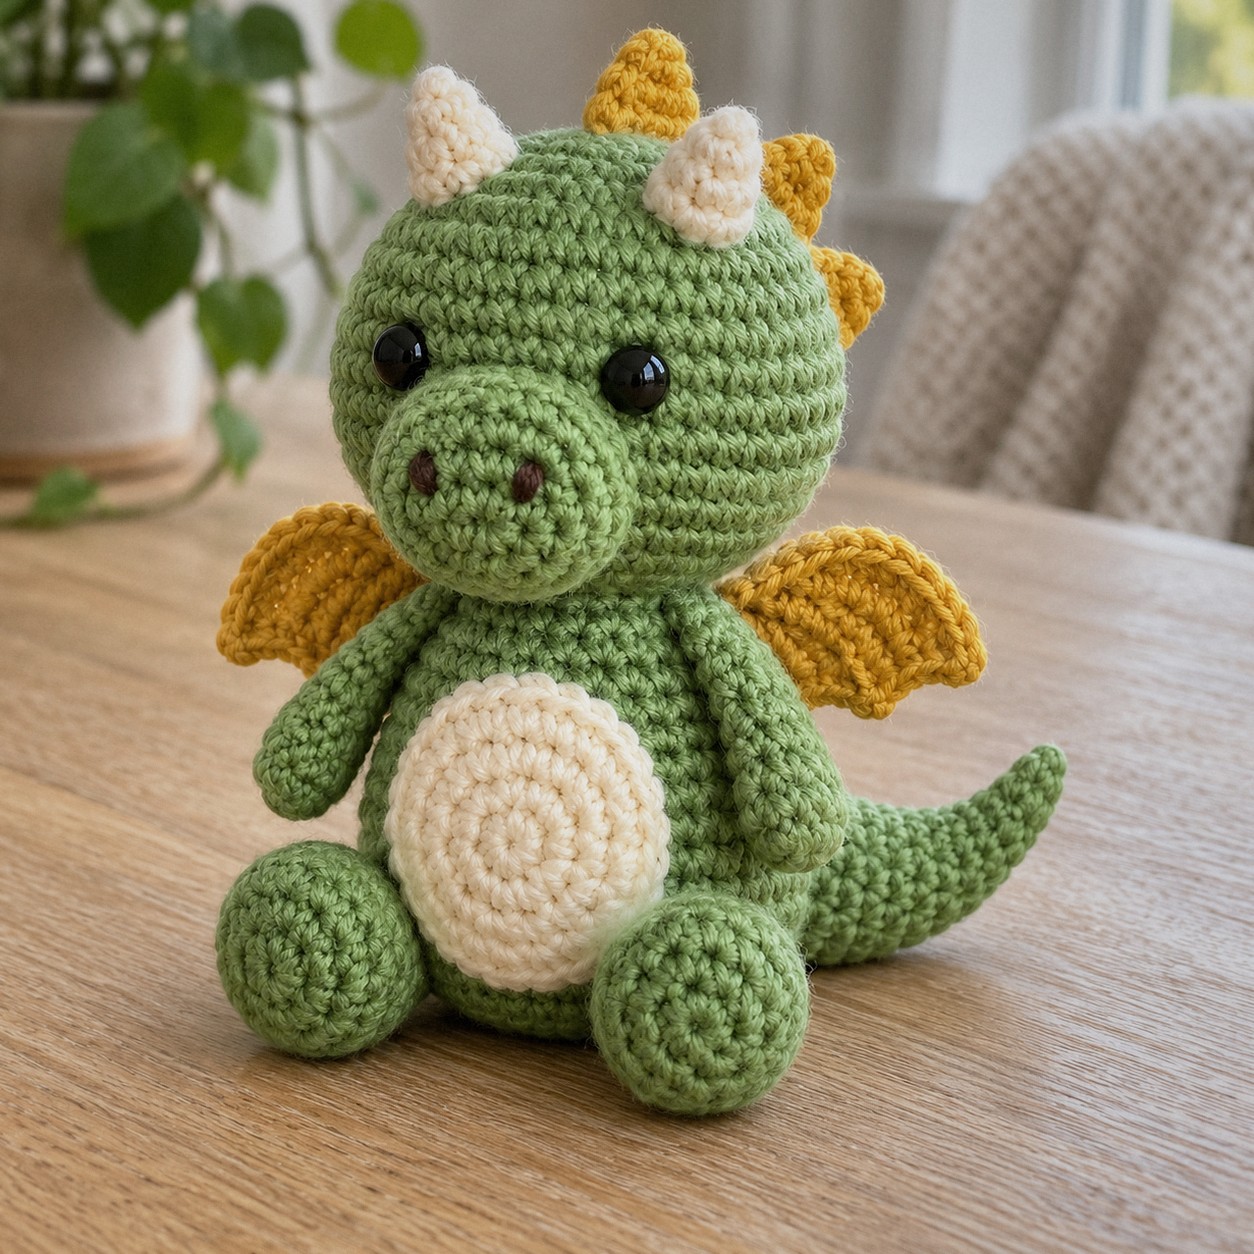
A small, round, friendly dragon: green body, cream belly, two little cream horns, mustard wings and a cone tail that curls to one side. Nothing on it is difficult. The head and body are plain stuffed balls, and the details are tiny cones and flat circles sewn on at the end, so it is a good second or third amigurumi.
It is about 3.5 in / 9 cm tall sitting. Every round has its stitch count, and the printable PDF has the full pattern.
In this post8 sections
Pattern at a glance
- Skill level: easy (MR, sc, inc, invisible dec, sewing small pieces)
- Finished size: about 3.5 in / 9 cm tall sitting
- Yarn: DK cotton, about 66 yd / 60 m in total
- Hook: 2.5 mm (US B/1–C/2)
- Time: about 3 to 4 hours
Materials
- DK cotton in green (A), about 53 yd / 48 m
- Cream (B) for the belly and horns, about 5 yd / 4 m
- Mustard (C) for the wings and spikes, about 8 yd / 8 m
- A little dark brown (D) for the nostrils
- 8 mm safety eyes, 2.5 mm hook, stitch marker, tapestry needle, fiberfill, pins
Abbreviations (US terms)
- MR magic ring · sc single crochet · inc 2 sc in one stitch · dec invisible decrease · picot ch 3, sl st in the first of those chains · FO fasten off
Before you start
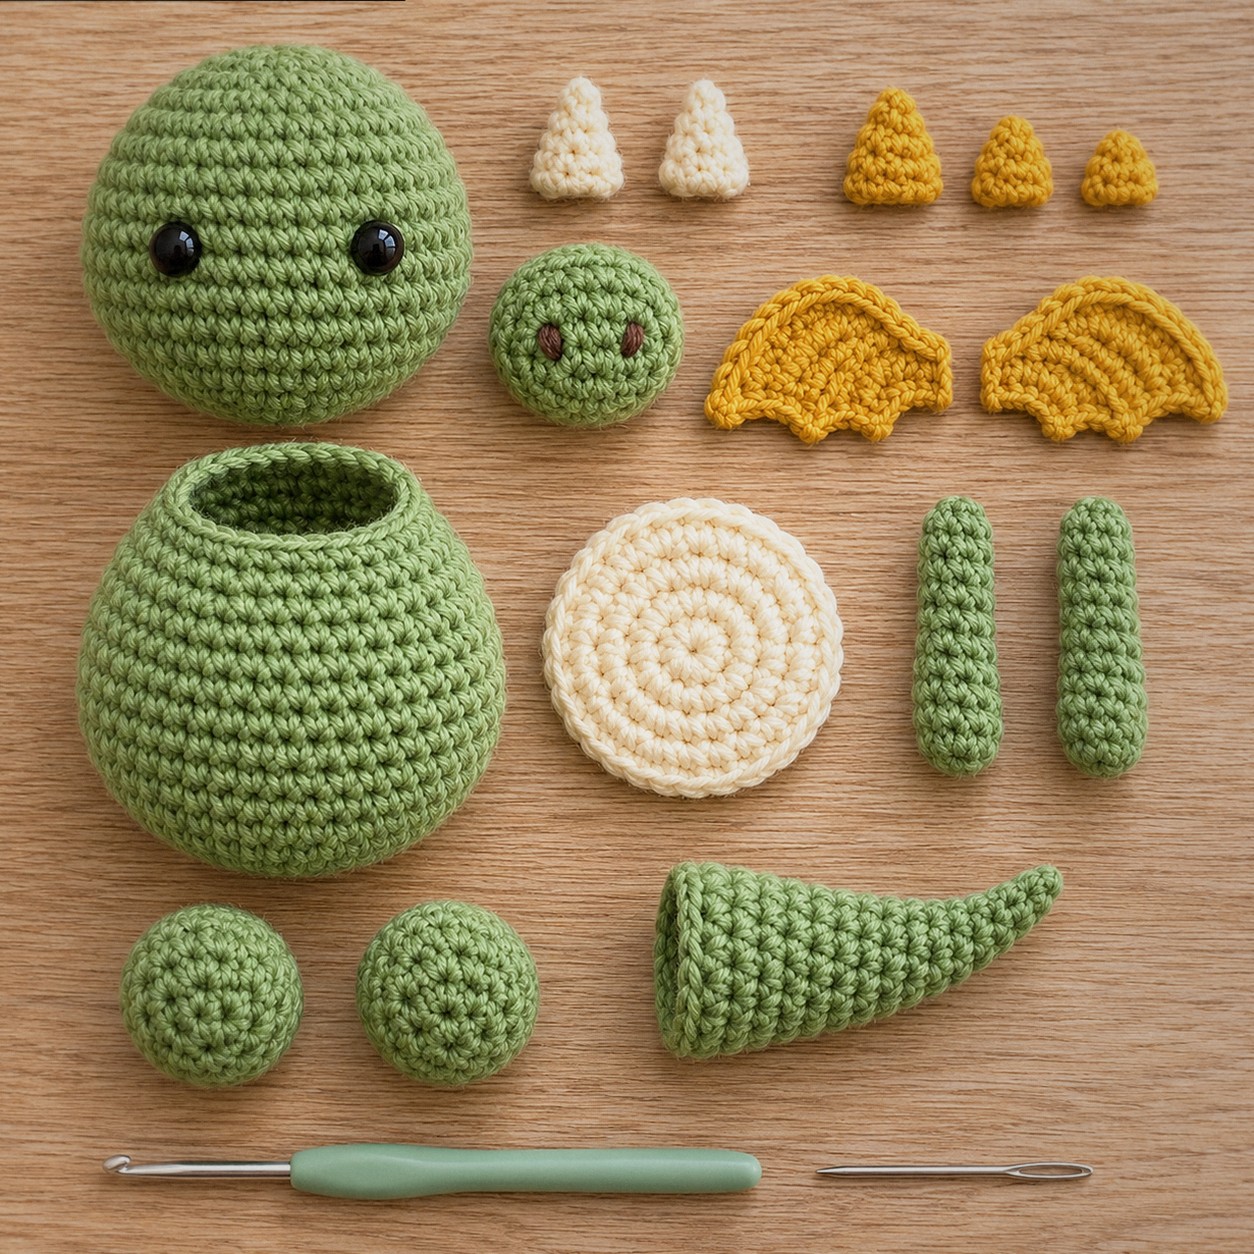
- There are ten different pieces, but six of them take less than ten minutes each. Make the head and body first, then the small parts.
- Put the safety eyes in before round 13 of the head.
- Pin the snout, belly, wings and tail on and look at the dragon from the front and the side before you sew anything.
The pattern
Head
Color: start with A (green).
- Rnd 1: 6 sc in a magic ring. (6)
- Rnd 2: Inc ×6. (12)
- Rnd 3: (sc, inc) ×6. (18)
- Rnd 4: Sc, inc, (2 sc, inc) ×5, sc. (24)
- Rnd 5: (3 sc, inc) ×6. (30)
- Rnds 6–11: Sc around. (30)
- Rnd 12: (3 sc, dec) ×6. (24)
- Rnd 13: Sc, dec, (2 sc, dec) ×5, sc. (18)
- Rnd 14: (sc, dec) ×6. (12)
- Rnd 15: Dec ×6. (6)
Placement: Eyes: 8 mm safety eyes between R8 and R9, 7 sts apart (insert before R13).
Placement: Snout centered below the eyes, its top edge on R9.
Finish: Stuff firmly after R14, FO and close the hole.
Snout
Color: start with A (green).
A short open cup that makes the dragon’s nose.
- Rnd 1: 6 sc in a magic ring. (6)
- Rnd 2: Inc ×6. (12)
- Rnd 3: (sc, inc) ×6. (18)
- Rnds 4–6: Sc around. (18)
Placement: Nostrils in D: two French knots on R2, 3 sts apart.
Finish: FO with a long tail, stuff lightly and sew on.
Body
Color: start with A (green).
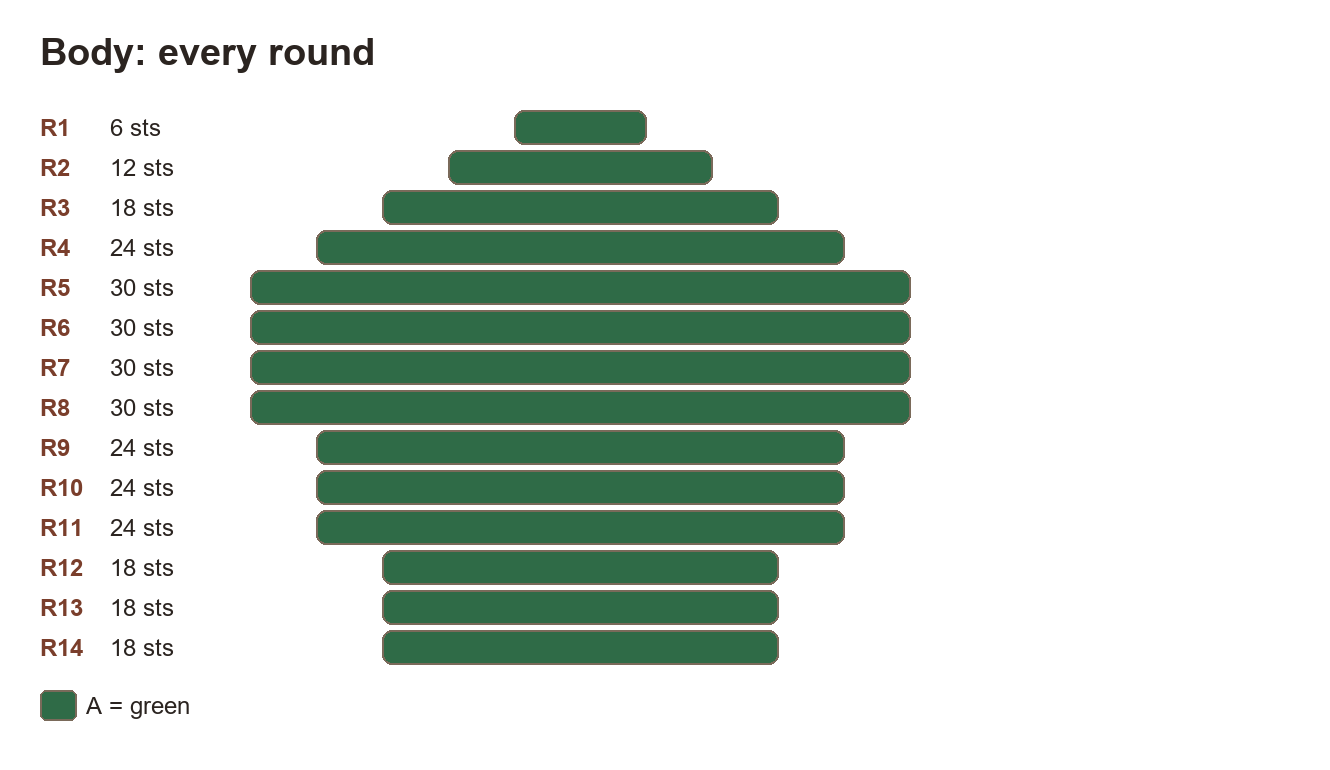
The body narrows in two steps and stays open at the top.
- Rnd 1: 6 sc in a magic ring. (6)
- Rnd 2: Inc ×6. (12)
- Rnd 3: (sc, inc) ×6. (18)
- Rnd 4: Sc, inc, (2 sc, inc) ×5, sc. (24)
- Rnd 5: (3 sc, inc) ×6. (30)
- Rnds 6–8: Sc around. (30)
- Rnd 9: (3 sc, dec) ×6. (24)
- Rnds 10–11: Sc around. (24)
- Rnd 12: (2 sc, dec) ×6. (18)
- Rnds 13–14: Sc around. (18)
Finish: FO with a long tail, stuff firmly, sew the open end under the head.
Belly
Color: start with B (cream).
A flat circle, worked like a coaster.
- Rnd 1: 6 sc in a magic ring. (6)
- Rnd 2: Inc ×6. (12)
- Rnd 3: (sc, inc) ×6. (18)
- Rnd 4: Sc, inc, (2 sc, inc) ×5, sc. (24)
Finish: Sew to the front of the body, its center on R7.
Horn (make 2)
Color: start with B (cream).
- Rnd 1: 4 sc in MR. (4)
- Rnd 2: (sc, inc) ×2. (6)
- Rnd 3: Sc around. (6)
Finish: Stuff lightly, sew on top of the head between R4 and R5, about 8 sts apart.
Wing (make 2)
Color: start with C (mustard).
Flat, not stuffed. The picots in the last round make the scalloped edge.
- Rnd 1: 4 sc in MR. (4)
- Rnd 2: Inc ×4. (8)
- Rnd 3: (sc, inc) ×4. (12)
- Rnd 4: (2 sc, picot) ×6. (12)
Finish: FO, flatten so the picots make a scalloped outer edge, do not stuff; sew to the back just below the head, tips pointing up and out.
Arm (make 2)
Color: start with A (green).
- Rnd 1: 6 sc in a magic ring. (6)
- Rnd 2: (2 sc, inc) ×2. (8)
- Rnds 3–7: Sc around. (8)
Finish: Stuff only the paw, flatten the top and sew on at the sides of the body below the head.
Leg (make 2)
Color: start with A (green).
- Rnd 1: 6 sc in a magic ring. (6)
- Rnd 2: Inc ×6. (12)
- Rnds 3–4: Sc around. (12)
Finish: Stuff, FO and sew on at the bottom front so the dragon sits.
Tail
Color: start with A (green).
A long cone that grows by 2 stitches every other round.
- Rnd 1: 4 sc in MR. (4)
- Rnd 2: (sc, inc) ×2. (6)
- Rnd 3: Sc around. (6)
- Rnd 4: (2 sc, inc) ×2. (8)
- Rnd 5: Sc around. (8)
- Rnd 6: (3 sc, inc) ×2. (10)
- Rnd 7: Sc around. (10)
- Rnd 8: (4 sc, inc) ×2. (12)
- Rnds 9–10: Sc around. (12)
Finish: Stuff lightly, sew to the back of the body at R3-R6, tip curving to the side.
Spike (make 3)
Color: start with C (mustard).
- Rnd 1: 4 sc in MR. (4)
- Rnd 2: (sc, inc) ×2. (6)
Finish: Flatten, sew in a line down the back of the head, the smallest at the bottom.
Assembly
- Sew the snout to the lower half of the face, its top edge on round 9, stuffing it lightly as you go.
- Sew the open end of the body under the head.
- Sew the cream belly to the front of the body, its center on round 7.
- Sew the horns on top of the head, about 8 stitches apart, and the three spikes in a line down the back of the head with the smallest at the bottom.
- Sew the wings to the back just under the head, tips pointing up and out.
- Sew the arms at the sides under the head, the legs at the bottom front, and the tail to the back so it curls to one side.
Tips
- Other colors: a purple dragon with pink wings, or a blue one with white horns and belly.
- Rosy cheeks: a little pink blush or two short pink stitches next to the snout.
- Standing tail: stuff the tail more firmly at the base so it helps hold the dragon up.
FAQ
Can I make the wings bigger?
Add one more round of (2 sc, inc) x4 for 16 stitches before the picot round, then work the picot round as (2 sc, picot) x8. Bigger wings look better on a bigger dragon, so try worsted yarn and a 3.5 mm hook too.
My dragon falls over backward.
The legs carry the weight. Sew them a little further forward and stuff the bottom of the body firmly so it sits flat.
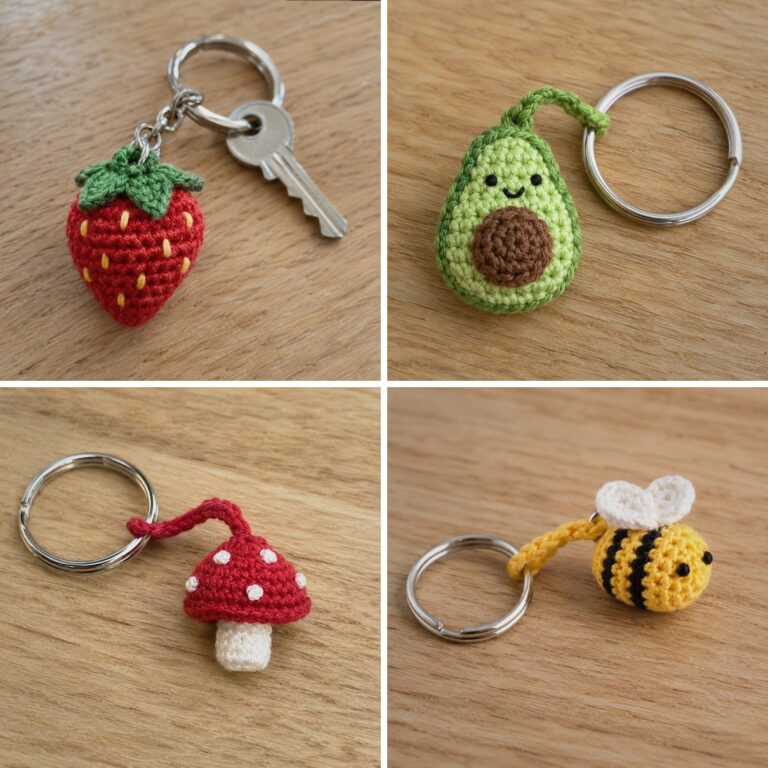
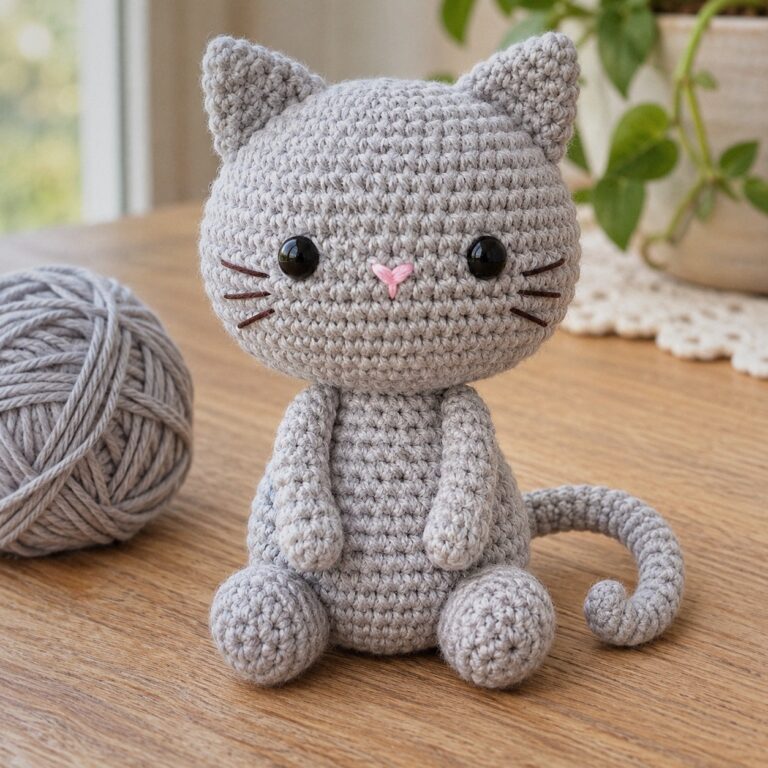
Made with the same round head and body: our amigurumi cat. For a smaller project, see the mini keychain patterns.