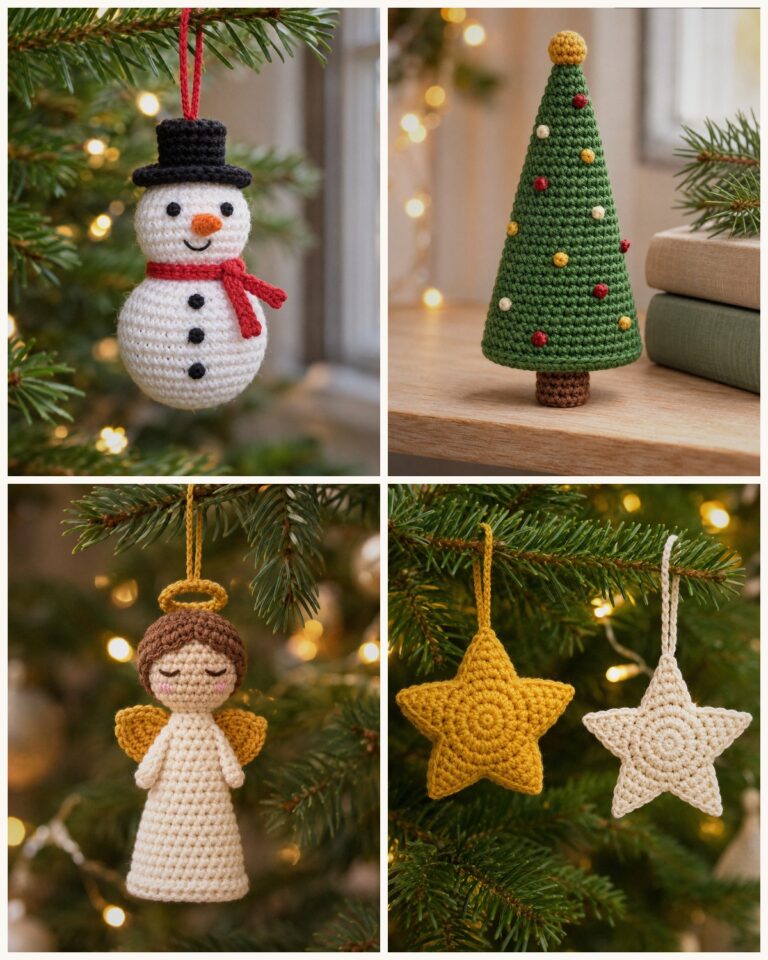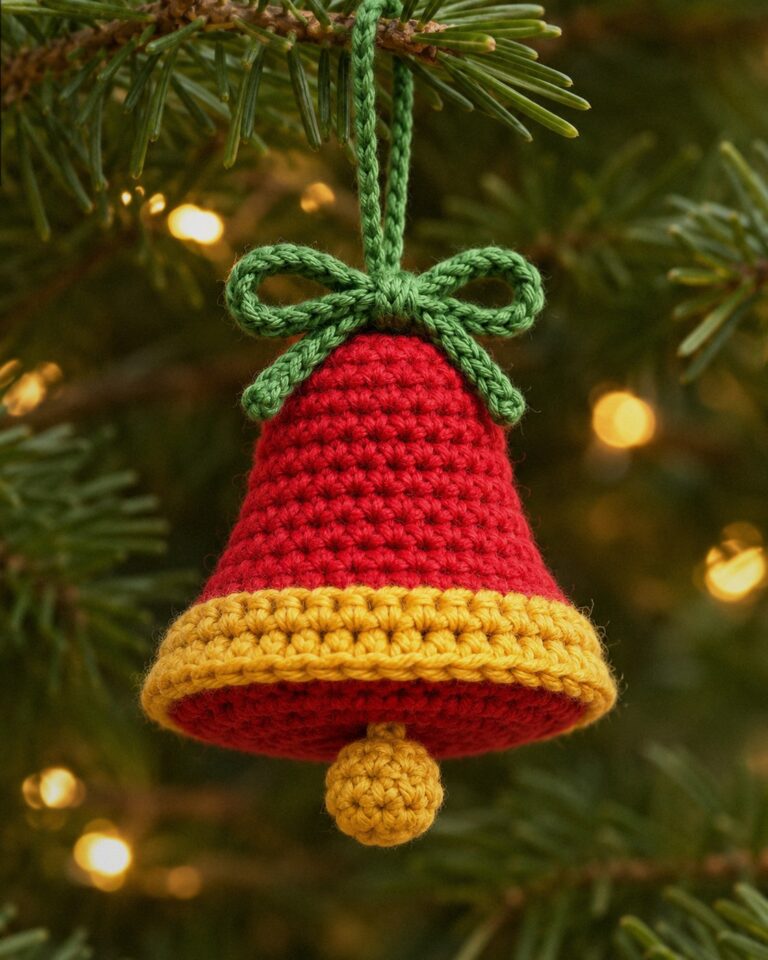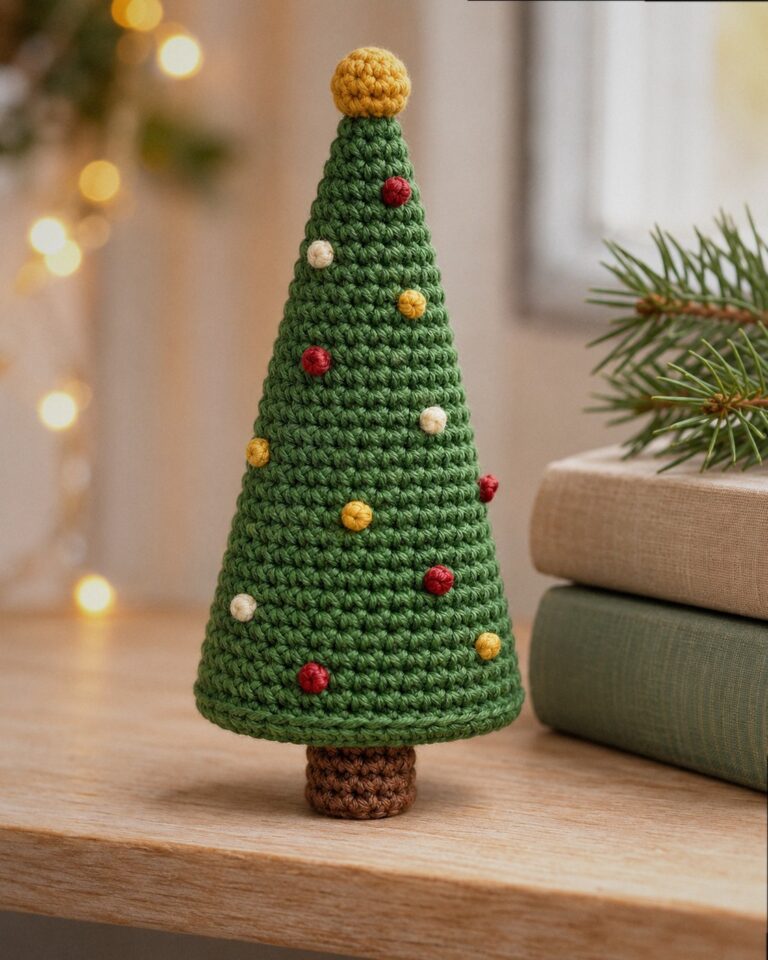
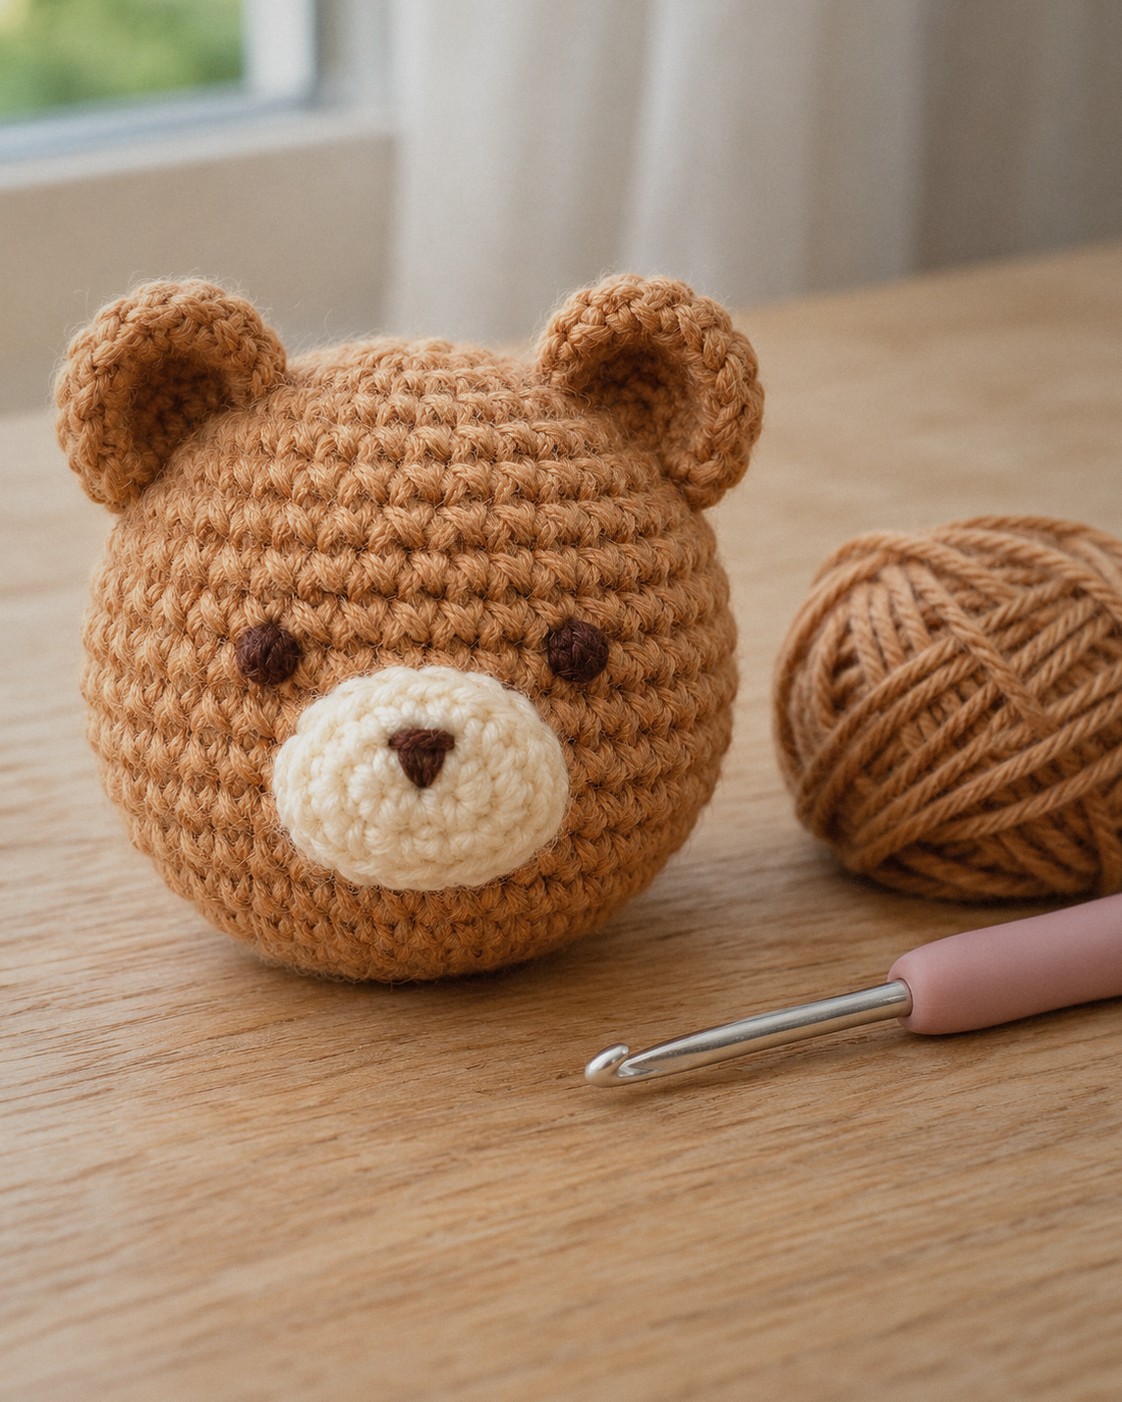
Almost every amigurumi toy is built from three shapes: a stuffed ball, a small cup and a flat circle. Once you can make those three, a bear, a cat or a Christmas ornament is mostly a question of size and placement. This guide walks through the skills in the order you need them, and ends with a small round bear that uses all three shapes.
In this post7 sections
What you need
- Yarn: smooth DK cotton in a light color. You can see every stitch, which makes counting much easier. Our yarn guide compares cotton, acrylic and chenille.
- Hook: 2.5 mm (US B/1–C/2). Amigurumi uses a smaller hook than the yarn label suggests so the stuffing doesn’t show.
- Stitch markers: at least two. You will move one up every round.
- Fiberfill, a tapestry needle and small scissors.
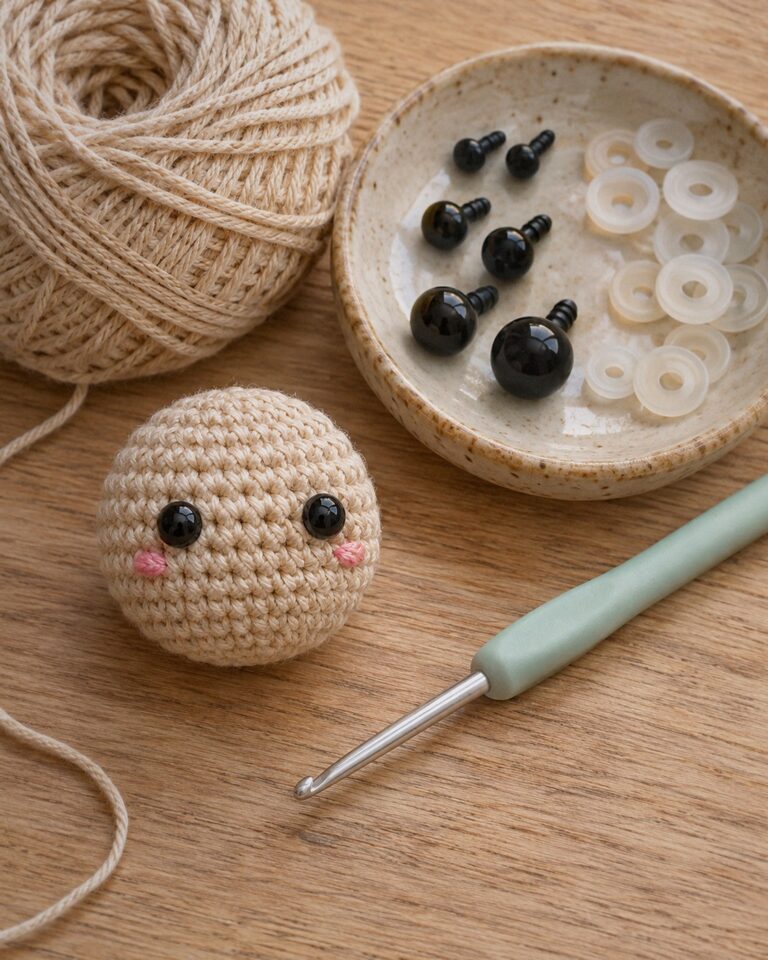
- Eyes: dark yarn for embroidered eyes, or safety eyes (see our safety eyes guide for sizes).
The five skills
1. The magic ring
Wrap the yarn around two fingers, pull up a loop through the ring and work the first round of single crochet into it. Pulling the tail closes the center completely, with no hole for stuffing to escape. If the magic ring keeps slipping, chain 2 and work the first round into the second chain from the hook instead.
2. Working in a spiral
Amigurumi rounds are usually not joined. You finish round 1 and go straight on to round 2. Put a stitch marker in the first stitch of each round so you know where the round starts, and move it up as you go.
3. Increasing and decreasing
An increase (inc) is 2 single crochet in one stitch; it makes the piece wider. A decrease (dec) joins two stitches into one; it makes the piece narrower. Use the invisible decrease: insert the hook through the front loops of the next two stitches, yarn over, pull through both front loops, then finish the stitch as normal. It leaves no holes.
4. Counting every round
The number at the end of each round, like (18), is how many stitches you should have. Count before you start the next round. If the count is off, it is much quicker to fix now than three rounds later. Every pattern on this site is checked so these numbers always add up.
5. Stuffing and closing
Stuff when the opening is about the size of a coin: firm enough that the ball keeps its shape when you squeeze it, but not so firm that the stitches stretch. Finish the last round, cut the yarn, thread it through the front loops of the last stitches, pull tight and push the needle out through the toy to hide the end.
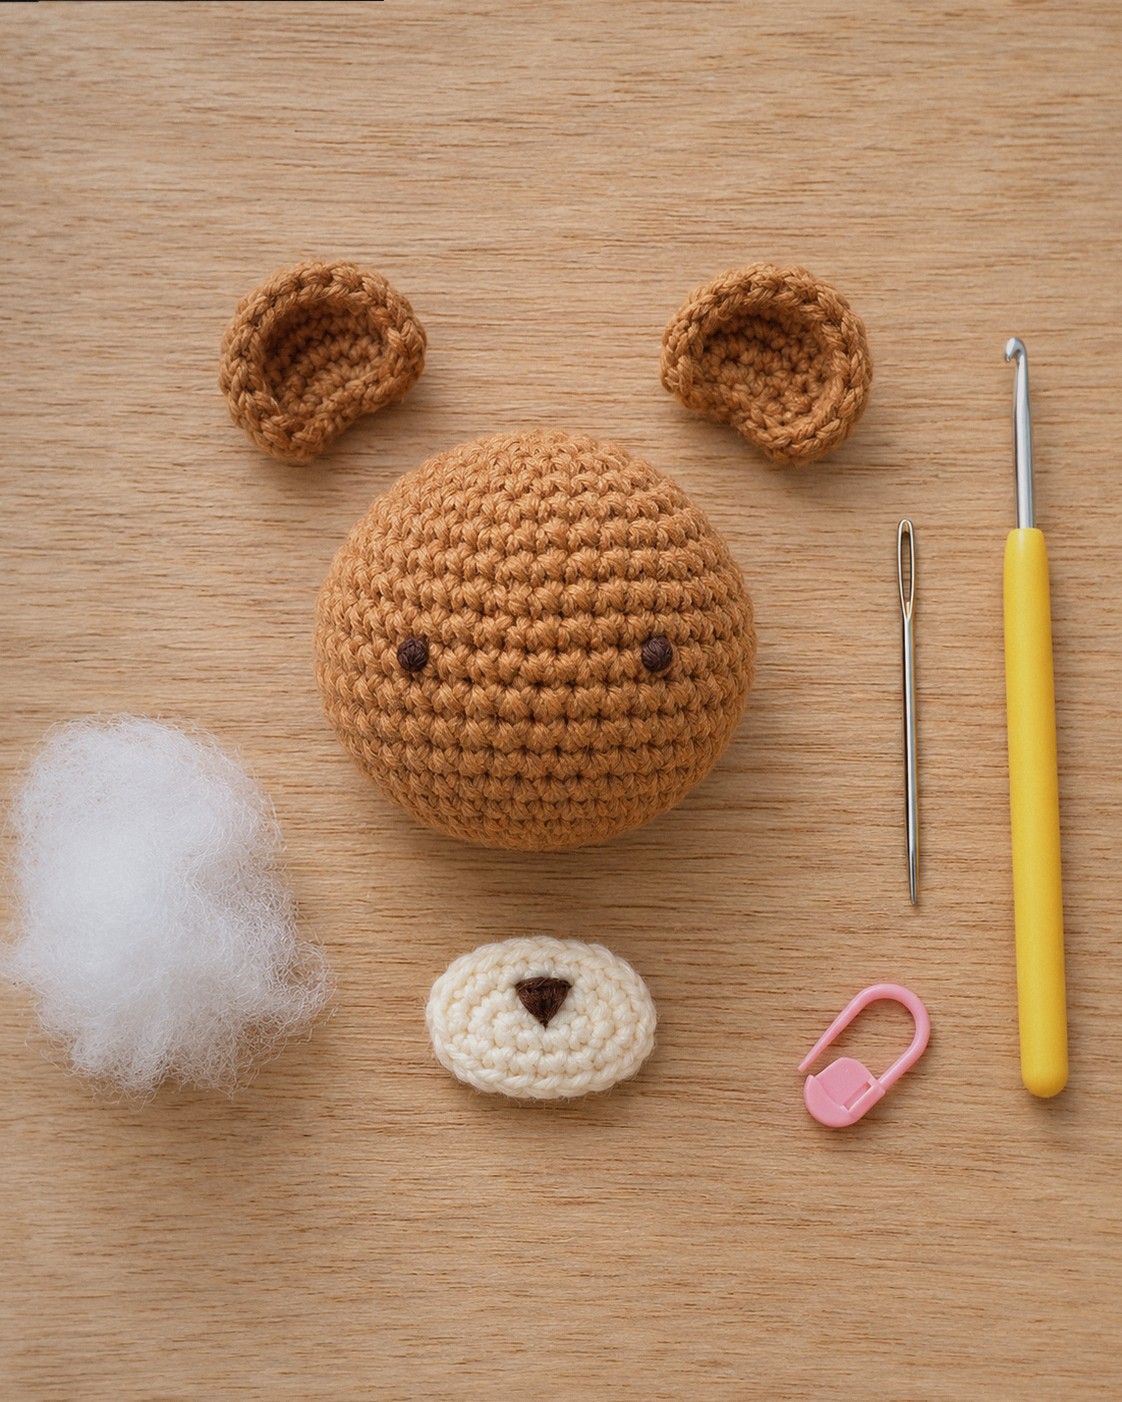
The three shapes
- Ball: increase for a few rounds, work some straight rounds, decrease again. Heads, bodies and ornaments.
- Cup: a few increases, then straight rounds and no decreases. Ears, hats, caps.
- Disc: only increases, worked flat. Muzzles, bases, cheeks.
Your first toy: a round bear
About 1.6 in / 4 cm across, made from one ball, two cups and one disc. It takes about an hour.
- Yarn: DK cotton, caramel (A) about 20 yd / 18 m, cream (B) about 1 yd / 1 m, a little dark brown (C)
- Hook: 2.5 mm (US B/1–C/2)
Body
Color: start with A (caramel).
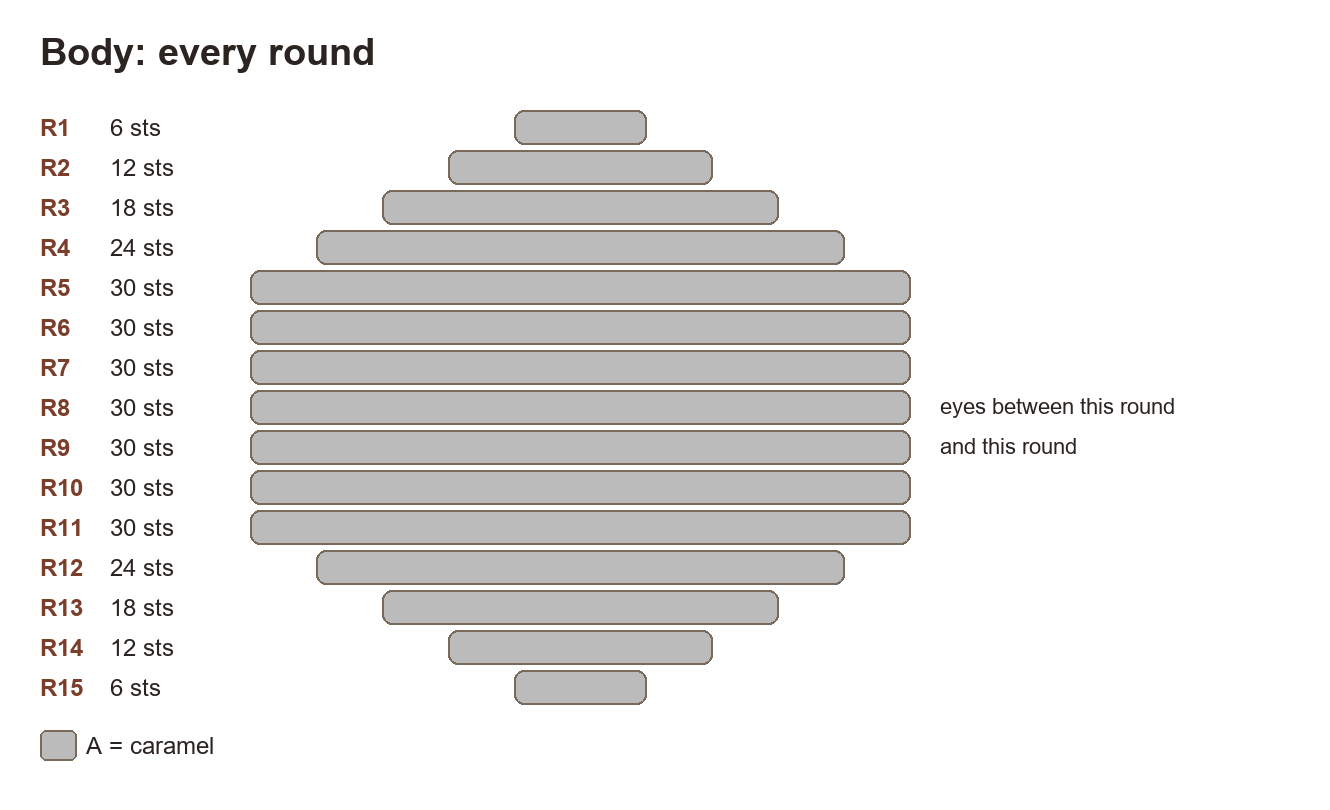
The ball. Add the eyes and muzzle before you close it if you want to hide the knots inside.
- Rnd 1: 6 sc in a magic ring. (6)
- Rnd 2: Inc ×6. (12)
- Rnd 3: (sc, inc) ×6. (18)
- Rnd 4: Sc, inc, (2 sc, inc) ×5, sc. (24)
- Rnd 5: (3 sc, inc) ×6. (30)
- Rnds 6–11: Sc around. (30)
- Rnd 12: (3 sc, dec) ×6. (24)
- Rnd 13: Sc, dec, (2 sc, dec) ×5, sc. (18)
- Rnd 14: (sc, dec) ×6. (12)
- Rnd 15: Dec ×6. (6)
Placement: Eyes in C: two French knots between R8 and R9, 6 sts apart (or 6 mm safety eyes).
Placement: Muzzle centered between the eyes, its top edge on R9.
Finish: Stuff firmly after R14, FO and close the hole.
Ear (make 2)
Color: start with A (caramel).
The cups. Three rounds, no decreases.
- Rnd 1: 6 sc in a magic ring. (6)
- Rnd 2: (sc, inc) ×3. (9)
- Rnd 3: Sc around. (9)
Finish: FO with a long tail, do not stuff, sew on at R3-R5 of the body, about 9 sts apart.
Muzzle
Color: start with B (cream).
The disc. Two rounds, worked flat.
- Rnd 1: 6 sc in a magic ring. (6)
- Rnd 2: Inc ×6. (12)
Finish: Embroider a nose in C (3 straight stitches over 2 sts) in the middle, sew on with a little stuffing.
Assembly
- Pin the ears on top of the head, about 9 stitches apart, with the opening facing forward. Sew around each ear’s last round.
- Pin the muzzle so its top edge sits on round 9, between the eyes. Push in a pinch of stuffing and sew around the edge.
- Hide all the ends inside the body.
Common first-toy problems
- Hexagon-shaped ball: the increases are stacked. Patterns here move them around (a stitch or two before the first increase in some rounds); follow the round text exactly.
- Stuffing shows through: go down half a hook size or crochet a little tighter.
- Wrong stitch count: recount the round before; most often one increase or decrease was skipped.
- Face looks off: pin the eyes and muzzle first, look from the front and the side, then sew.
What to make next
The mini bauble is the same ball with a cap. The snowman is two balls stacked. Our Christmas amigurumi collection has the rest.