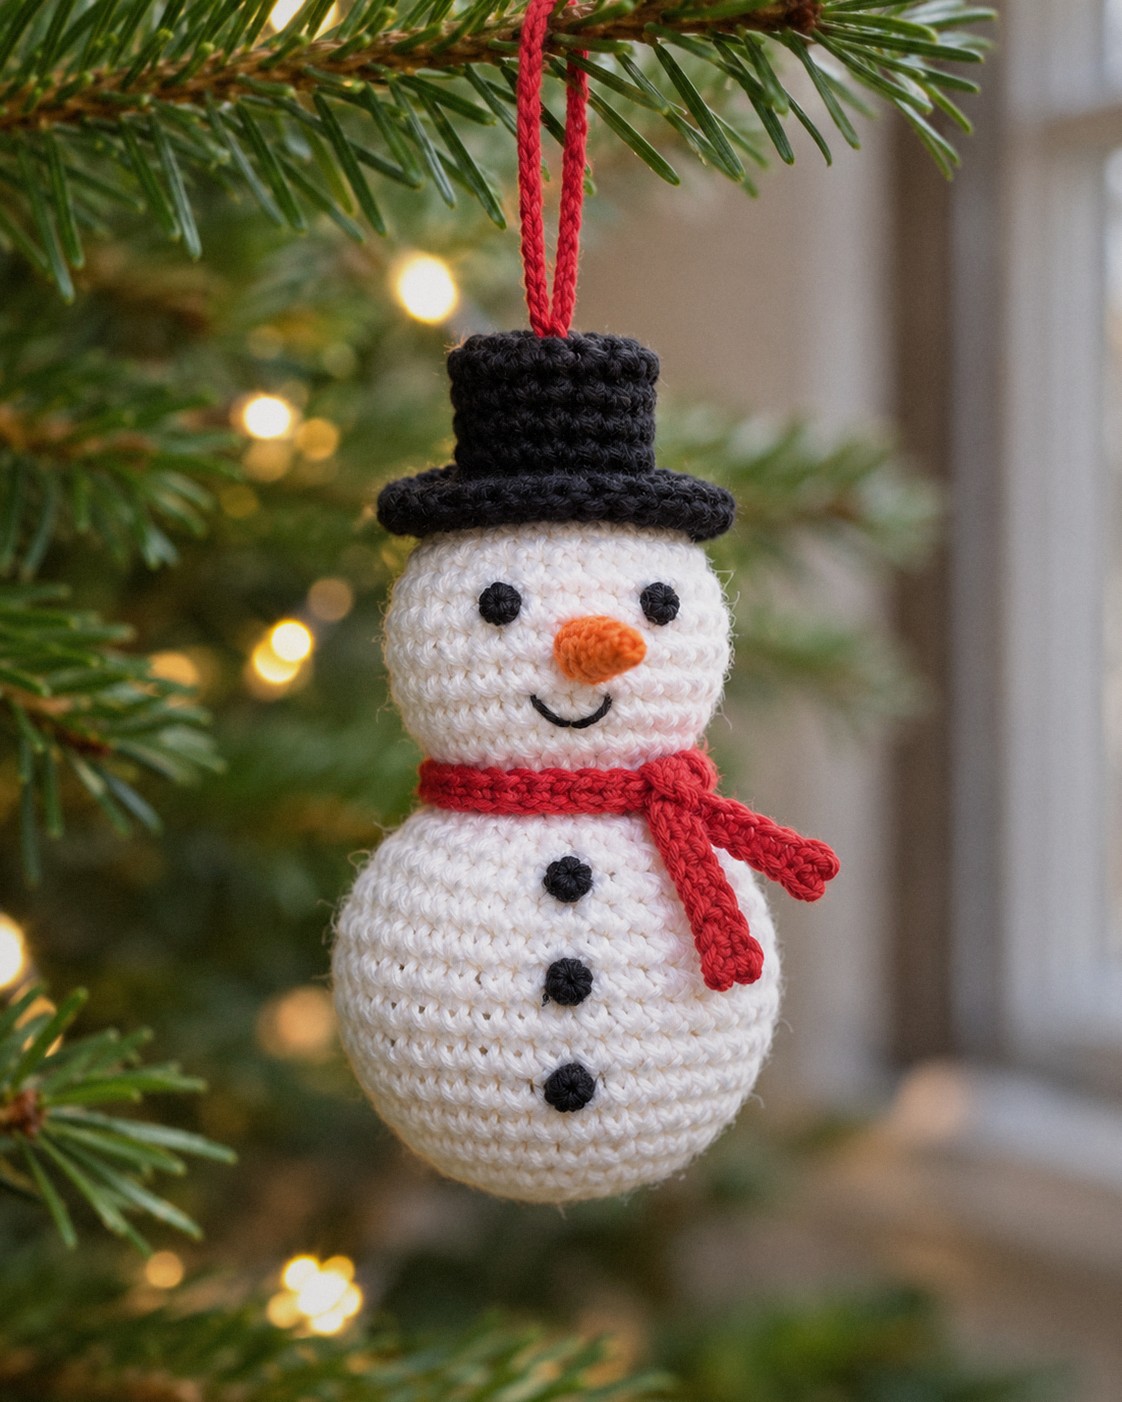
A snowman is two balls and a hat, which is why it makes such a good first Christmas amigurumi. This one is small enough to hang on the tree: a 4.0 cm body, a 3.2 cm head, a little top hat with the hanging loop coming out of the crown, a carrot nose and a red scarf you tie on at the end.
Everything is single crochet in the round. The rounds below all have their stitch counts, and the free printable PDF has the same pattern with tick boxes.
In this post8 sections
Pattern at a glance
- Skill level: easy
- Finished size: about 3 in / 8 cm tall including the hat, body 1.6 in / 4.0 cm across
- Yarn: DK cotton, about 37 yd / 34 m in total
- Hook: 2.5 mm (US B/1–C/2)
- Time: about 1.5 hours
Materials
- DK cotton in white (A), about 26 yd / 24 m
- Black (B), about 6 yd / 6 m, for the hat, eyes, buttons and smile
- Red (C), about 4 yd / 4 m, for the scarf and hanging loop
- A small amount of orange (D) for the nose
- 2.5 mm hook, stitch marker, tapestry needle, fiberfill
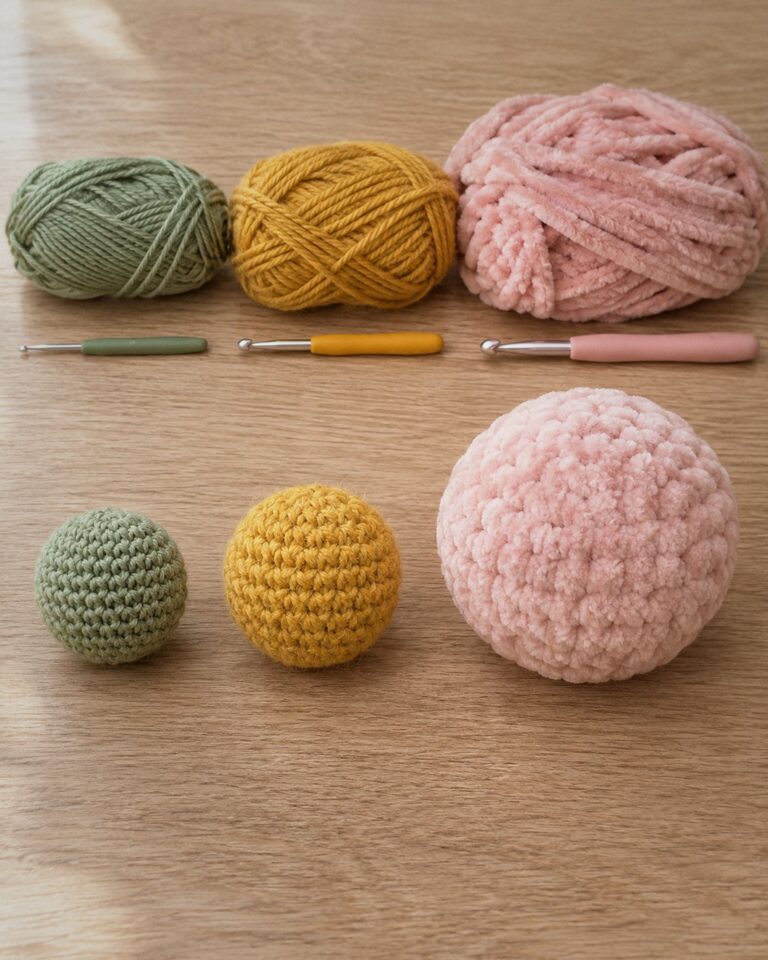
Yardage is calculated from the stitch counts with about 20% added for tails and sewing. Not sure which cotton to pick? Our guide to the best yarn for amigurumi compares cotton, acrylic and chenille with the same test ball.
Abbreviations (US terms)
- MR magic ring · sc single crochet · inc 2 sc in one stitch
- dec invisible decrease (through the front loops of 2 stitches)
- BLO / FLO back loop only / front loop only · FO fasten off
- French knot wrap the yarn twice around the needle and go back in right next to where you came out
Before you start
- Work in a spiral without joining and move the stitch marker up each round.
- The body and head use staggered increases (a stitch or two before the first increase in some rounds) so they stay round.
- Do the face and buttons before you close each ball; it is much easier to hide the knots inside.
- French knots and stitched details keep this safe to hang where small hands can reach, but the hanging loop and small parts still make it a decoration, not a toy for babies.
The pattern
Body
Color: start with A (white).
Work the buttons after round 11, while the opening is still wide.
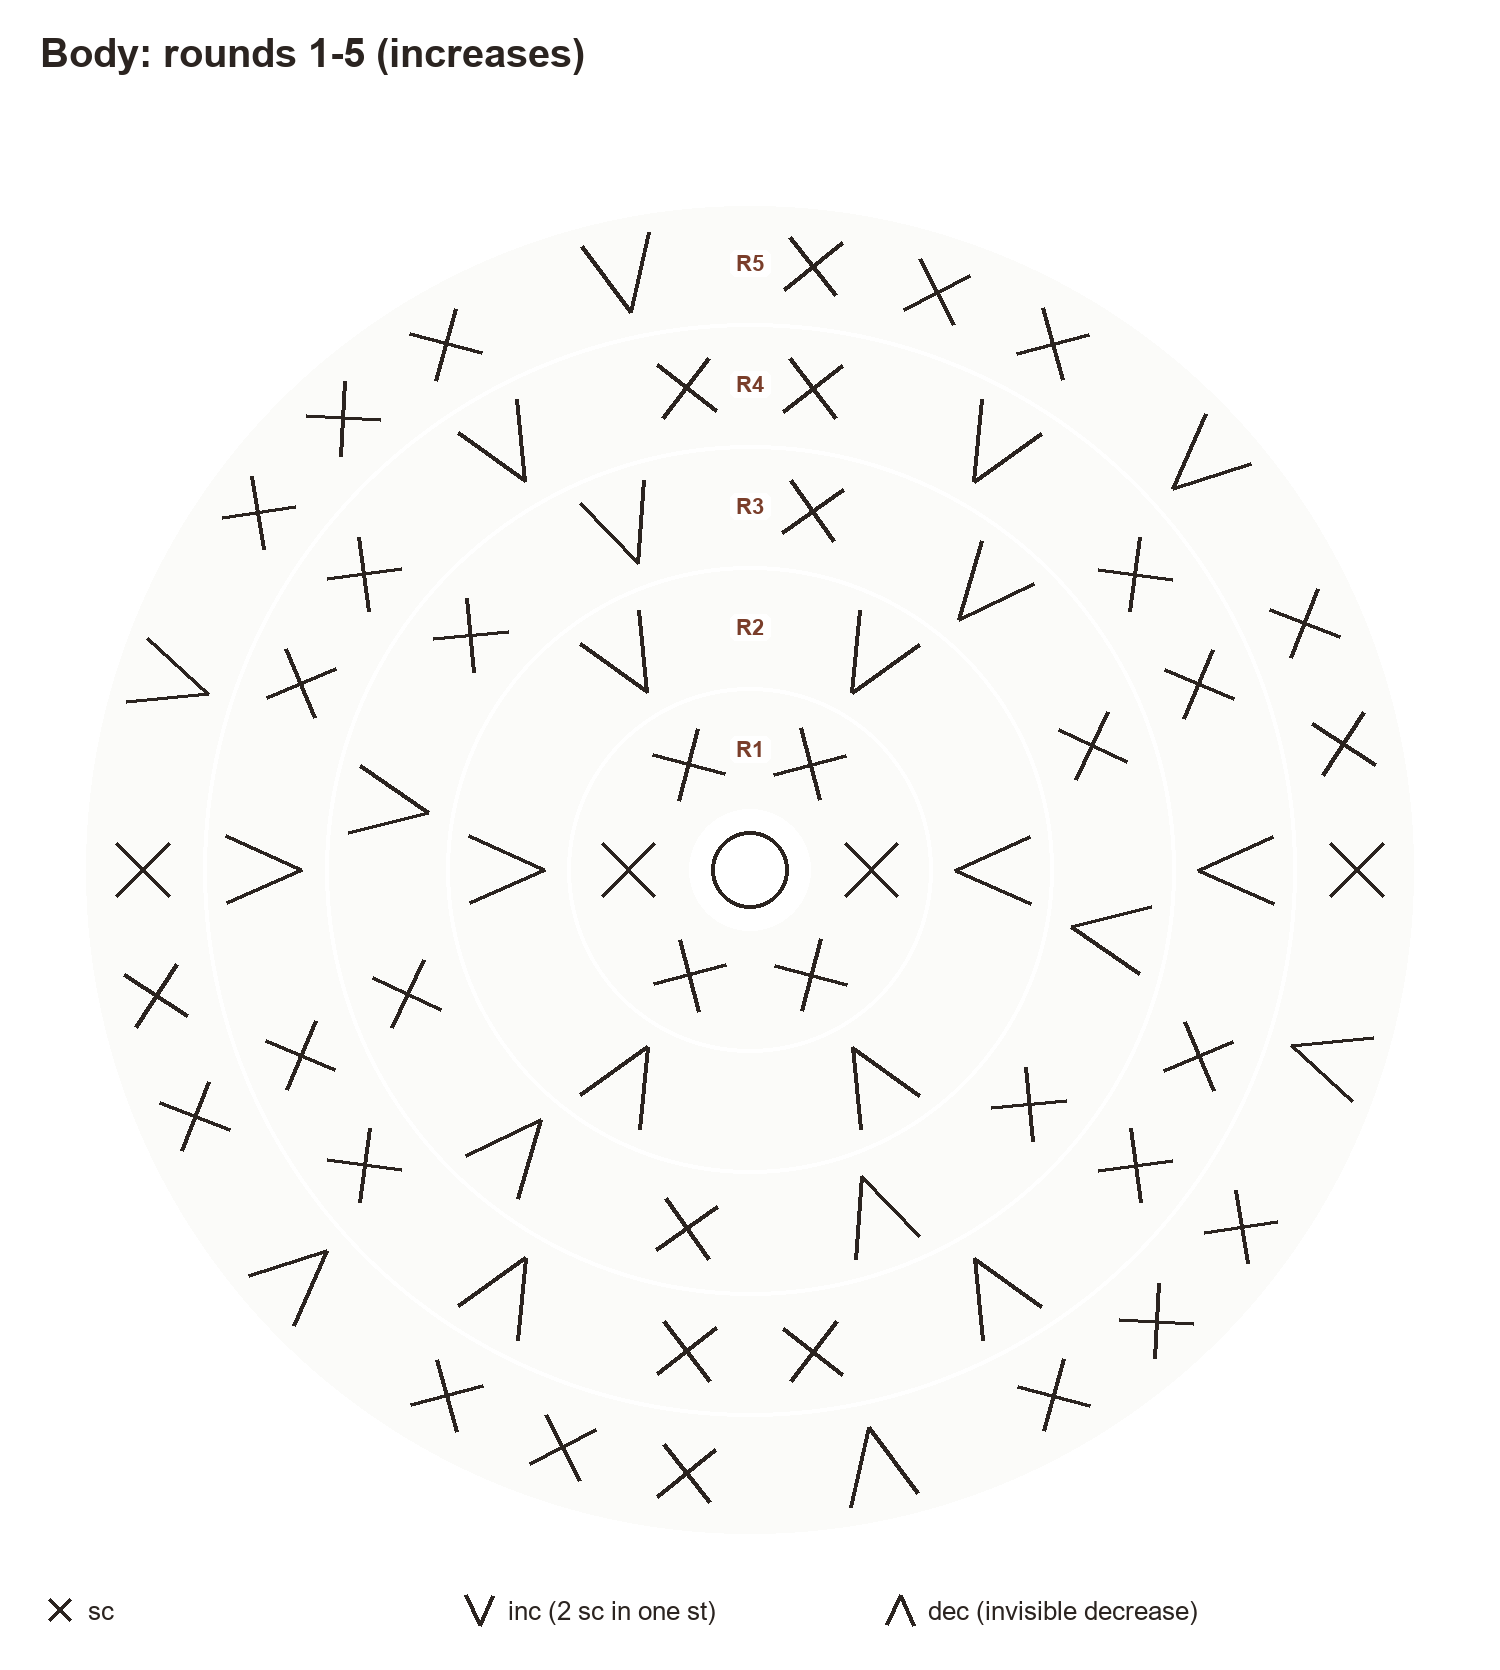
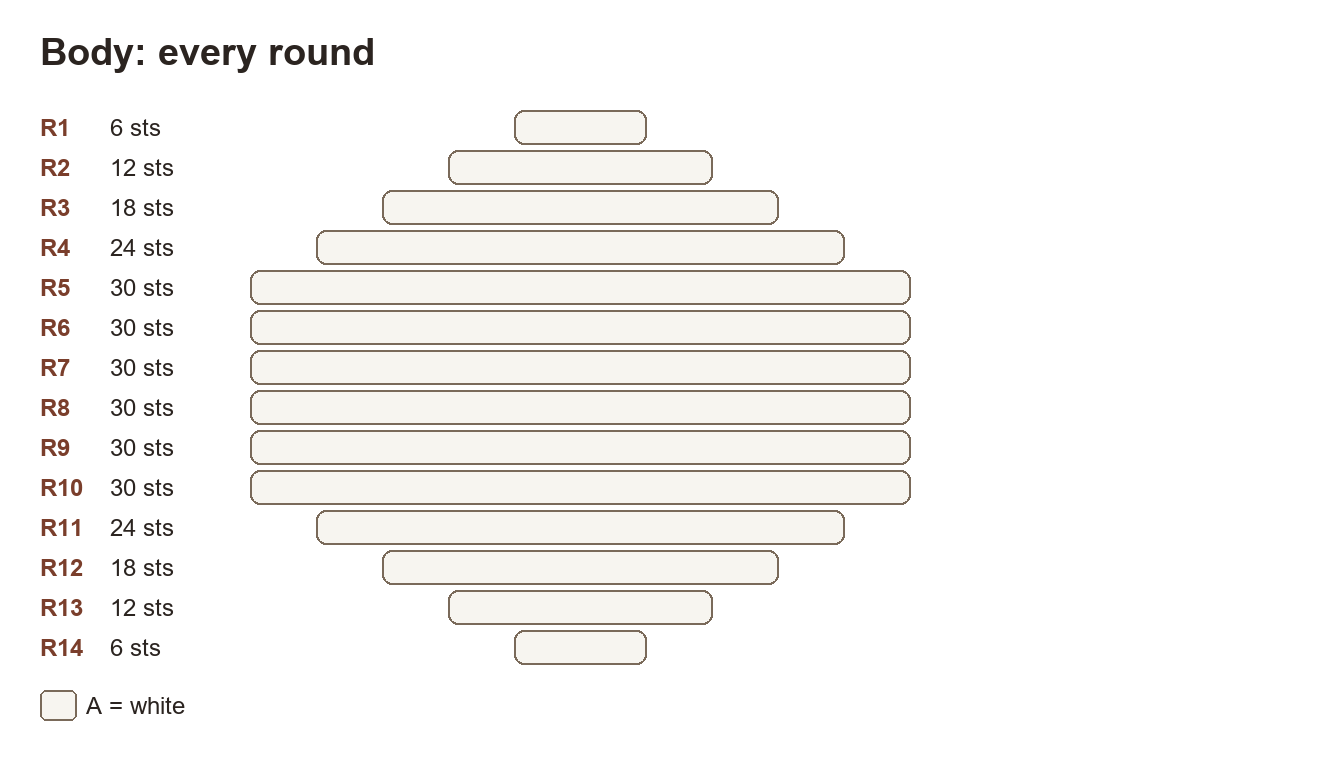
- Rnd 1: 6 sc in a magic ring. (6)
- Rnd 2: Inc ×6. (12)
- Rnd 3: (sc, inc) ×6. (18)
- Rnd 4: Sc, inc, (2 sc, inc) ×5, sc. (24)
- Rnd 5: (3 sc, inc) ×6. (30)
- Rnds 6–10: Sc around. (30)
- Rnd 11: (3 sc, dec) ×6. (24)
- Rnd 12: Sc, dec, (2 sc, dec) ×5, sc. (18)
- Rnd 13: (sc, dec) ×6. (12)
- Rnd 14: Dec ×6. (6)
Placement: Buttons in B: three French knots at the front center, on R7, R9 and R11.
Finish: Stuff firmly after R13, FO and close the hole through the front loops.
Head
Color: start with A (white).
The head is the same shape on a smaller scale: it stops at 24 stitches.
- Rnd 1: 6 sc in a magic ring. (6)
- Rnd 2: Inc ×6. (12)
- Rnd 3: (sc, inc) ×6. (18)
- Rnd 4: Sc, inc, (2 sc, inc) ×5, sc. (24)
- Rnds 5–8: Sc around. (24)
- Rnd 9: Sc, dec, (2 sc, dec) ×5, sc. (18)
- Rnd 10: (sc, dec) ×6. (12)
- Rnd 11: Dec ×6. (6)
Placement: Eyes in B: two French knots between R6 and R7, 4 sts apart.
Placement: Nose: sew the carrot nose centered between the eyes, 1 round below them.
Placement: Smile in B: 5 tiny straight stitches in a curve 2 rounds below the eyes.
Finish: Stuff firmly after R10, FO and close the hole; sew the head onto the closed top of the body.
Hat
Color: start with B (black).
The back-loop round turns the flat top into the crown, and the front-loop round in R7 makes the brim stick out.
- Rnd 1: 6 sc in a magic ring. (6)
- Rnd 2: Inc ×6. (12)
- Rnd 3: (sc, inc) ×6. (18)
- Rnd 4: BLO sc around. (18)
- Rnds 5–6: Sc around. (18)
- Rnd 7: FLO (2 sc, inc) ×6. (24)
Finish: Sl st in next st, FO; hanging loop in C: ch 25, sl st in first ch, push both ends through the hat's magic ring and knot inside.
Finish: Stuff the hat lightly and sew it on the top of the head through R6.
Carrot Nose
Color: start with D (orange).
- Rnd 1: 4 sc in MR. (4)
- Rnd 2: (sc, inc) ×2. (6)
- Rnd 3: Sc around. (6)
Finish: FO, leave a tail for sewing, do not stuff.
Scarf
Color: start with C (red).
Turned rows instead of rounds. Chain 41 to start.
- Rnd 1: Sc around. (40)
- Rnd 2: Ch 1 turn, sc around. (40)
Finish: Work R1 into a chain of 41 starting in the 2nd ch from the hook; FO and weave in ends; wrap around the neck and tie once.
Assembly
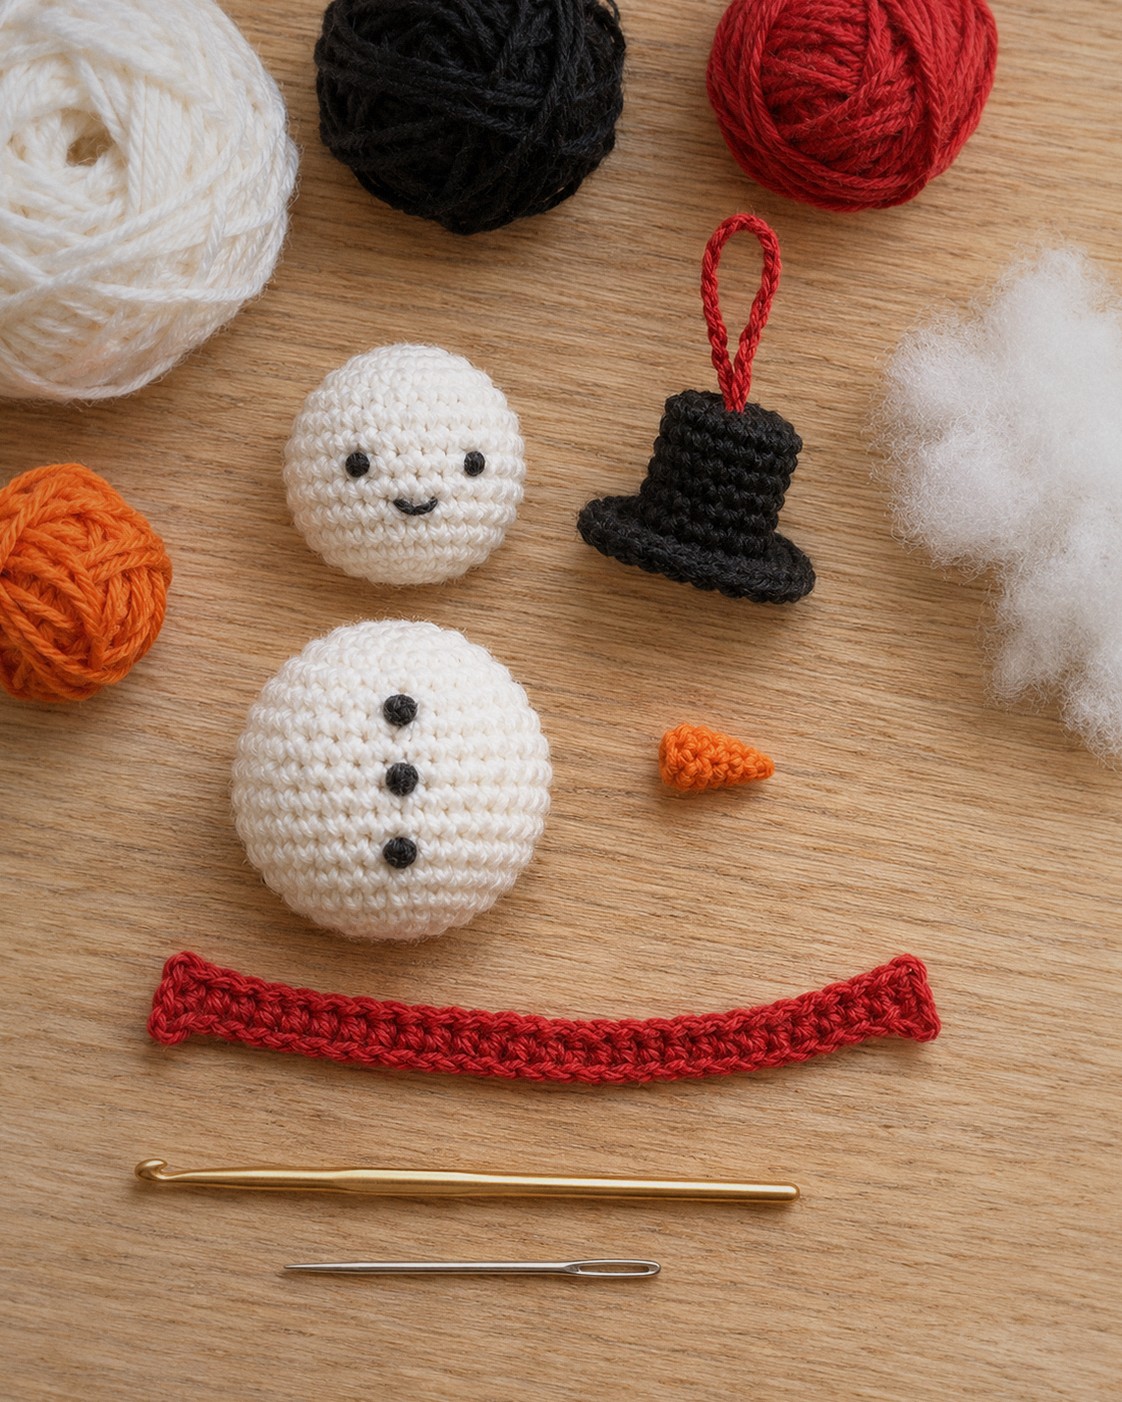
- Sew the nose on the head, centered between the eyes and one round below them. Push a tiny bit of the tail inside to keep it pointing forward.
- Stand the head on the closed top of the body and sew around where they touch, going through both pieces every stitch. A firm neck is what keeps the snowman from wobbling on the branch.
- Make the hanging loop (chain 25 in red, join), push both ends through the hat’s magic ring from the inside and knot them.
- Stuff the hat lightly and sew it on the top of the head through the last round of the crown.
- Tie the scarf once around the neck and trim the ends to about 1/2 in / 1.5 cm.
Tips
- Keep the white clean. Wash your hands before you start and keep the black yarn away until the end.
- Tight stitches matter here. White shows stuffing more than any other color; go down to a 2.25 mm hook if you see gaps.
- Face first, nose second. Place the eyes, then hold the nose under them before sewing; a nose that is too low makes the snowman look grumpy.
- Make a family. Leave the hat off one and give it a red earflap hat instead, or use a green scarf for the second one.
FAQ
Can I make it bigger?
Use worsted acrylic and a 3.5 mm hook with the same rounds. Calculated at a typical worsted gauge of 5 sc per inch, the body grows to about 2 in / 5 cm across.
Can I use safety eyes?
Yes, 5 mm safety eyes between rounds 6 and 7 of the head, 4 stitches apart. Put them in before stuffing.
How do I keep the hat straight?
Pin it before sewing and look at the snowman from the front and from the side. The loop should come out of the very center of the crown so the ornament hangs straight.
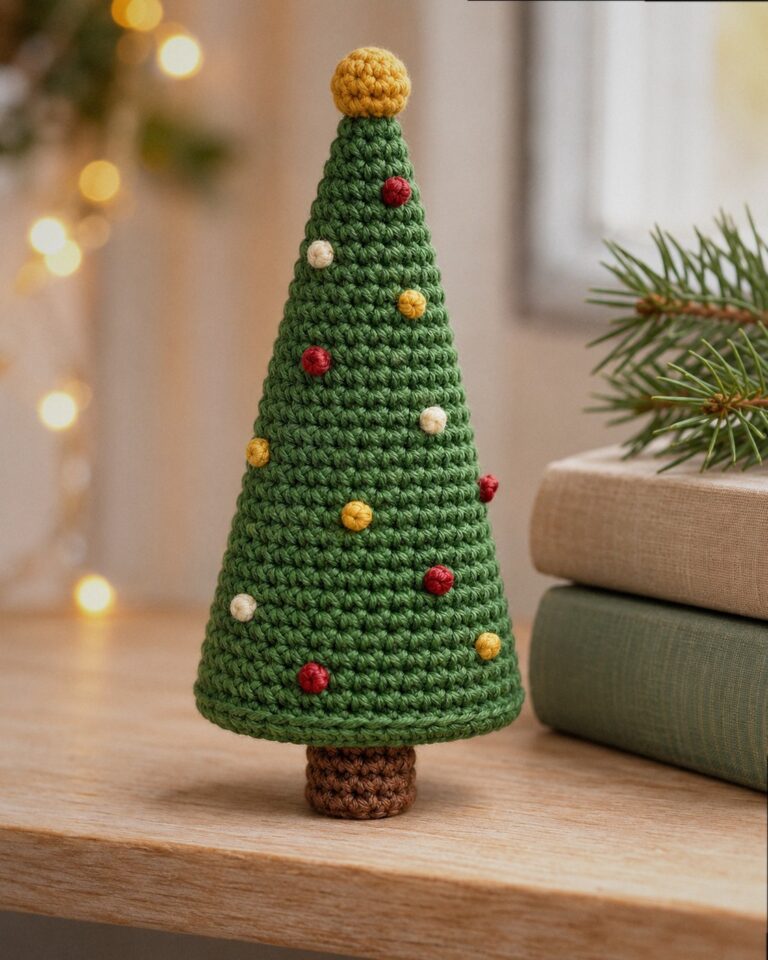
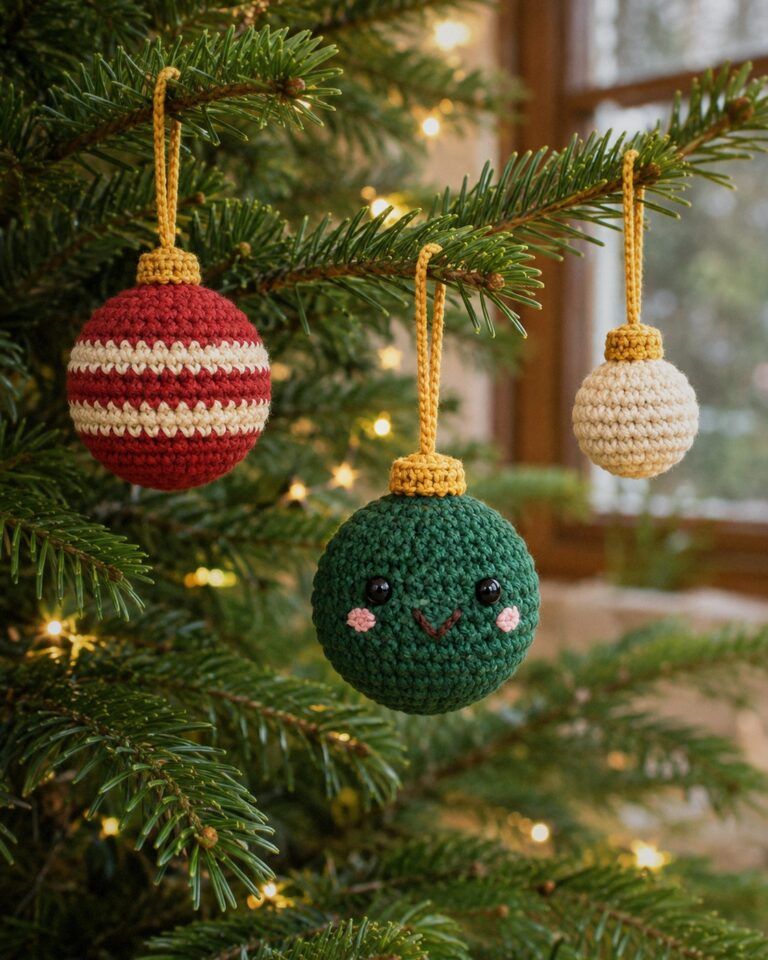
More quick ornaments: the striped, smiley and mini amigurumi baubles use the same yarn and hook, and the amigurumi Christmas tree stands next to them on a shelf.