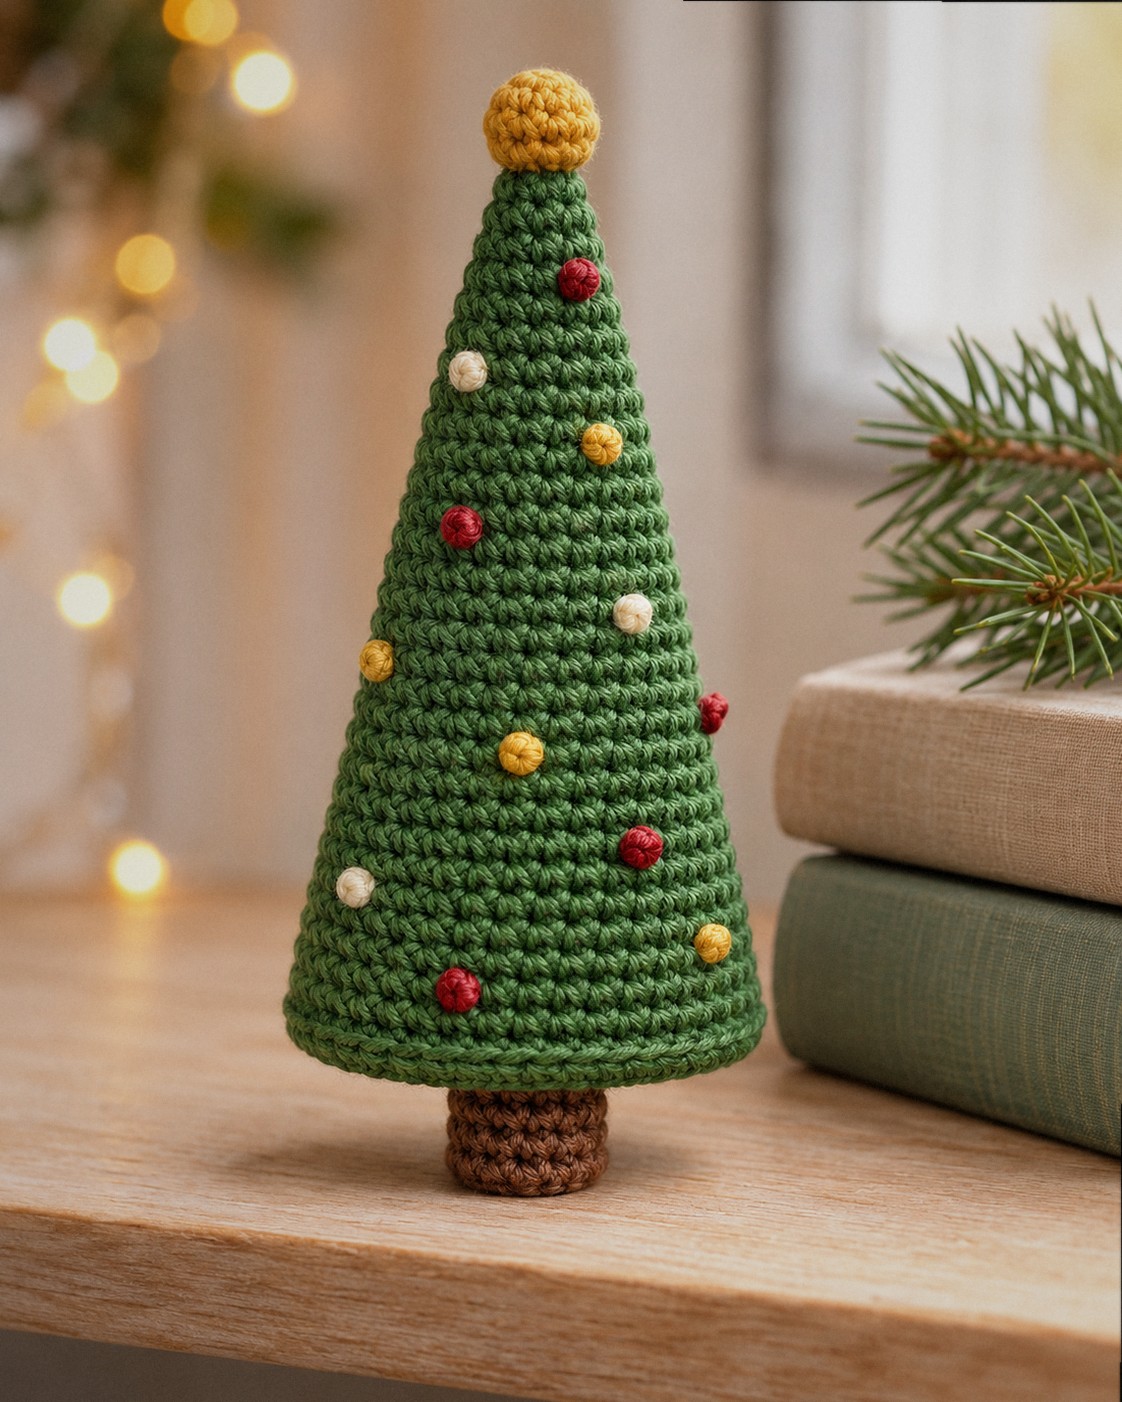
This little amigurumi Christmas tree is one piece from the tip to the flat bottom, so there is almost no sewing: you add a short trunk, a golden ball on top and a handful of French knots for ornaments. It stands about 2.9 in / 7.4 cm tall and 1.6 in / 4.0 cm wide, small enough for a shelf, a desk or the middle of a gift box.
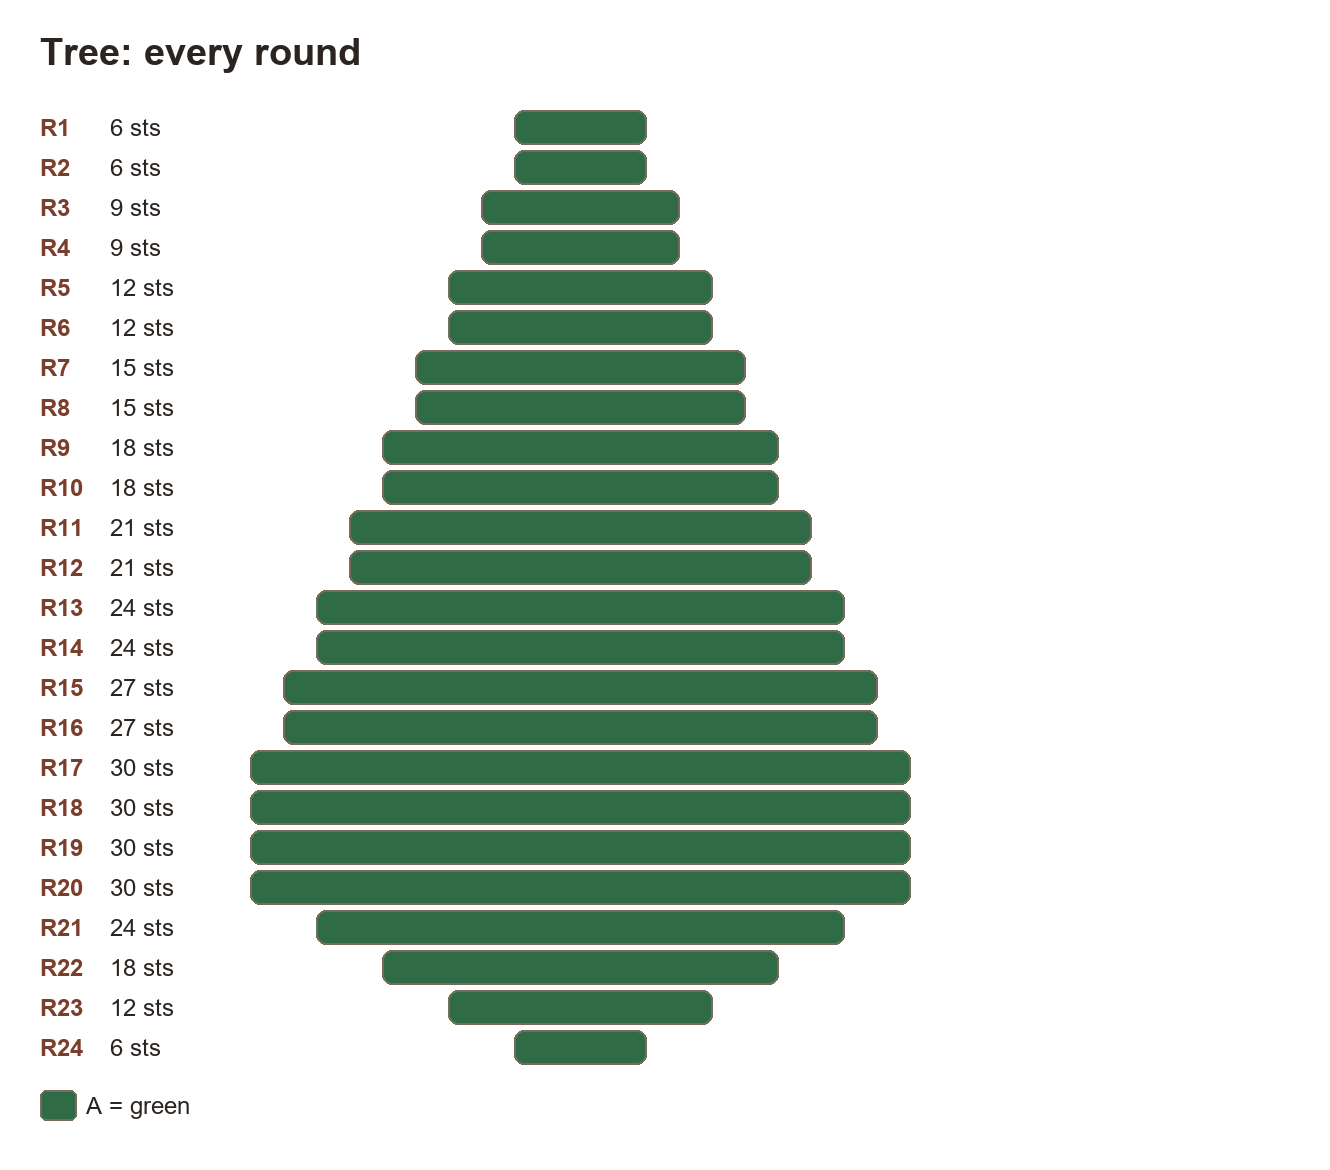
The cone grows by 3 stitches every other round, and every round is written out with its count below. The printable PDF at the end has the same rounds plus the charts.
In this post8 sections
Pattern at a glance
- Skill level: easy
- Finished size: about 2.9 in / 7.4 cm tall plus trunk and topper, 1.6 in / 4.0 cm wide at the base
- Yarn: DK cotton, about 29 yd / 26 m in total
- Hook: 2.5 mm (US B/1–C/2)
- Time: about 1.5 hours
Materials
- DK cotton in green (A), about 23 yd / 21 m
- Brown (B) for the trunk, about 3 yd / 3 m
- Mustard (C) for the topper, about 3 yd / 2 m
- Short lengths of red (D), mustard (C) and cream (E) for the French knots
- 2.5 mm hook, stitch marker, tapestry needle, fiberfill
Yardage is calculated from the stitch counts plus about 20% for tails. Cotton keeps the cone crisp; see our best yarn for amigurumi comparison if you want to use acrylic instead.
Abbreviations (US terms)
- MR magic ring · sc single crochet · inc 2 sc in one stitch
- dec invisible decrease · BLO back loop only · FO fasten off
- French knot wrap the yarn twice around the needle and go back in right next to where you came out
Before you start
- The tree is worked from the tip down in a spiral. Rounds 1 and 2 both have 6 stitches; that makes a soft rounded tip instead of a sharp point.
- The increases move a few stitches every time (look at the stitches before the first increase in each increase round). That keeps the cone smooth instead of six-sided.
- Round 20 is worked in back loops only. The unused front loops make a neat ridge that turns the cone into a flat-bottomed tree that stands on its own.
- Add the French knots after round 19, before you start the base, so you can reach inside to tie them off.
The pattern
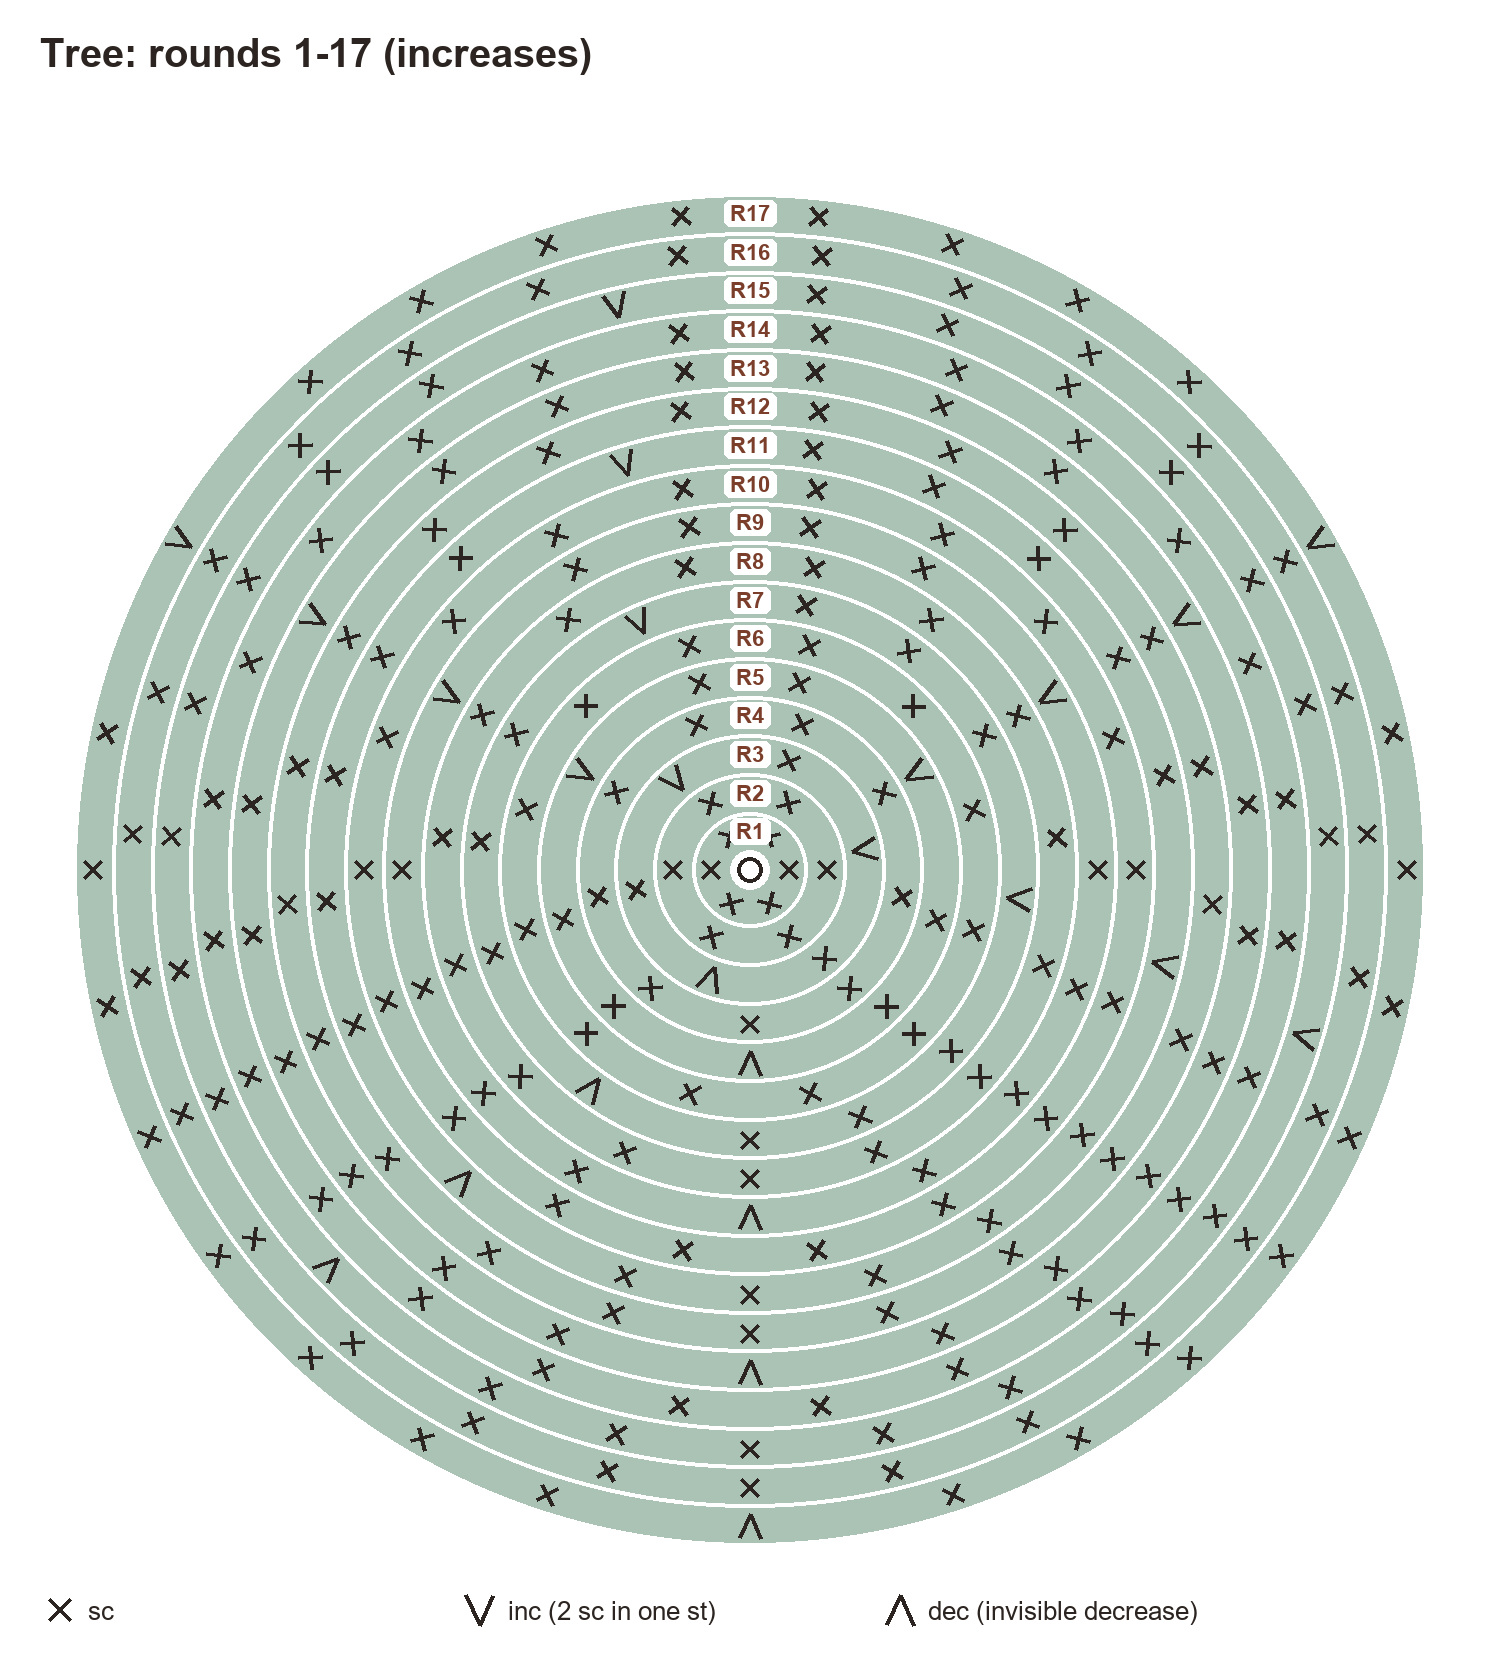
Tree
Color: start with A (green).
- Rnd 1: 6 sc in a magic ring. (6)
- Rnd 2: Sc around. (6)
- Rnd 3: (sc, inc) ×3. (9)
- Rnd 4: Sc around. (9)
- Rnd 5: Sc, inc, (2 sc, inc) ×2, sc. (12)
- Rnd 6: Sc around. (12)
- Rnd 7: (3 sc, inc) ×3. (15)
- Rnd 8: Sc around. (15)
- Rnd 9: 2 sc, inc, (4 sc, inc) ×2, 2 sc. (18)
- Rnd 10: Sc around. (18)
- Rnd 11: (5 sc, inc) ×3. (21)
- Rnd 12: Sc around. (21)
- Rnd 13: 3 sc, inc, (6 sc, inc) ×2, 3 sc. (24)
- Rnd 14: Sc around. (24)
- Rnd 15: (7 sc, inc) ×3. (27)
- Rnd 16: Sc around. (27)
- Rnd 17: 4 sc, inc, (8 sc, inc) ×2, 4 sc. (30)
- Rnds 18–19: Sc around. (30)
- Rnd 20: BLO sc around. (30)
- Rnd 21: (3 sc, dec) ×6. (24)
- Rnd 22: Sc, dec, (2 sc, dec) ×5, sc. (18)
- Rnd 23: (sc, dec) ×6. (12)
- Rnd 24: Dec ×6. (6)
Placement: Decorations: 12 French knots in D, C and E, spread in a loose spiral from R5 to R18, never two in the same color side by side.
Finish: Stuff firmly after R22 (push stuffing into the tip first), FO and close the hole.
Trunk
Color: start with B (brown).
- Rnd 1: 6 sc in a magic ring. (6)
- Rnd 2: Inc ×6. (12)
- Rnd 3: BLO sc around. (12)
- Rnds 4–5: Sc around. (12)
Finish: FO leaving a tail, stuff lightly, sew to the center of the tree's base through R5.
Topper Ball
Color: start with C (mustard).
- Rnd 1: 6 sc in a magic ring. (6)
- Rnd 2: Inc ×6. (12)
- Rnds 3–4: Sc around. (12)
- Rnd 5: Dec ×6. (6)
Finish: Stuff lightly, FO, close the hole and sew on the tip of the tree; optional hanging loop: ch 25, join, knot through the topper.
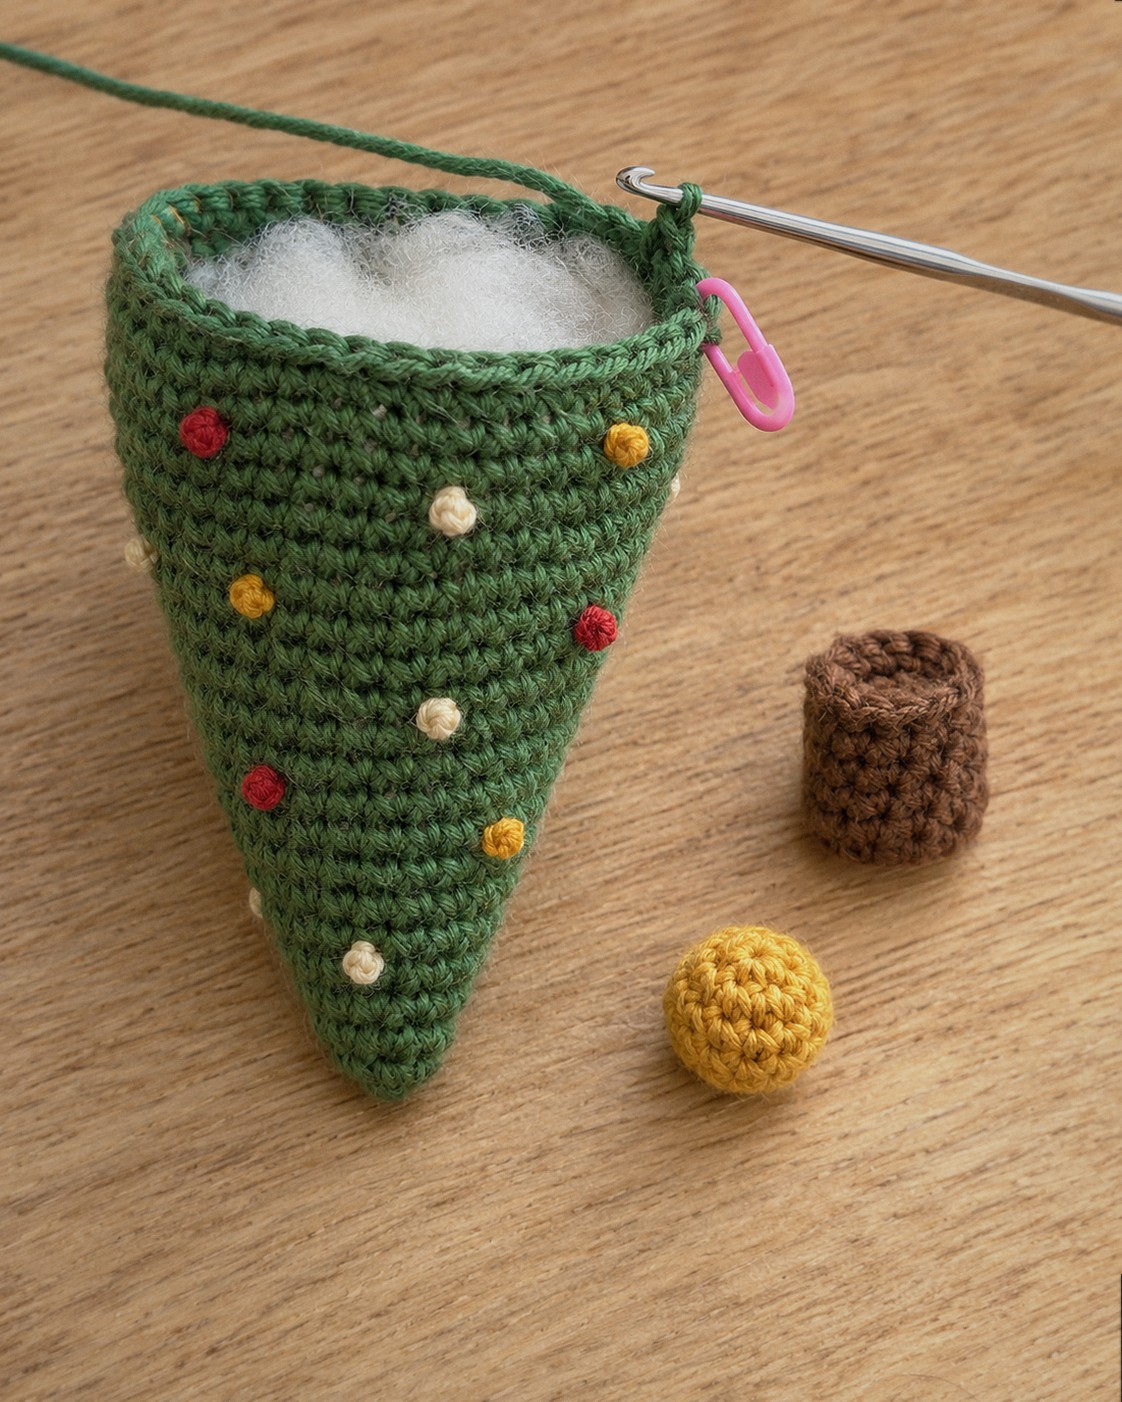
Assembly
- Stuff the trunk lightly and place it in the center of the base. Sew around through the trunk’s last round.
- Sew the topper ball on the tip; go through the tip twice so it doesn’t lean.
- For an ornament instead of a standing tree, chain 25 in mustard, join it into a loop and knot it through the topper before you sew it on.
Tips
- Stuff in small pieces. Push small tufts into the tip with the back of the hook first; big clumps leave the top floppy.
- Spread the knots unevenly. A loose spiral of 12 knots looks like a decorated tree; a neat grid looks like polka dots.
- Want a snowy tree? Work rounds 1 to 4 in cream and change to green at round 5.
- Make a forest. Stop the increases at 24 stitches (after round 13), work two straight rounds, one BLO round of 24, then finish with rounds 22 to 24 of the pattern. The smaller tree is about 2.3 in / 5.9 cm tall and 1.3 in / 3.2 cm wide.
FAQ
Why does my tree lean?
Usually the stuffing is uneven or the trunk is off-center. Roll the cone between your palms before closing the base, and pin the trunk in the middle before sewing.
Can I make it taller?
Add one more straight round after every increase round. The width stays the same and the tree grows to about 4.1 in / 10.5 cm, more like a slim fir.
Can I hang it on the tree?
Yes, with the loop through the topper. It weighs very little because it is mostly stuffing.
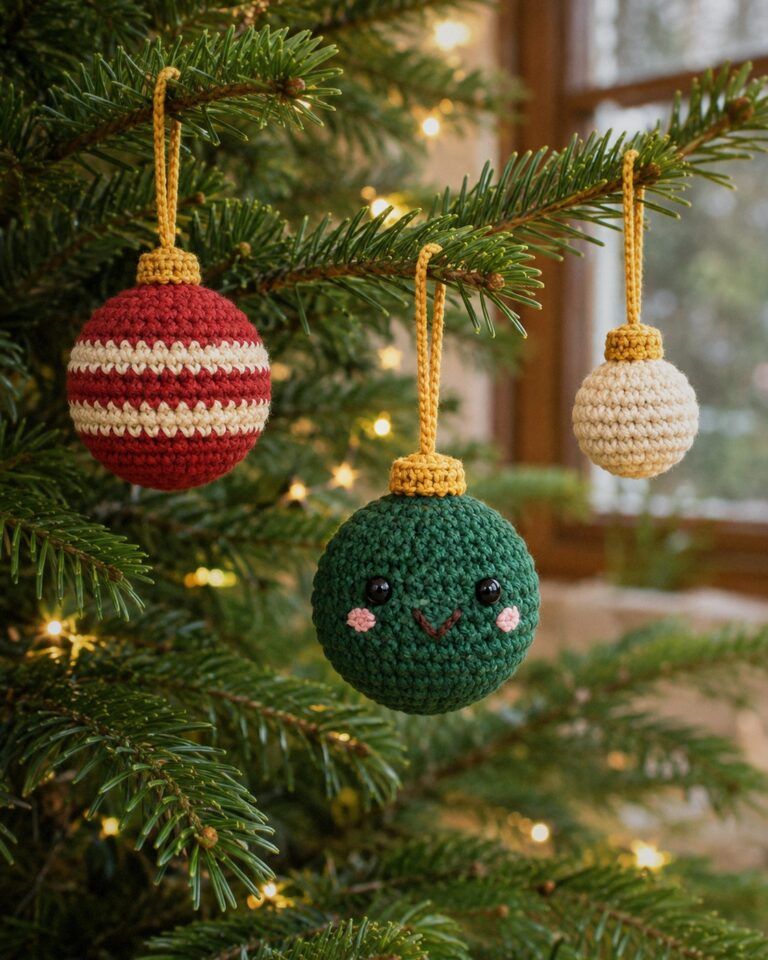
It looks great next to the crochet snowman ornament and the amigurumi bauble ornaments.