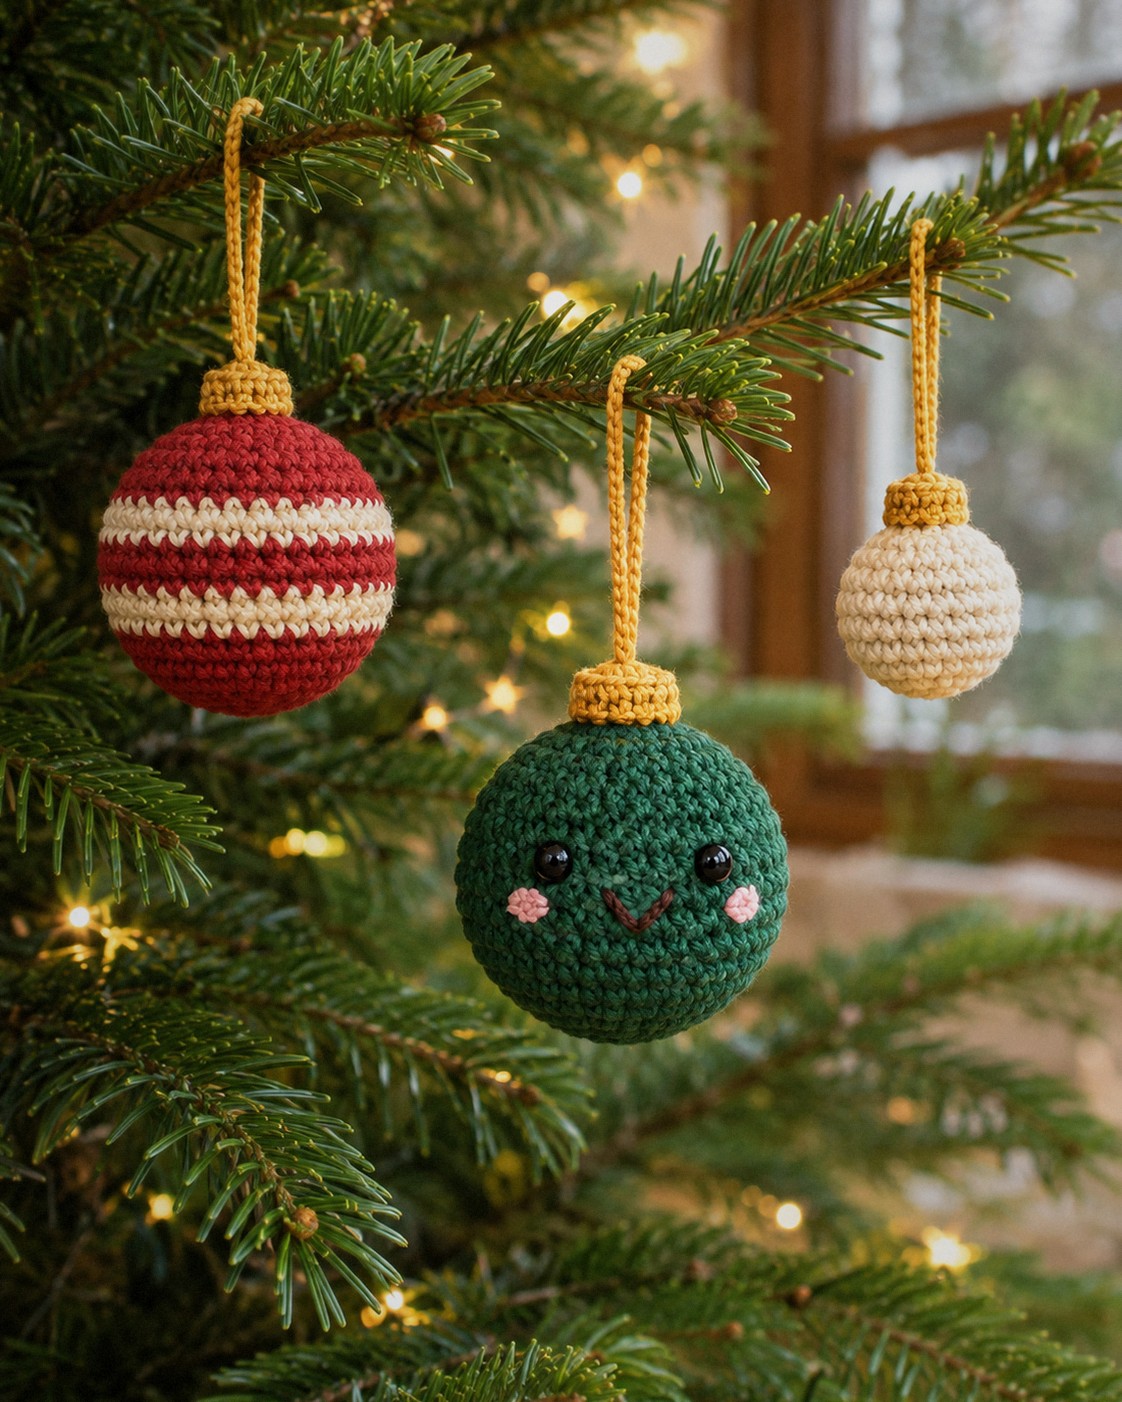
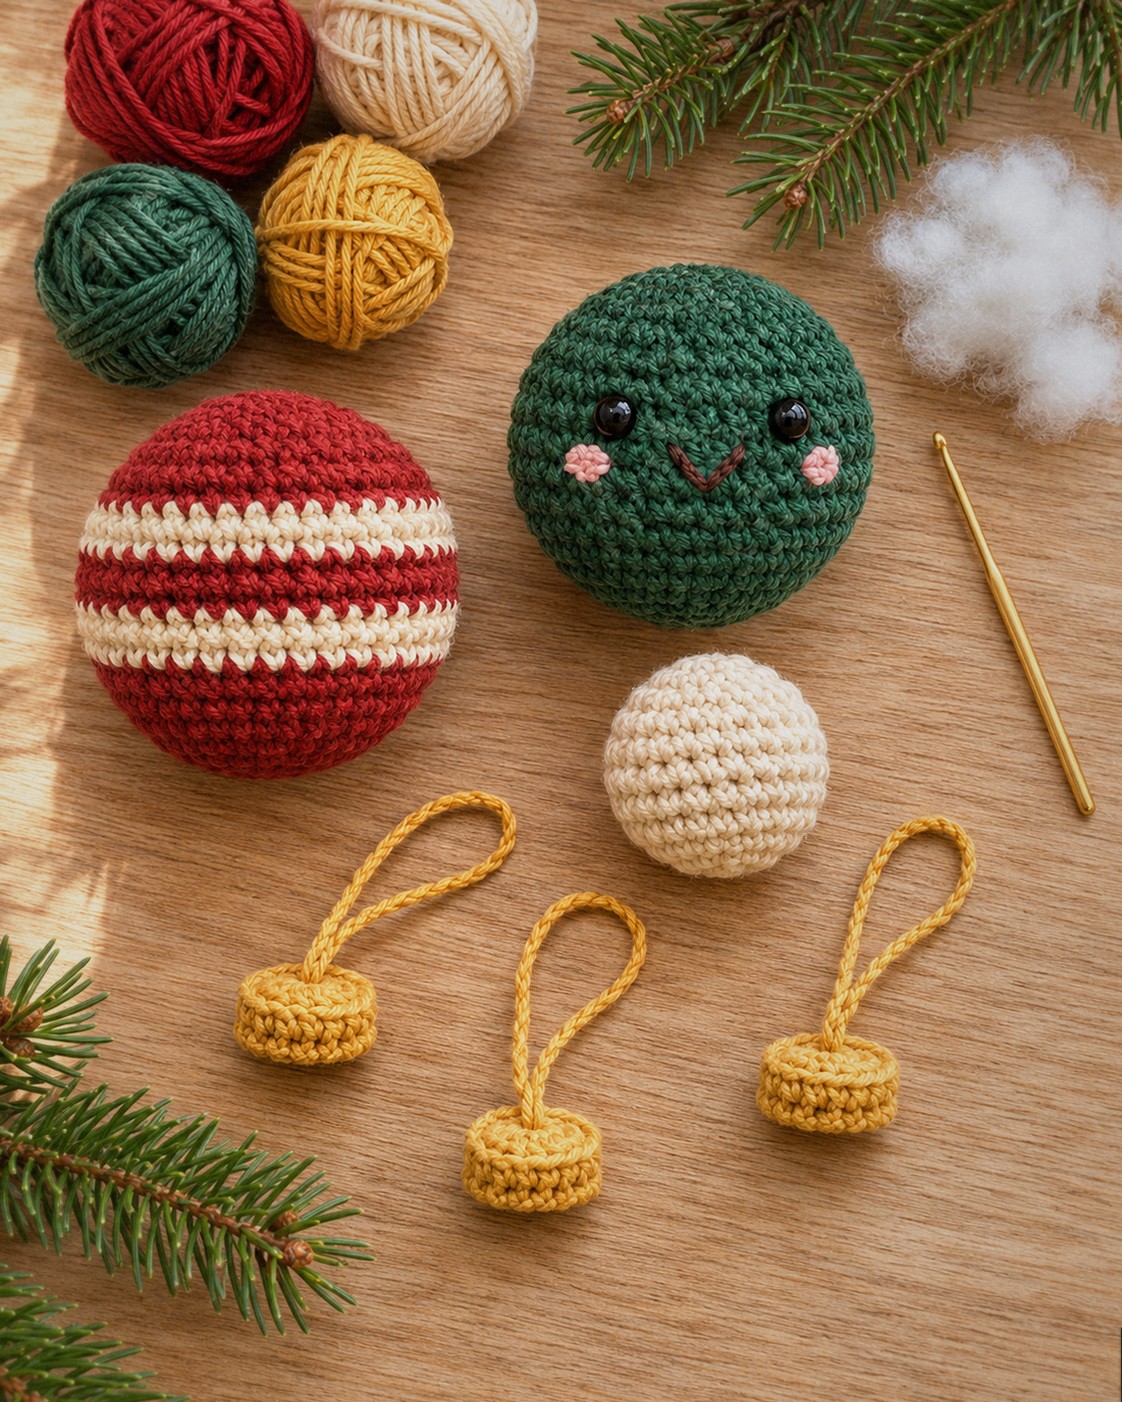
These little crochet baubles are the kind of ornament you can finish during one movie: a stuffed ball worked in the round, a tiny cap, and a chain loop to hang it. One base pattern gives you three looks: a red ball with two cream stripes, a green one with a sleepy smile, and a mini version for small trees and gift bows.
The large ones come out about 1.9 in (4.9 cm) across and the mini about 1.3 in (3.2 cm). Every round below has its stitch count, and the printable PDF at the end has the same rounds plus the charts.
In this post9 sections
Pattern at a glance
- Skill level: easy (you need sc, inc, invisible dec and a magic ring)
- Finished size: large bauble about 1.9 in / 4.9 cm across, mini about 1.3 in / 3.2 cm
- Yarn: DK (light worsted, #3) cotton, about 62 yd / 57 m for one of each bauble
- Hook: 2.5 mm (US B/1–C/2)
- Time: about 1 hour for a large bauble, 30–40 minutes for a mini
Materials
- DK cotton yarn in red (A), about 15 yd / 14 m
- Cream (B), about 18 yd / 16 m (stripes plus the mini bauble)
- Green (C), about 23 yd / 21 m
- Mustard (D) for the caps and loops, about 7 yd / 6 m
- Small bits of pink (E) and dark brown (F) for the smiley face
- 2.5 mm crochet hook, a stitch marker and a tapestry needle
- Polyester fiberfill
- Two 6 mm safety eyes for the smiley bauble (or embroider them, see the notes)
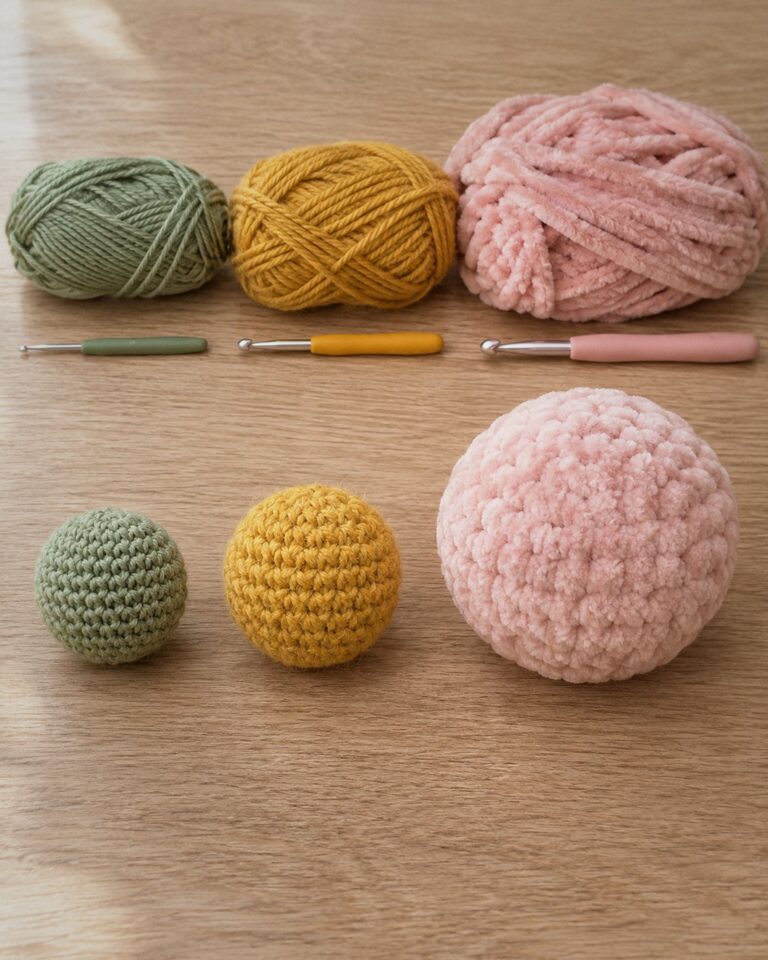
The yardage is worked out from the stitch counts and includes about 20% extra for tails and sewing. Any DK cotton works; cotton gives the crisp, round look in the photos better than fluffy acrylic. Our best yarn for amigurumi guide compares cotton, acrylic and chenille with the same test ball.
Abbreviations (US terms)
- MR magic ring
- sc single crochet
- inc 2 sc in the same stitch
- dec invisible decrease: insert the hook in the front loops of the next 2 stitches, yarn over, pull through both front loops, yarn over, pull through 2 loops
- BLO back loop only
- FO fasten off
- ( ) × 6 repeat the stitches inside the brackets 6 times; the number at the end of each round is the stitch total
Before you start
- Work in a spiral: do not join the rounds. Put the stitch marker in the first stitch of each round and move it up as you go.
- Gauge is 6 sc and 6.5 rounds to 1 inch. If your ball looks see-through when stuffed, go down half a hook size.
- Some rounds start with one or two sc before the first increase. That is on purpose: it moves the increases so the ball stays round instead of turning into a hexagon.
- For color changes, switch to the new color on the last yarn-over of the last stitch of the round before. Carry the unused color inside the ball.
- Safety eyes are not safe for children under 3. For a baby, embroider the eyes with dark brown yarn instead.
The pattern
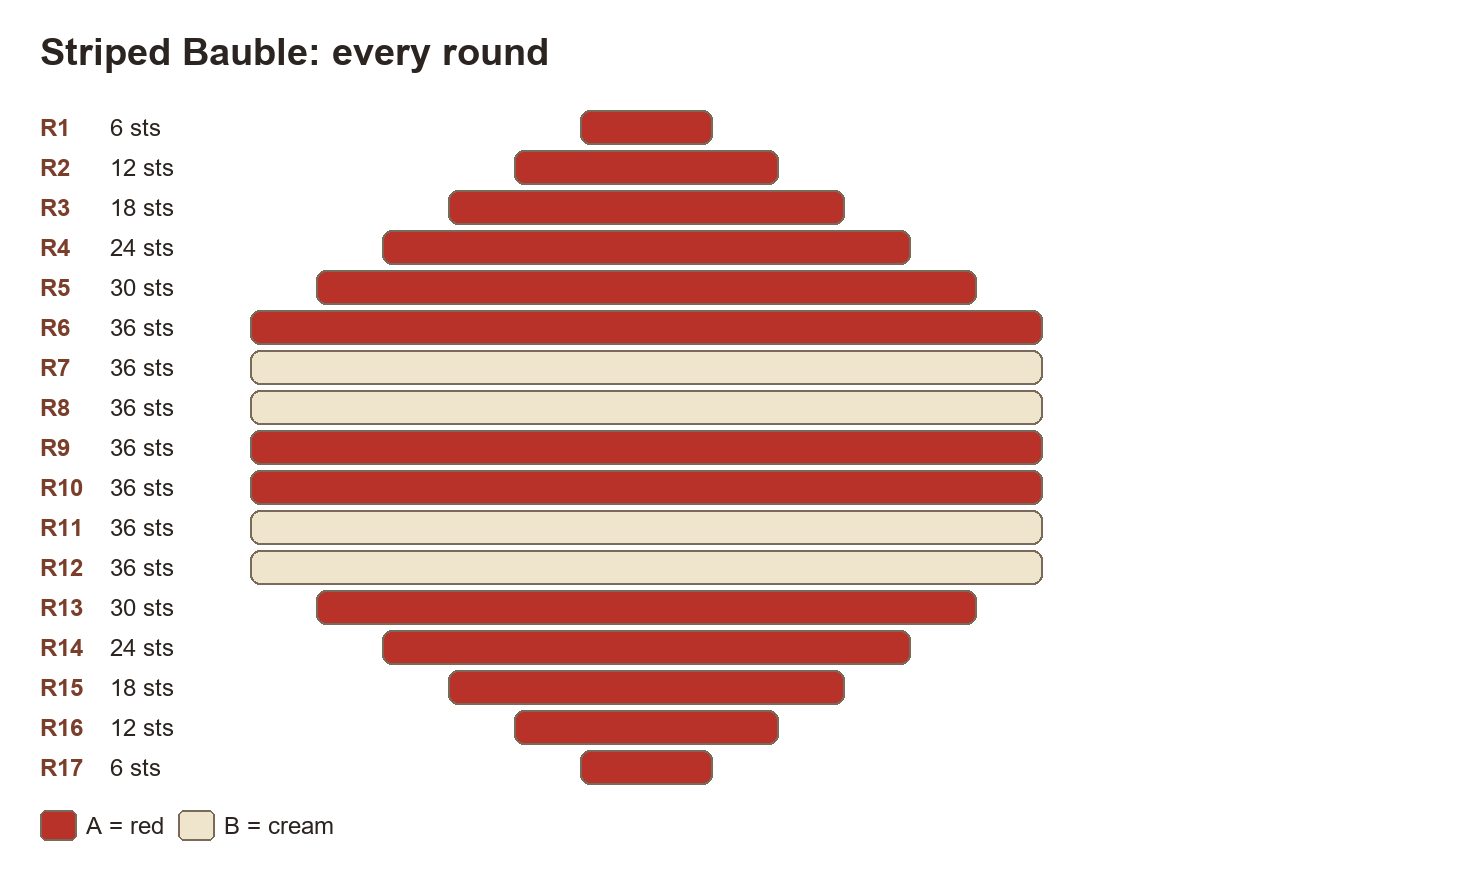
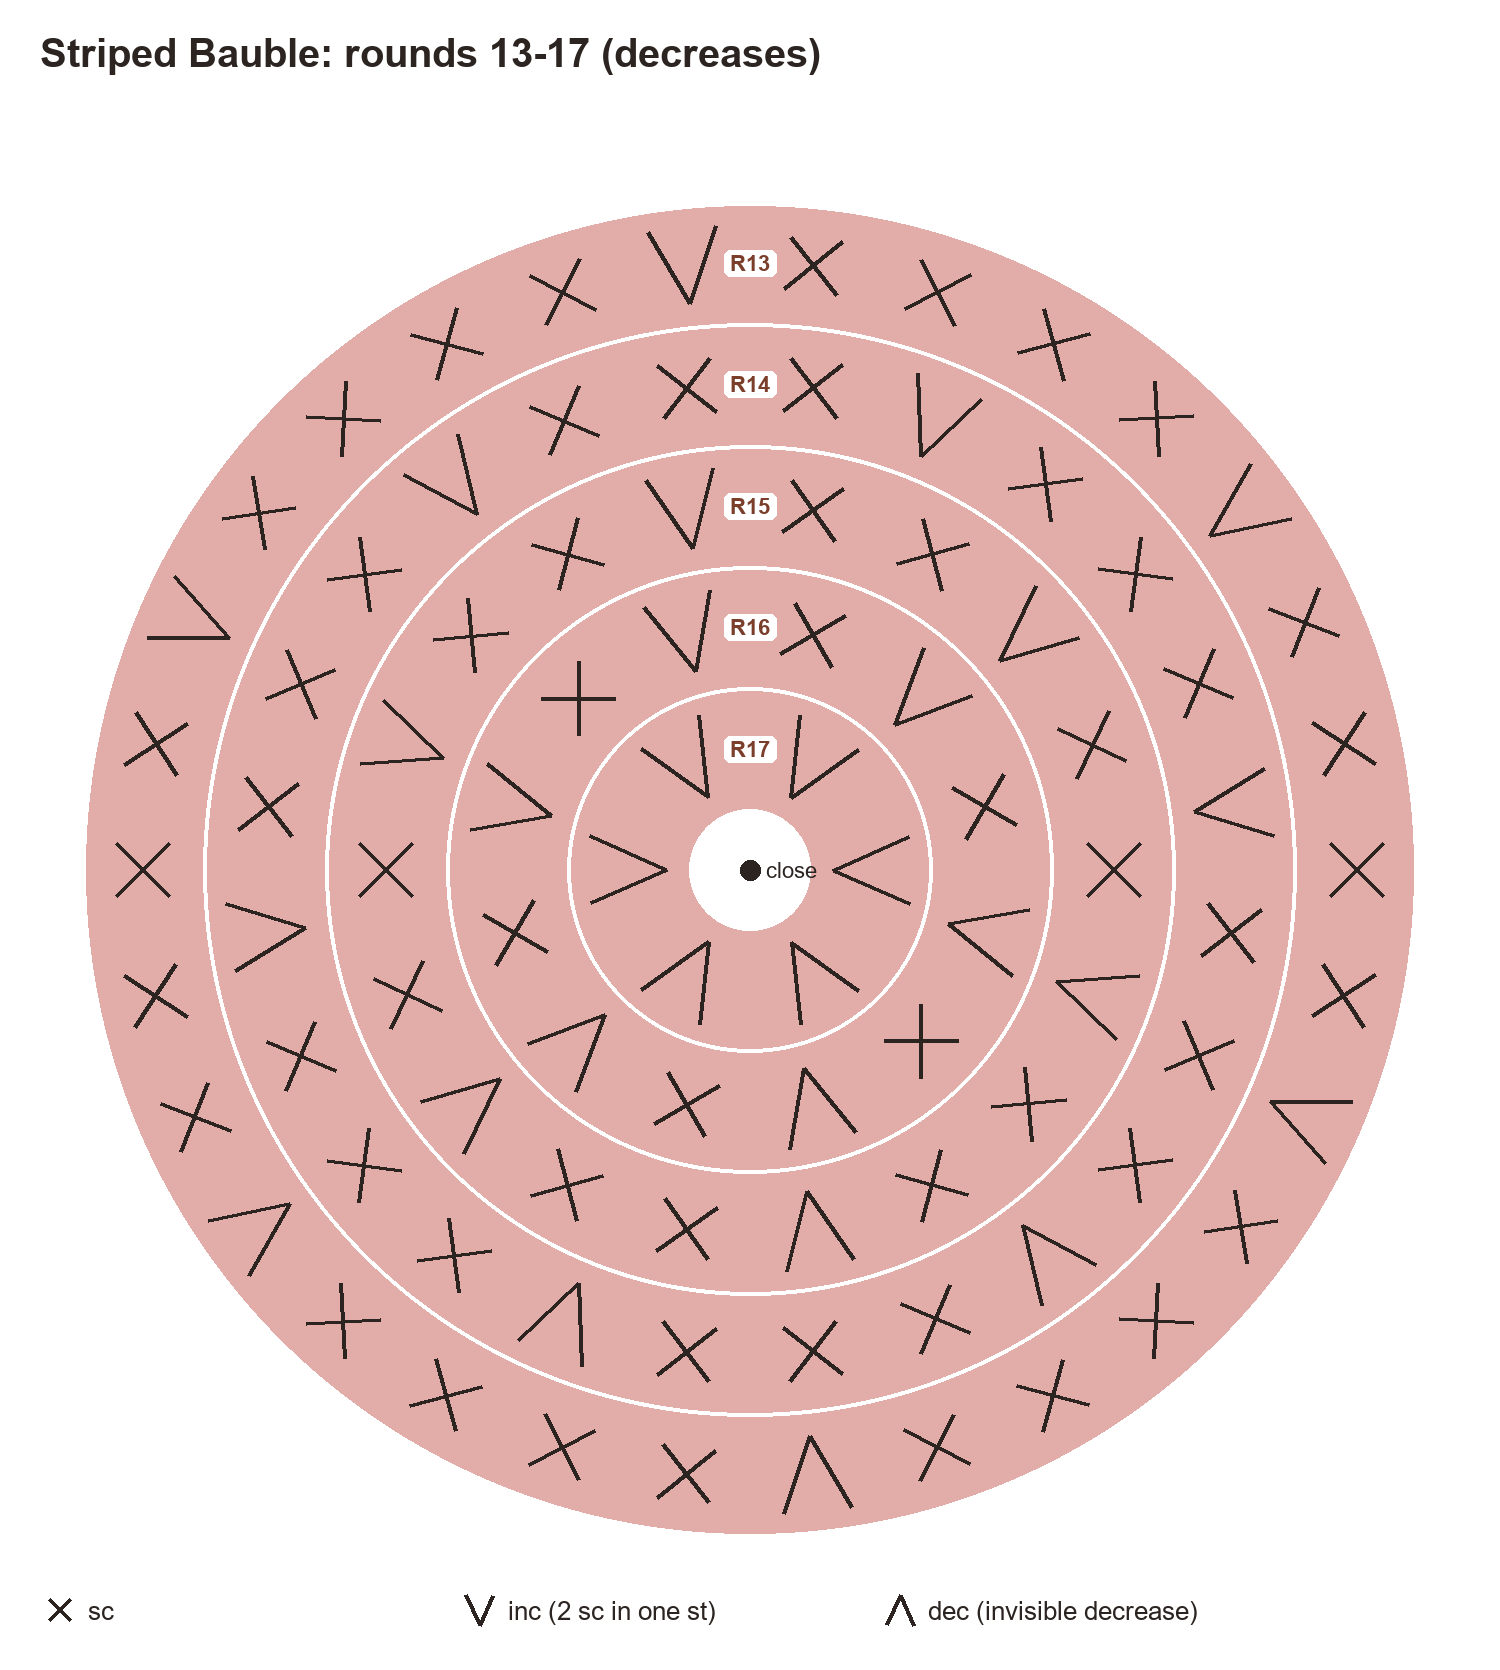
Both large baubles use the same rounds; only the colors and the face change. The round charts show where every increase and decrease sits.
Striped Bauble
Color: start with A (red).
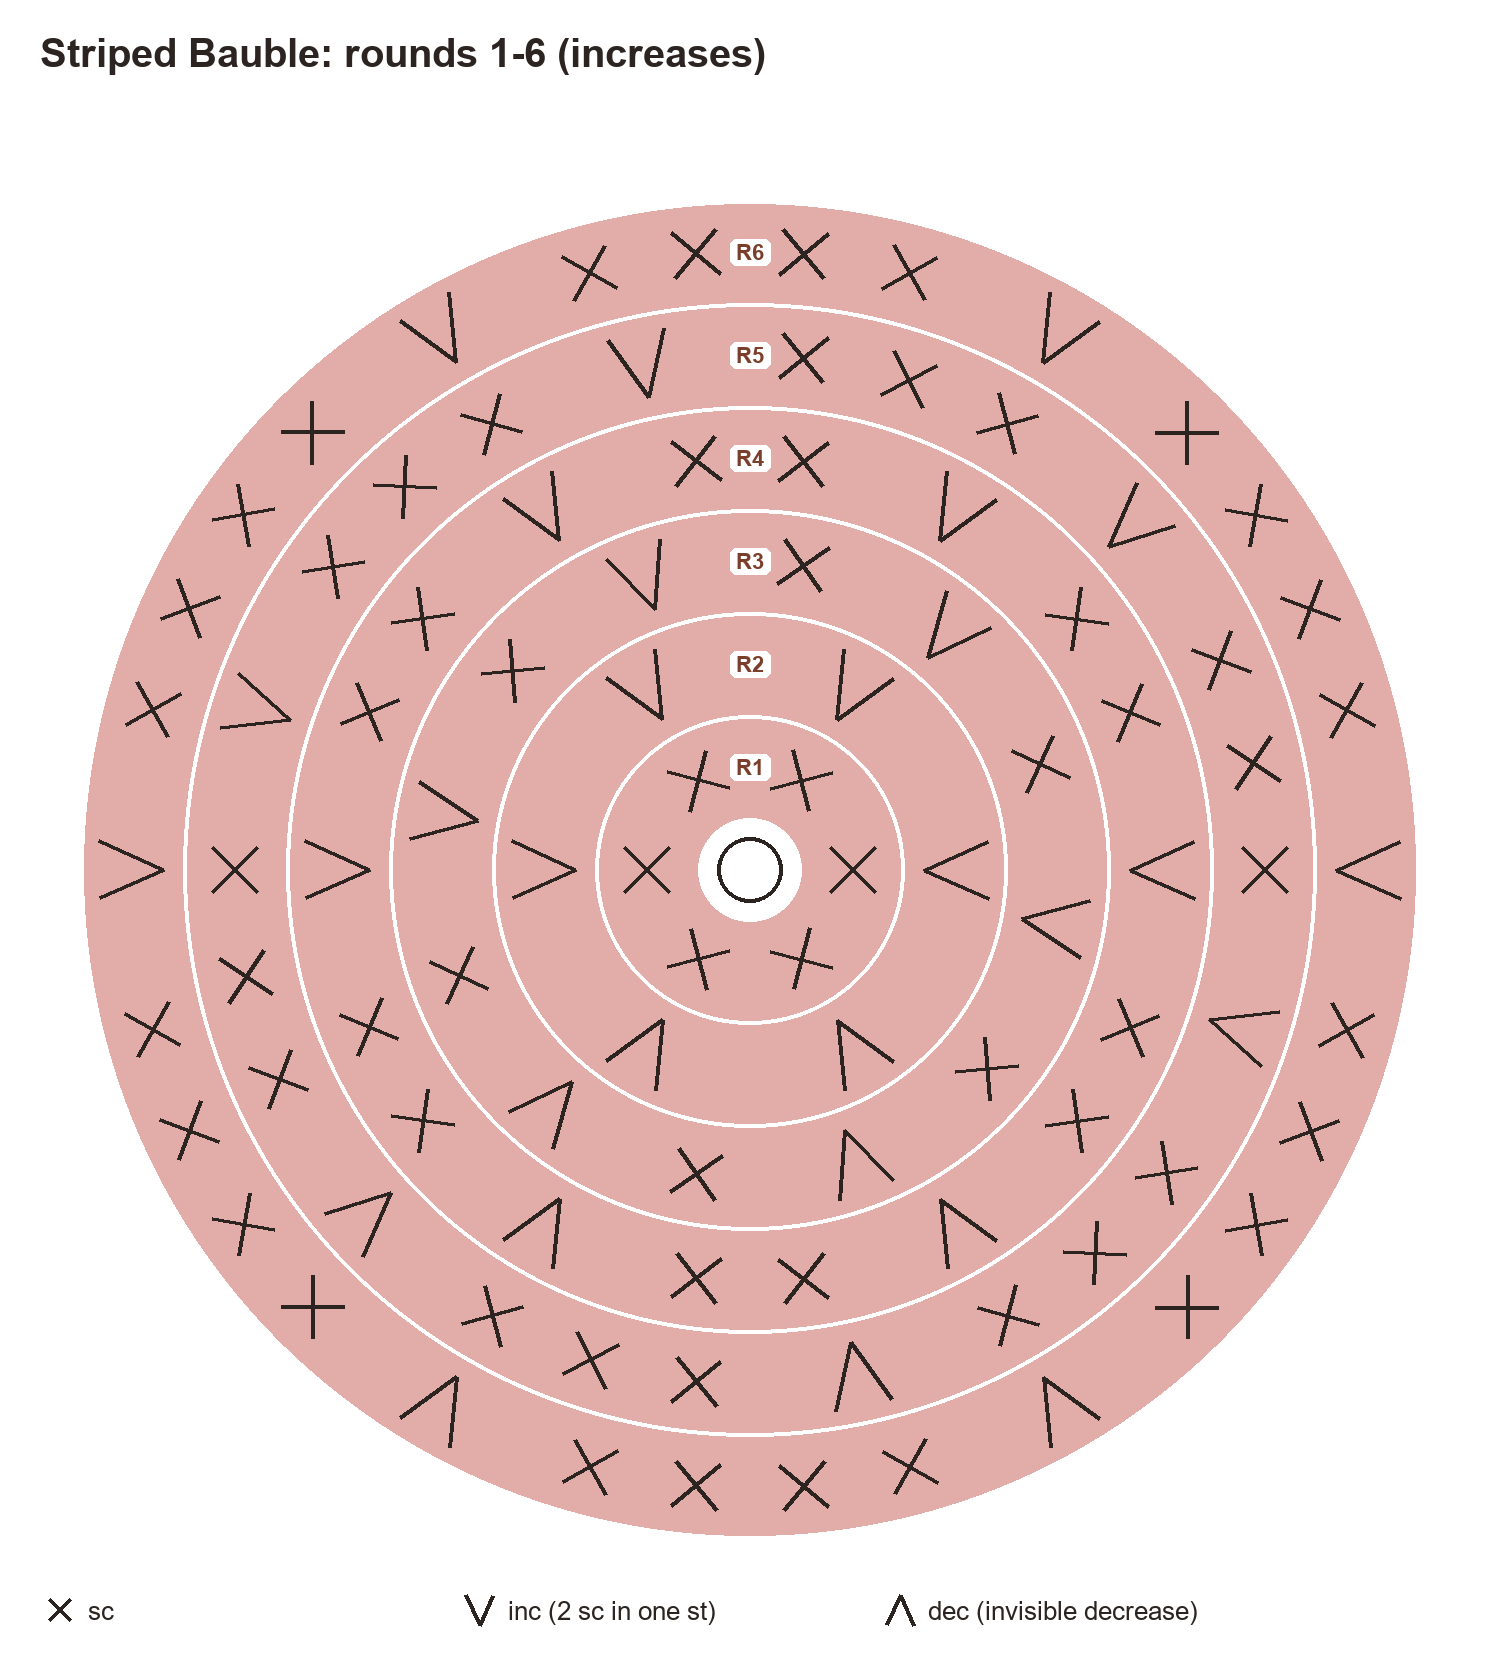
The stripes sit in the straight middle section, so they come out as even bands around the widest part of the ball.
- Rnd 1: 6 sc in a magic ring. (6)
- Rnd 2: Inc ×6. (12)
- Rnd 3: (sc, inc) ×6. (18)
- Rnd 4: Sc, inc, (2 sc, inc) ×5, sc. (24)
- Rnd 5: (3 sc, inc) ×6. (30)
- Rnd 6: 2 sc, inc, (4 sc, inc) ×5, 2 sc. (36)
- Rnds 7–8: Switch to B (cream). Sc around. (36)
- Rnds 9–10: Switch to A (red). Sc around. (36)
- Rnds 11–12: Switch to B (cream). Sc around. (36)
- Rnd 13: Switch to A (red). (4 sc, dec) ×6. (30)
- Rnd 14: Sc, dec, (3 sc, dec) ×5, 2 sc. (24)
- Rnd 15: (2 sc, dec) ×6. (18)
- Rnd 16: (sc, dec) ×6. (12)
- Rnd 17: Dec ×6. (6)
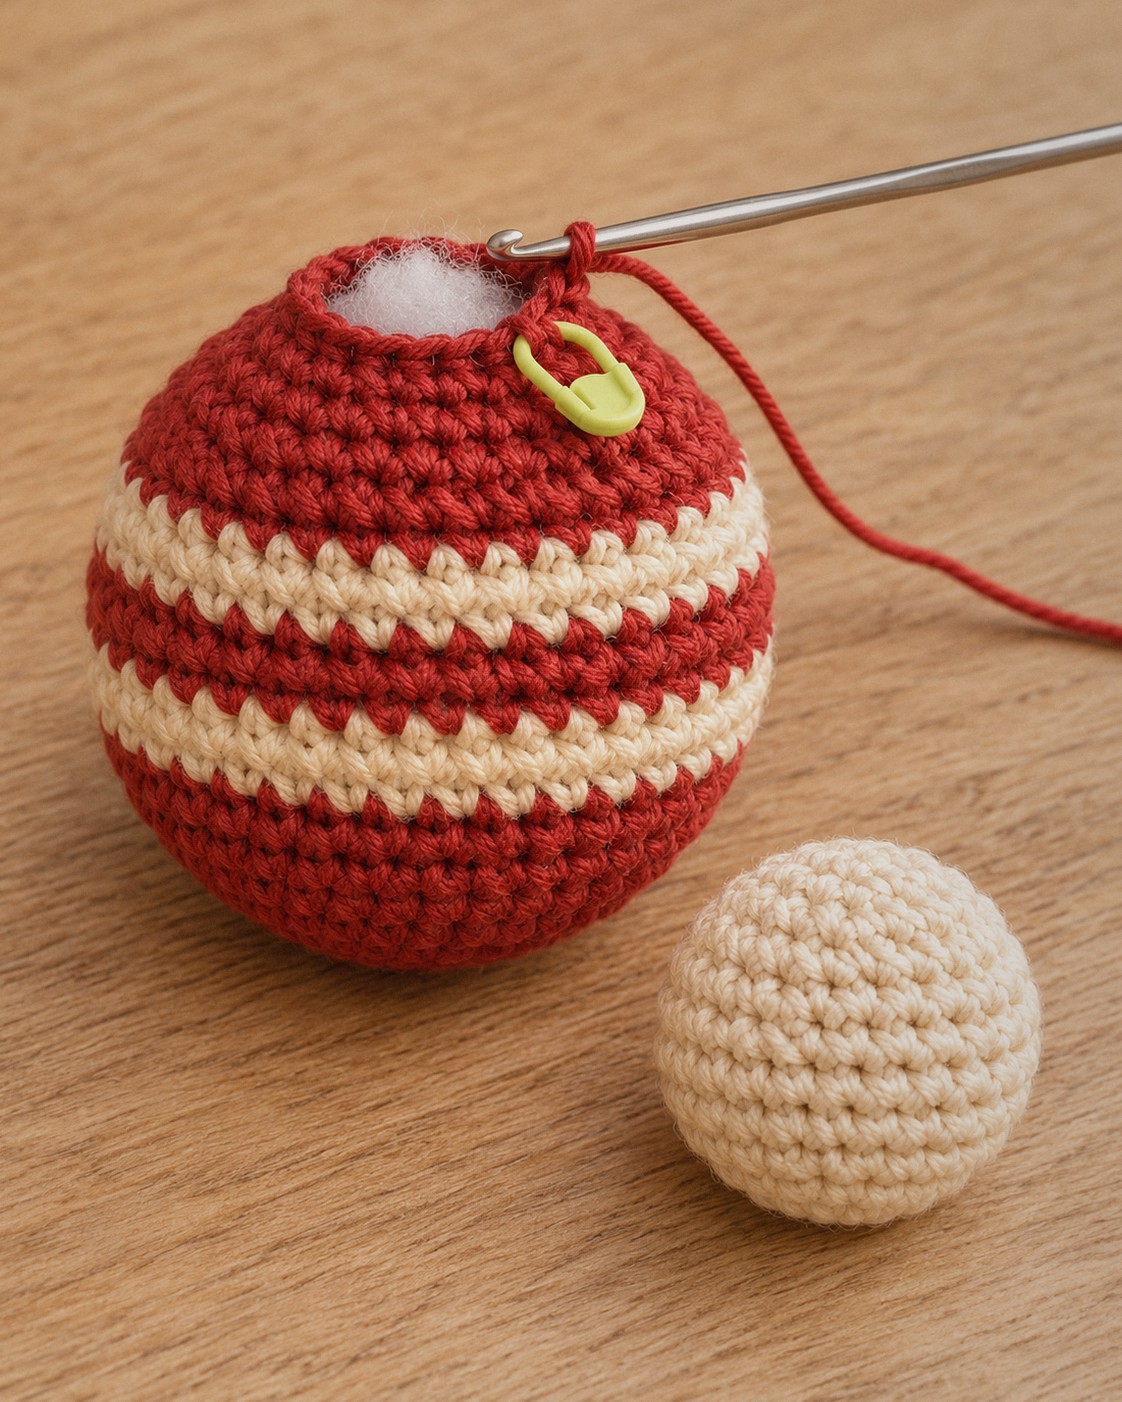
Finish: Stuff firmly after R15, top up after R16, FO and close the hole through the front loops.
Smiley Bauble
Color: start with C (green).
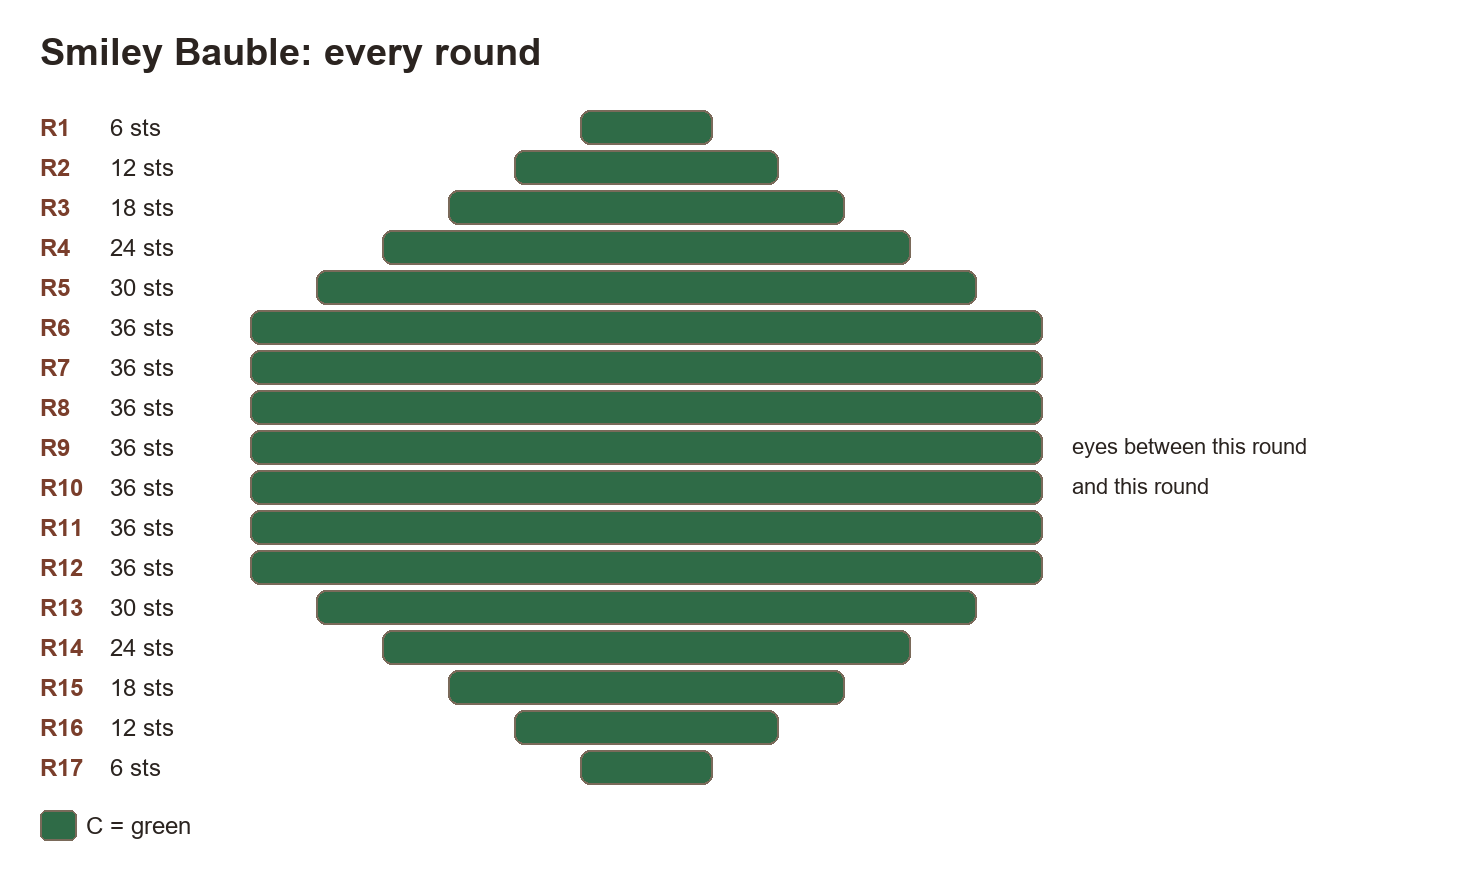
Put the safety eyes in after round 13, while you can still reach inside to fix the backs. Embroider the cheeks and smile at the same time, then stuff and finish.
- Rnd 1: 6 sc in a magic ring. (6)
- Rnd 2: Inc ×6. (12)
- Rnd 3: (sc, inc) ×6. (18)
- Rnd 4: Sc, inc, (2 sc, inc) ×5, sc. (24)
- Rnd 5: (3 sc, inc) ×6. (30)
- Rnd 6: 2 sc, inc, (4 sc, inc) ×5, 2 sc. (36)
- Rnds 7–12: Sc around. (36)
- Rnd 13: (4 sc, dec) ×6. (30)
- Rnd 14: Sc, dec, (3 sc, dec) ×5, 2 sc. (24)
- Rnd 15: (2 sc, dec) ×6. (18)
- Rnd 16: (sc, dec) ×6. (12)
- Rnd 17: Dec ×6. (6)
Placement: 6 mm safety eyes between R9 and R10, 5 sts apart (insert after R13, before stuffing).
Placement: Cheeks in E: 3 horizontal straight stitches over 2 sts, 1 round below each eye, 1 st outside it.
Placement: Smile in F: small V over 2 sts and 1 round, centered between the eyes, 1 round below them.
Finish: Stuff firmly after R15, top up after R16, FO and close the hole through the front loops.
Mini Bauble
Color: start with B (cream).
The mini skips the two biggest increase rounds, so it only needs 11 rounds.
- Rnd 1: 6 sc in a magic ring. (6)
- Rnd 2: Inc ×6. (12)
- Rnd 3: (sc, inc) ×6. (18)
- Rnd 4: Sc, inc, (2 sc, inc) ×5, sc. (24)
- Rnds 5–8: Sc around. (24)
- Rnd 9: Sc, dec, (2 sc, dec) ×5, sc. (18)
- Rnd 10: (sc, dec) ×6. (12)
- Rnd 11: Dec ×6. (6)
Finish: Stuff firmly after R10, FO and close the hole through the front loops.
Cap (make 3)
Color: start with D (mustard).
The back-loop round makes a little ridge, which is what turns a plain cup into an ornament cap.
- Rnd 1: 6 sc in a magic ring. (6)
- Rnd 2: Inc ×6. (12)
- Rnd 3: BLO sc around. (12)
- Rnd 4: Sc around. (12)
Finish: Sl st in next st, FO leaving a 10 in / 25 cm tail for sewing.
Finish: Hanging loop in D or A: ch 25, sl st in the first ch; push both ends through the cap's magic ring from inside and knot.
Finish: Sew the cap over the closed top of the bauble (the R17 / R11 hole) through the cap's last round.
Assembly
- Close each ball: thread the tail through the front loops of the last 6 stitches, pull tight and push the needle down through the ball to hide the end.
- Make the hanging loop: chain 25 in mustard or red and slip stitch into the first chain. Push both yarn ends through the cap’s magic ring from the inside and knot them firmly inside the cap.
- Place the cap over the closed top of the ball and sew all the way around through the cap’s last round. Small stitches hide best.
Tips for neat baubles
- Use the invisible decrease. A regular sc2tog leaves small holes on a ball this size.
- Stuff more than you think. A firm ball keeps the stripes straight; soft stuffing makes them wavy.
- Count the middle rounds. On the striped bauble the stripes only line up if rounds 7 to 12 all have 36 stitches.
- Go smaller for a shiny look. Mercerized cotton on a 2.25 mm hook gives an even tighter, glossier ball.
- Make a set. Swap the colors: white with red stripes, or green with cream stripes, and every set still matches because the caps are the same.
FAQ
Can I make these bigger?
Yes. After round 6, work one more increase round, (5 sc, inc) × 6 (42), then 7 straight rounds of 42 instead of 6 rounds of 36. Start the top with (5 sc, dec) × 6 (36), then continue from round 13 as written. The ball grows to about 2.2 in / 5.7 cm and the cap stays the same.
Can I use acrylic yarn?
You can, but use a smaller hook than the label says so the stuffing doesn’t show. Acrylic gives a softer, fuzzier ball; cotton gives the clean look.
How do I stop the stripes from jogging?
A tiny step at the color change is normal in a spiral. Turn the jog to the back of the tree, or slip stitch the first stitch of the new color round and then continue as normal.
Are these safe as toys?
Treat them as decorations. The mini bauble is small enough to be a choking hazard, and the safety eyes and hanging loop are not meant for little hands, so hang them out of reach of babies and toddlers.
More Christmas amigurumi
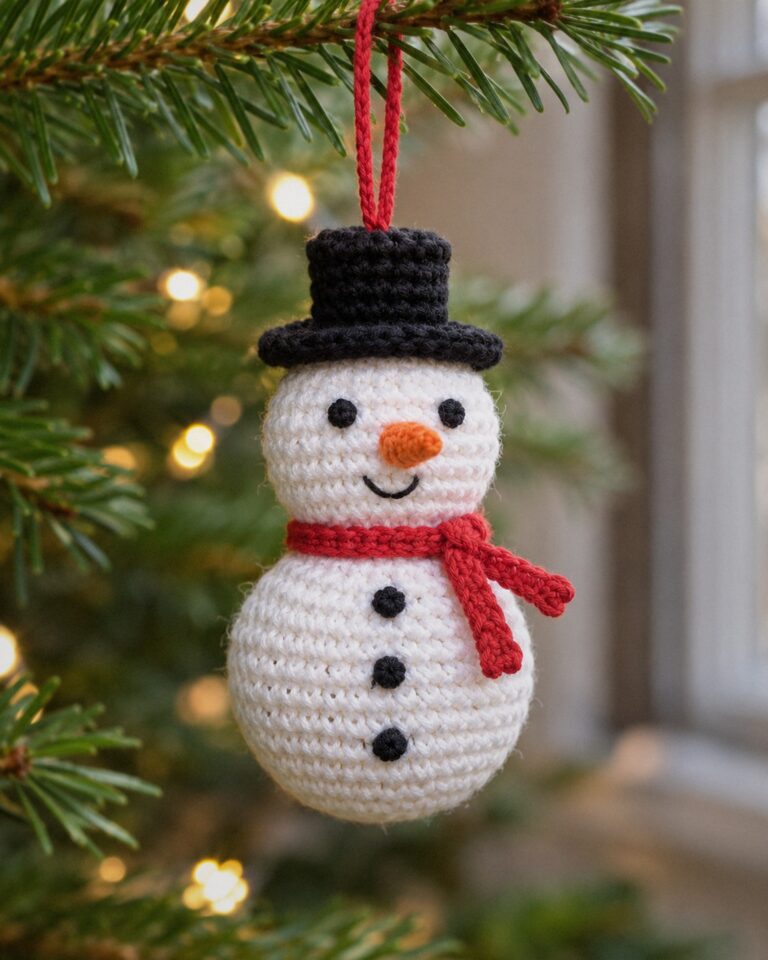
- Crochet snowman ornament: two balls, a top hat and a red scarf, same yarn and hook.
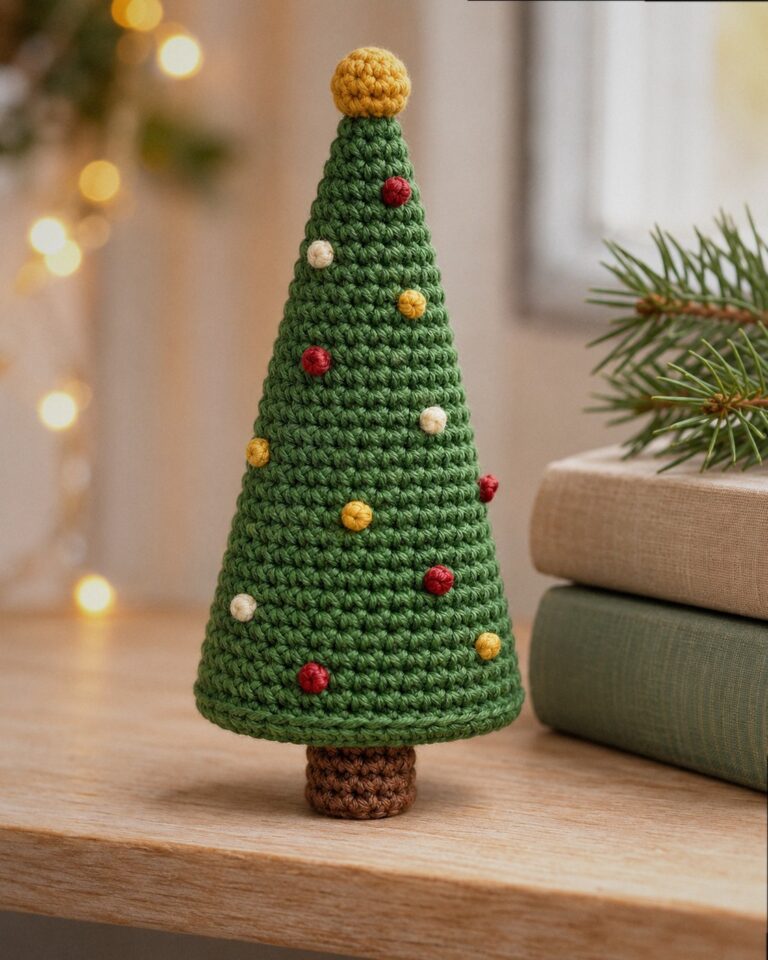
- Amigurumi Christmas tree: a one-piece cone with a flat base for shelves and gift boxes.
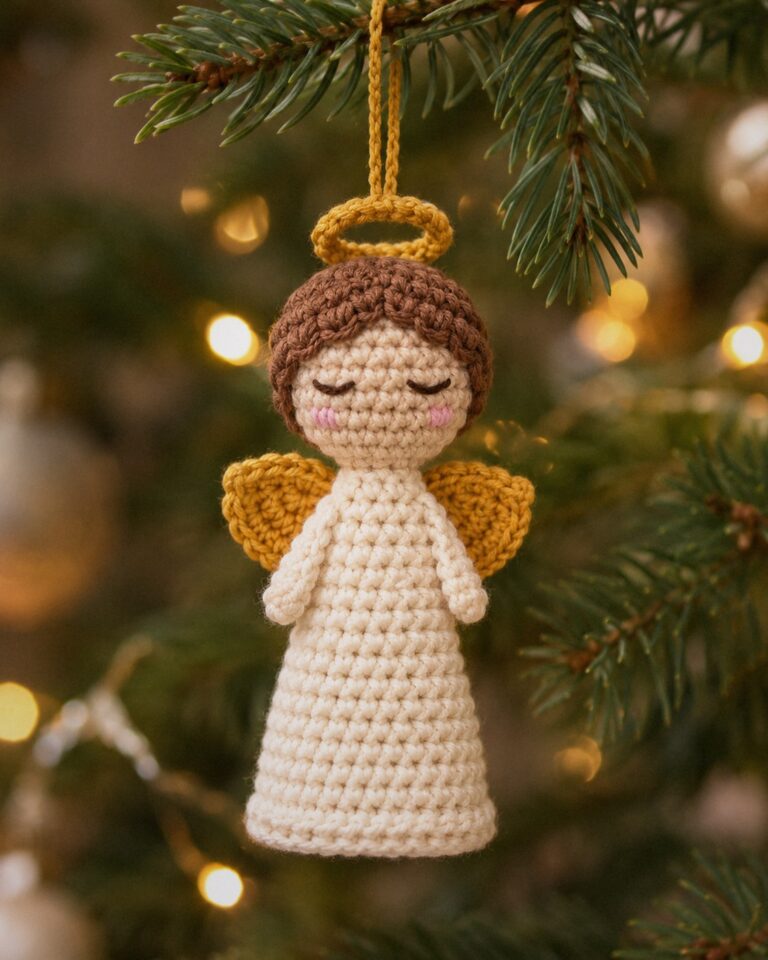
- Amigurumi angel: a little angel with golden wings and a halo.