Safety eyes make an amigurumi look finished in seconds, but they are also the one step you can’t undo: once the washer is on, it stays on. This guide covers which size to pick, where to put them, how to attach them so they never come loose, and when to embroider instead.
At the end there is a small practice head pattern, with every round counted, so you can try sizes and spacing before you commit on a real toy.
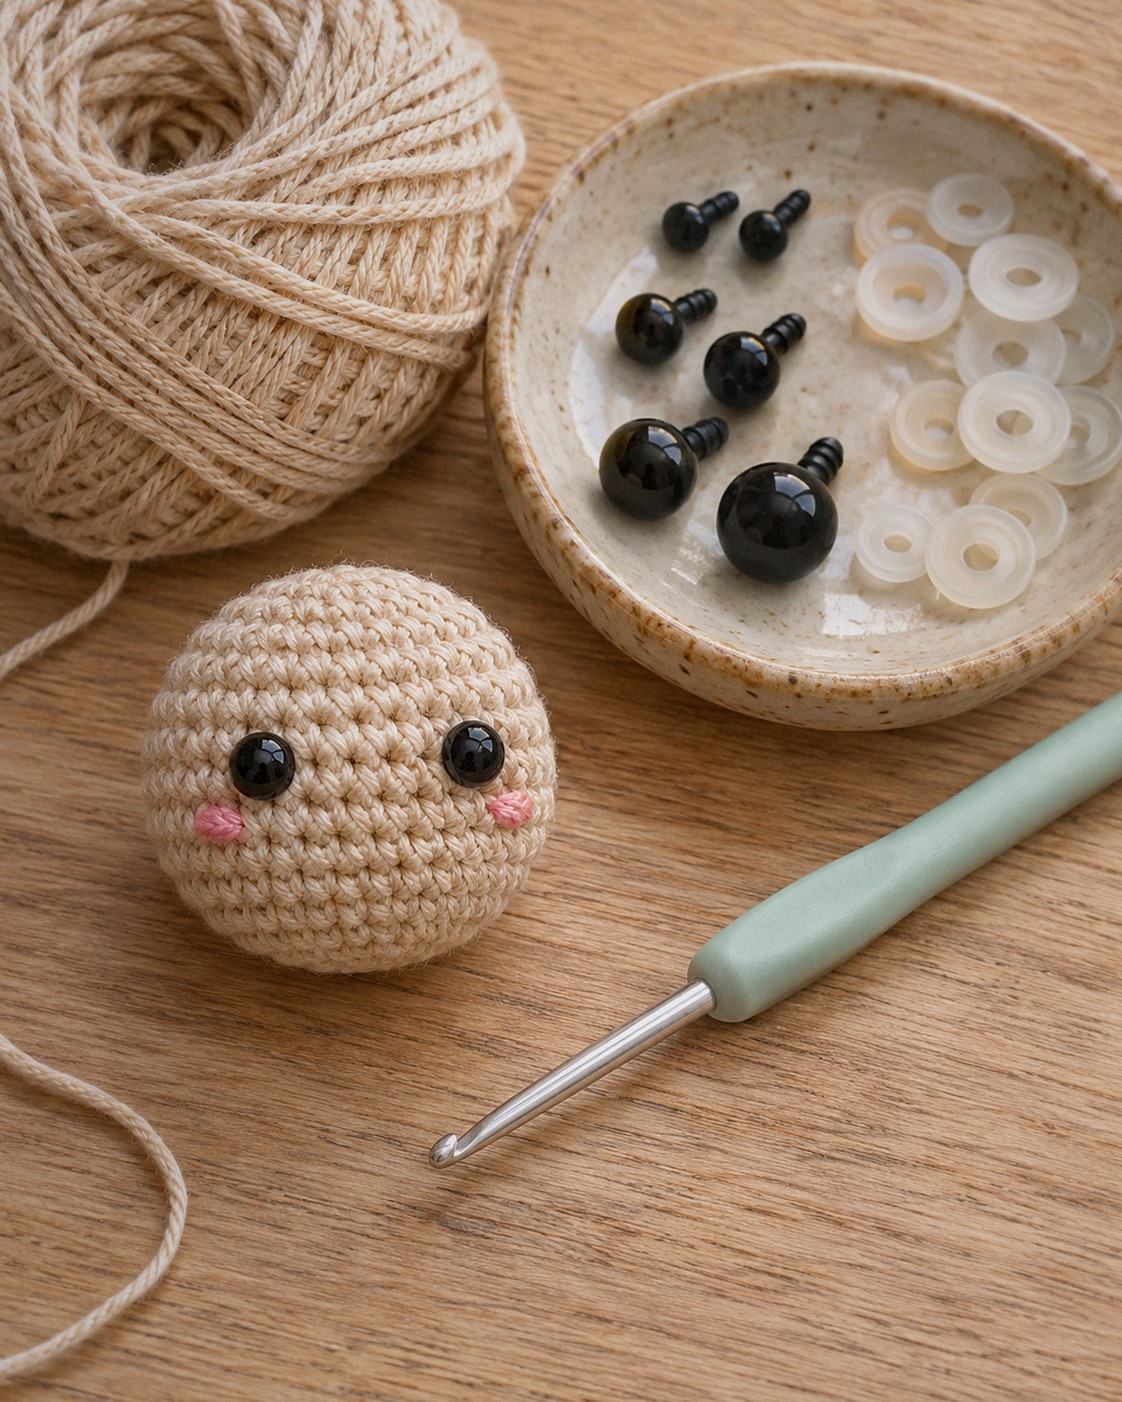
In this post8 sections
What safety eyes are
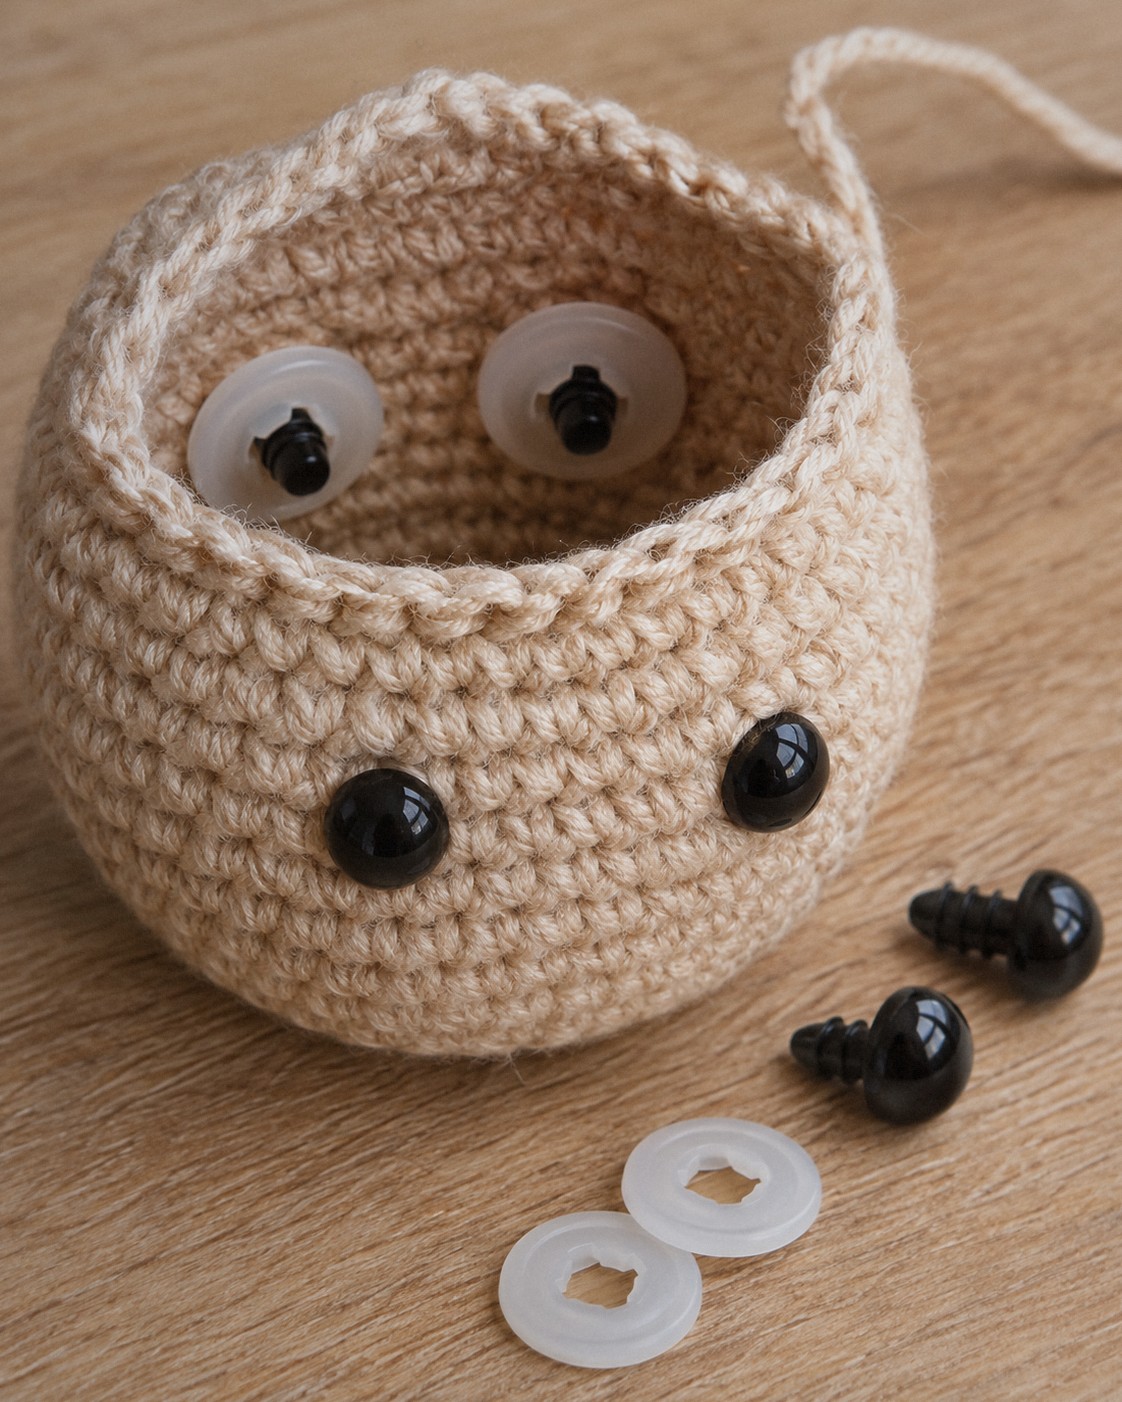
A safety eye has two parts: the eye with a ridged post on the back, and a flat washer that pushes onto that post from the inside of the toy. The ridges only let the washer go one way, which is why a properly fitted eye can’t be pulled out. That only works if the washer is pushed all the way down, before the piece is stuffed and closed.
Which size to choose
Eye size depends on how big the head is. As a starting point we use an eye between one fifth and one seventh of the head’s width. The table works that out for common head sizes in DK yarn with a 2.5 mm hook, and rounds the result to the eye sizes you can actually buy.
| Widest round of the head | Head width (DK, 6 sc per inch) | Eye size to start with | Space between eyes |
|---|---|---|---|
| 24 | 1.3 in / 3.2 cm | 4.5–6 mm | 4 sts |
| 30 | 1.6 in / 4.0 cm | 6–8 mm | 5 sts |
| 36 | 1.9 in / 4.9 cm | 8–10 mm | 6 sts |
| 42 | 2.2 in / 5.7 cm | 8–10 mm | 7 sts |
| 48 | 2.5 in / 6.5 cm | 9–12 mm | 8 sts |
| 60 | 3.2 in / 8.1 cm | 12–15 mm | 10 sts |
Bigger eyes and wider spacing look younger and sweeter; smaller eyes set closer together look more realistic. Try both on the practice head before deciding. In worsted yarn the same stitch counts give a bigger head, so go one eye size up.
Where to place them
- Height: for a round head, put the eyes between the middle rounds of the straight section. On the practice head that is between rounds 8 and 9.
- Spacing: count the stitches between the posts, not between the eye edges. About one sixth of the round is a friendly default (5 stitches on a 30-stitch head).
- Check from the front and the side. Push the eyes in without washers first, look, adjust, and only then lock them.
- Mark the spot. A scrap of contrast yarn or two pins in the chosen stitches keeps you from losing the position when you pick up the washers.
How to attach safety eyes
- Crochet the head until the opening is still wide enough for two fingers (on the practice head, after round 12).
- Push each eye post from the outside through the gap between two stitches, never through the yarn itself.
- From the inside, push the washer onto the post, flat side toward the fabric. Press with your thumb until it clicks down and sits tight against the stitches.
- Tug the eye from the front. If it moves, push the washer further.
- Embroider cheeks, brows or a mouth now, while you can still reach inside, then stuff and finish.
When to embroider instead
- For babies and children under 3, skip safety eyes and embroider the eyes with dark yarn. Small hard parts can be a choking hazard if anything ever breaks.
- For very small heads (under about 24 stitches), embroidered eyes or French knots often look neater than the smallest safety eyes.
- For toys that will be washed often, embroidered eyes hold up better.
Common problems
- Eyes too far apart or crooked: count stitches between the posts again and use the same round for both eyes.
- Washer won’t go on: the post is through the yarn, not between stitches. Take the eye out before adding the washer and try the next gap.
- Stitches stretched around the eye: the hole is too big; use a smaller hook for the head or a slightly bigger eye.
Practice pattern: the safety eye test head
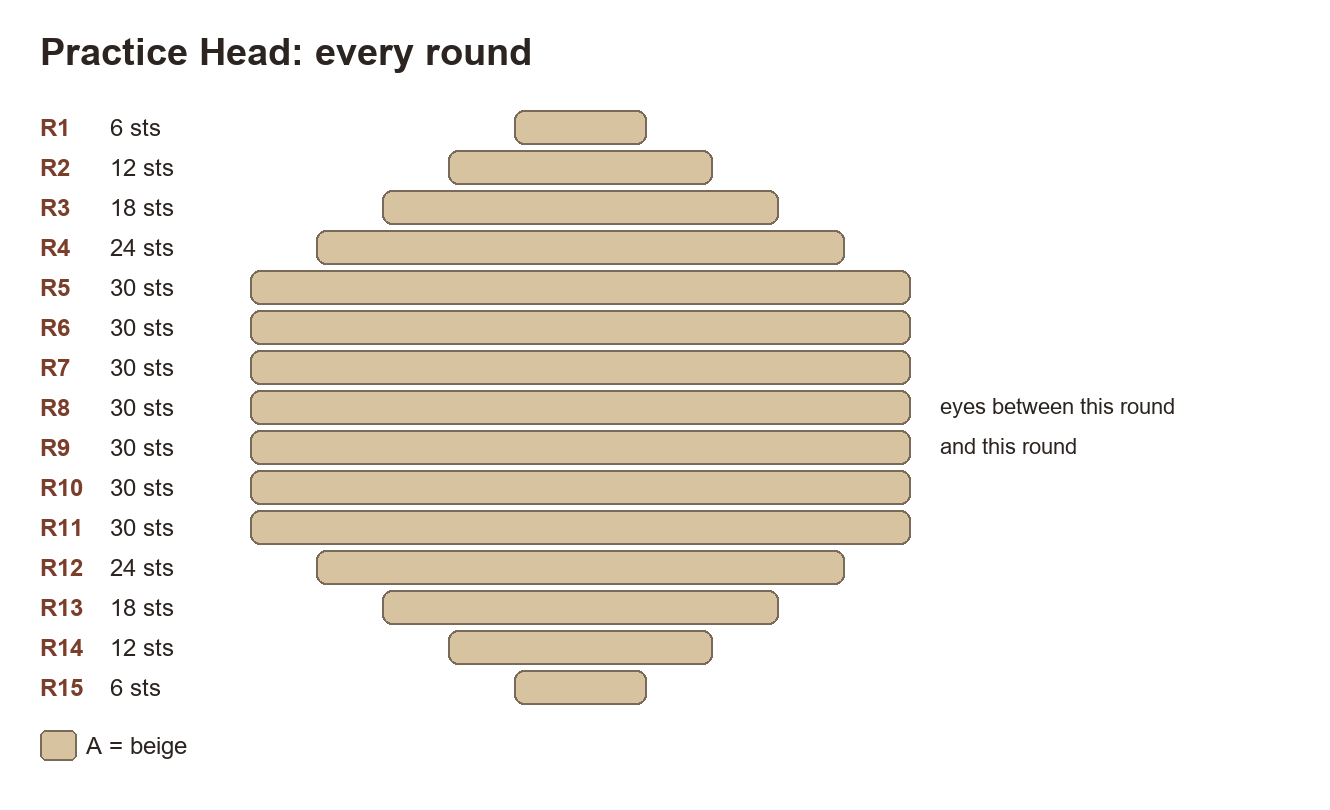
A 30-stitch round head, about 1.6 in / 4 cm across. Make one, try a few eye sizes and spacings without washers, and keep it as a reference for future toys.
Practice Head
Color: start with A (beige).
- Rnd 1: 6 sc in a magic ring. (6)
- Rnd 2: Inc ×6. (12)
- Rnd 3: (sc, inc) ×6. (18)
- Rnd 4: Sc, inc, (2 sc, inc) ×5, sc. (24)
- Rnd 5: (3 sc, inc) ×6. (30)
- Rnds 6–11: Sc around. (30)
- Rnd 12: (3 sc, dec) ×6. (24)
- Rnd 13: Sc, dec, (2 sc, dec) ×5, sc. (18)
- Rnd 14: (sc, dec) ×6. (12)
- Rnd 15: Dec ×6. (6)
Placement: 8 mm safety eyes between R8 and R9, 5 sts apart (insert after R12, push the washers on firmly).
Placement: Cheeks in B: 3 straight stitches 1 round below each eye, 1 st outside it.
Finish: Stuff firmly after R14, FO and close the hole.
FAQ
Can I remove a safety eye after the washer is on?
Not cleanly. Some people warm the washer to soften it or cut it off, but it usually damages the stitches. Decide on the position first.
Do safety eyes need glue?
No. A washer that is pushed all the way down holds without glue. Glue can stop the washer from seating properly.
What about the eyes on our ornaments?
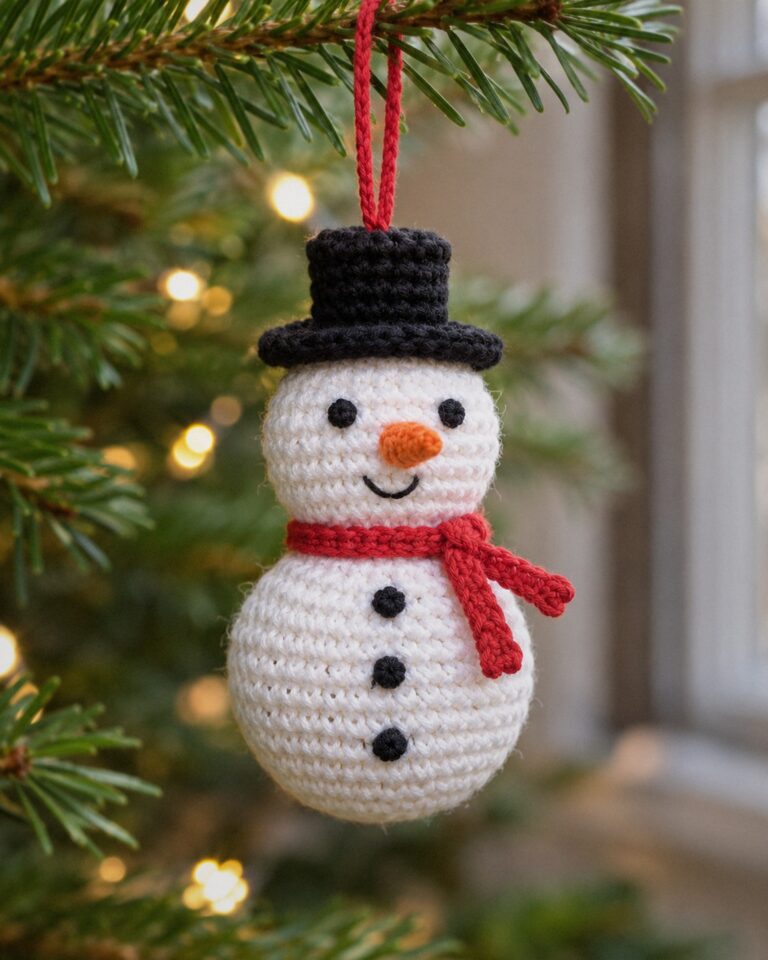
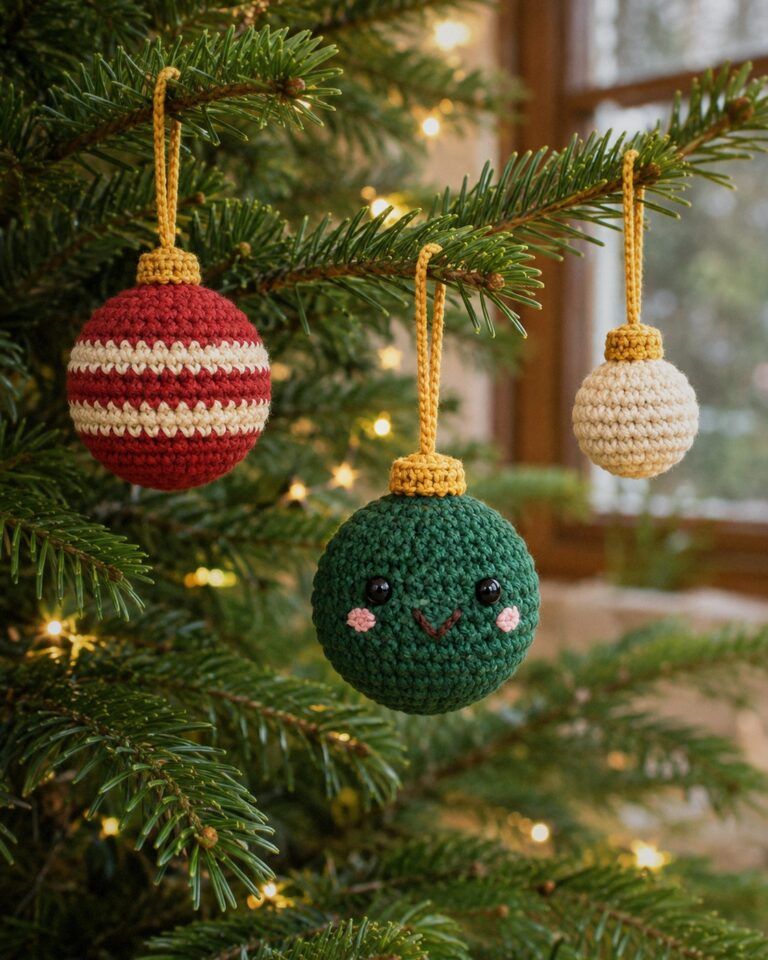
The smiley bauble uses 6 mm eyes on a 36-stitch ball, smaller than the table on purpose: small eyes give it a calm, sleepy face. The snowman uses French knots so it is quick to make and safe to hang low. For yarn choices see the best yarn for amigurumi.