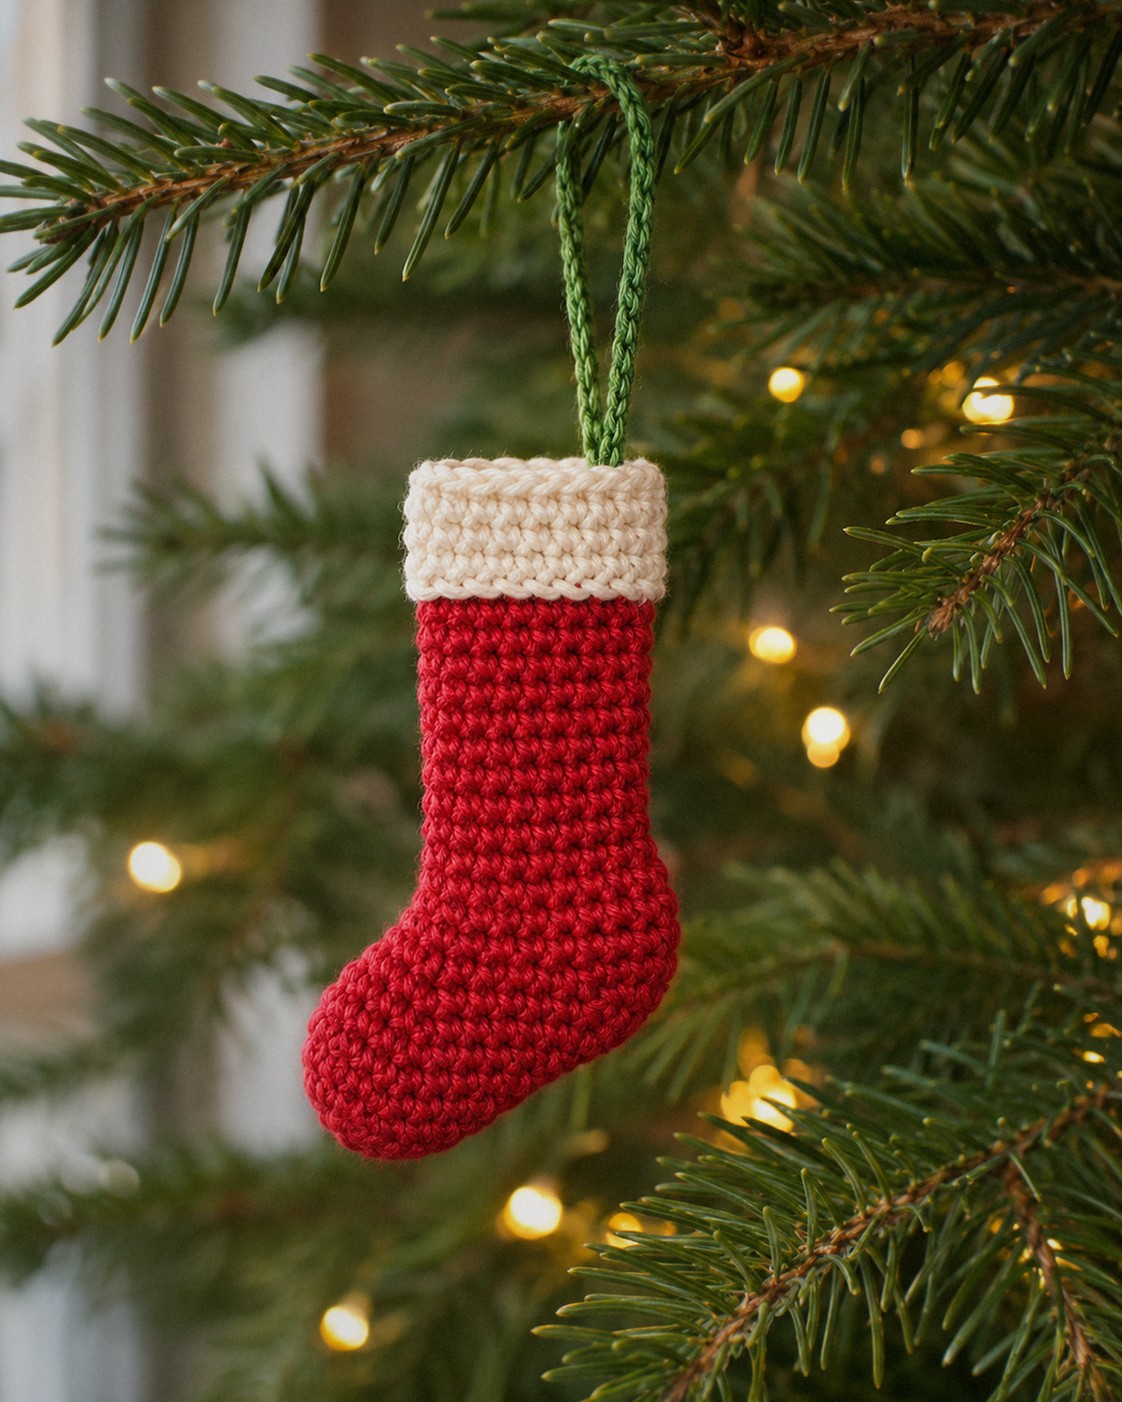
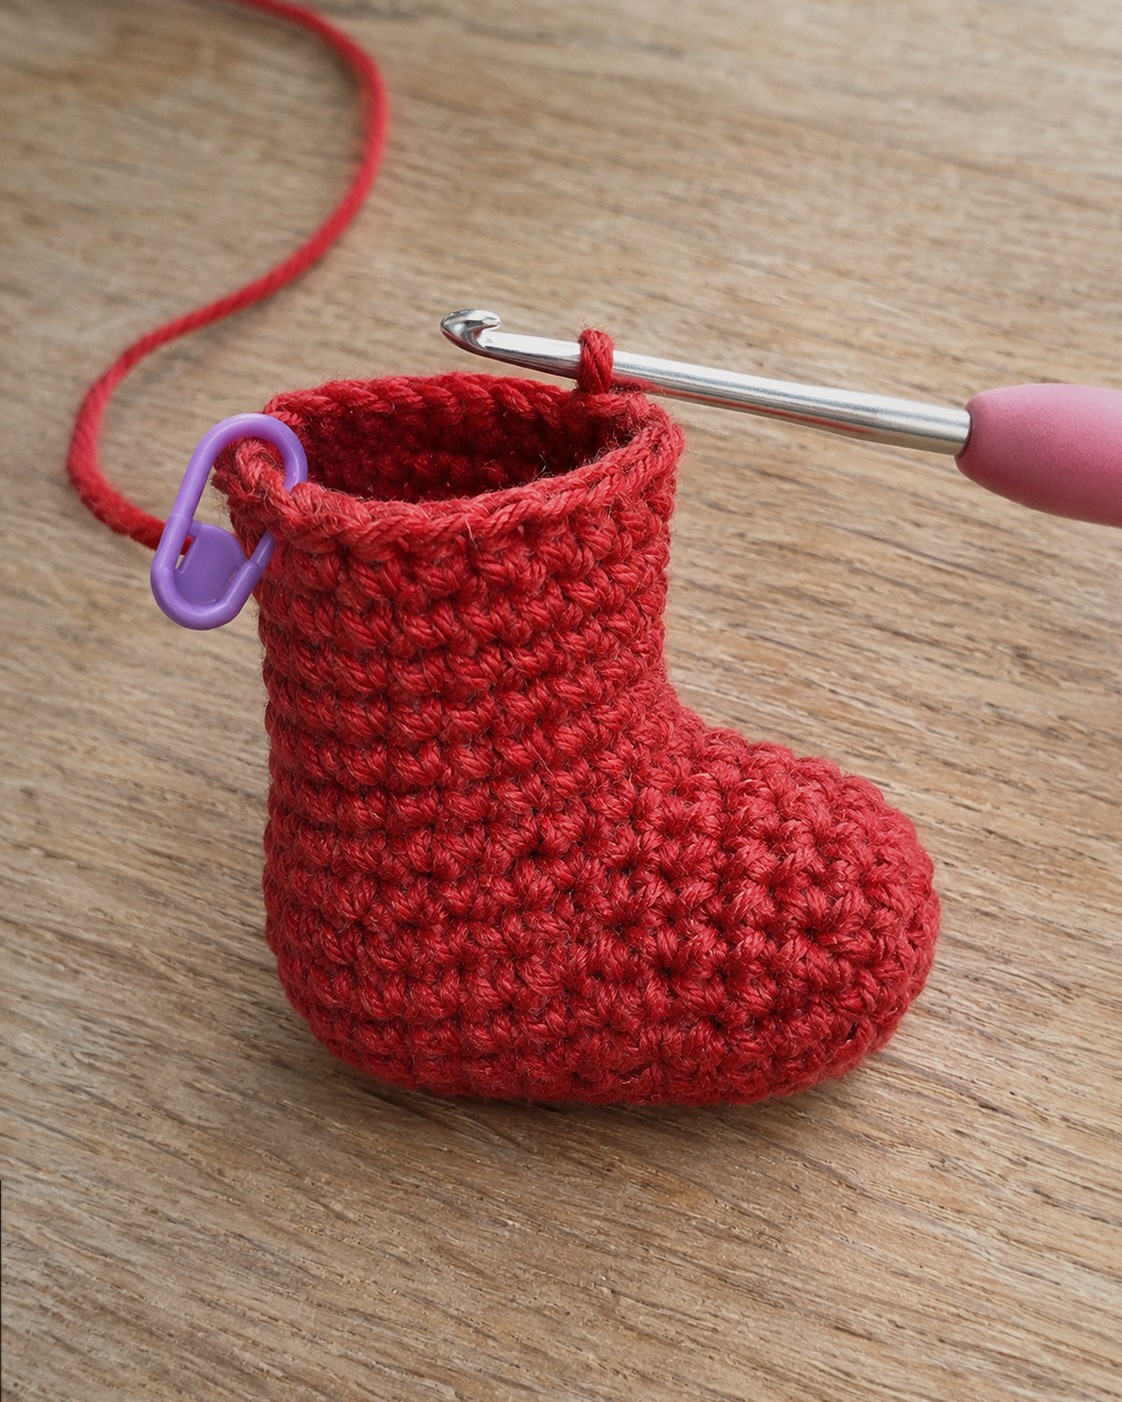
This mini Christmas stocking is crocheted in one piece from the toe up, with no heel turn and no sewing. The trick is in rounds 8 to 11: you add 9 stitches on the back half only, work two rounds, then take them away again. That extra fabric pushes out into a rounded heel and bends the tube into a stocking shape.
It comes out about 4 in / 10 cm tall, the right size for the tree, a gift card, or a few candies. Every round is written out with its stitch count, and the printable PDF has the same pattern.
In this post8 sections
Pattern at a glance
- Skill level: easy (sc, inc, invisible dec, BLO)
- Finished size: about 4 in / 10 cm tall, leg about 1.5 in / 3.8 cm wide when flat
- Yarn: DK cotton, about 25 yd / 23 m
- Hook: 2.5 mm (US B/1–C/2)
- Time: about 1 hour
Materials
- DK cotton in red (A), about 20 yd / 19 m
- Cream (B) for the cuff, about 5 yd / 5 m
- A short length of green (C) for the hanging loop
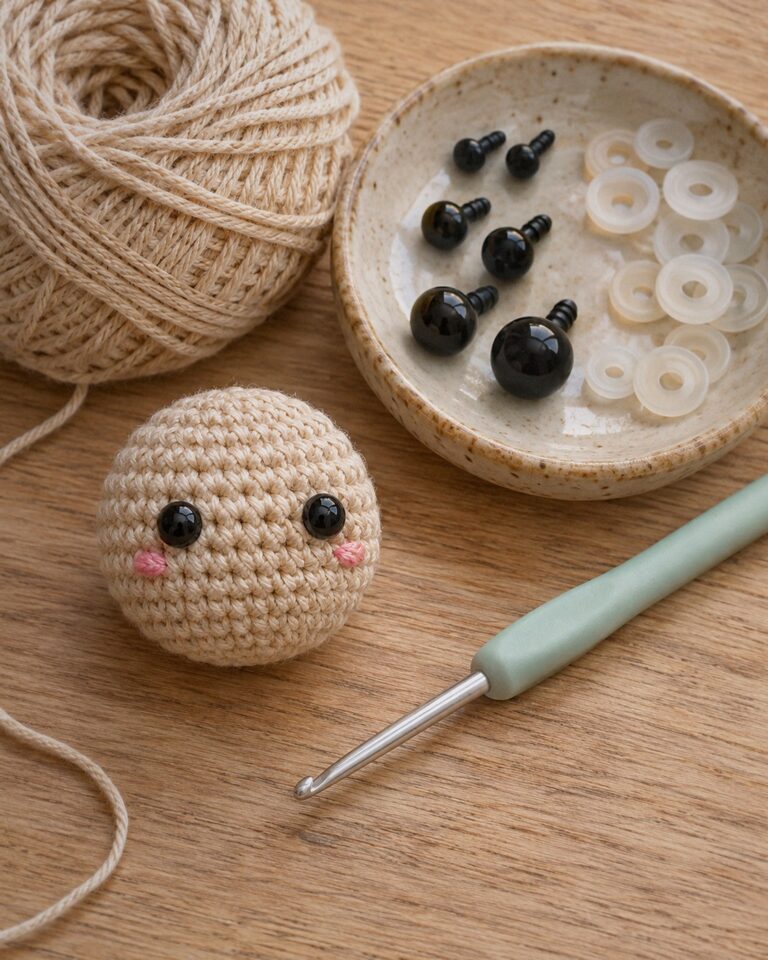
- 2.5 mm hook, stitch marker, tapestry needle, a pinch of fiberfill for the toe (optional)
Yardage is calculated from the stitch counts plus about 20% for tails. Cotton keeps the heel shape crisp; see our best yarn for amigurumi guide for other options.
Abbreviations (US terms)
- MR magic ring · sc single crochet · inc 2 sc in one stitch
- dec invisible decrease · BLO back loop only · ch chain · FO fasten off
Before you start
- Work in a spiral and move the marker up every round. The marker also tells you where the front of the foot is: the first 9 stitches of each round are the top of the foot, the next 9 are the sole and heel.
- Rounds 8 to 11 only change the back half. Count carefully there: 9 plain sc, then the 9 increases (or decreases).
- The cuff starts in the back loops only, so a neat ridge marks where the cream begins.
The pattern
Stocking
Color: start with A (red).
Start at the toe.
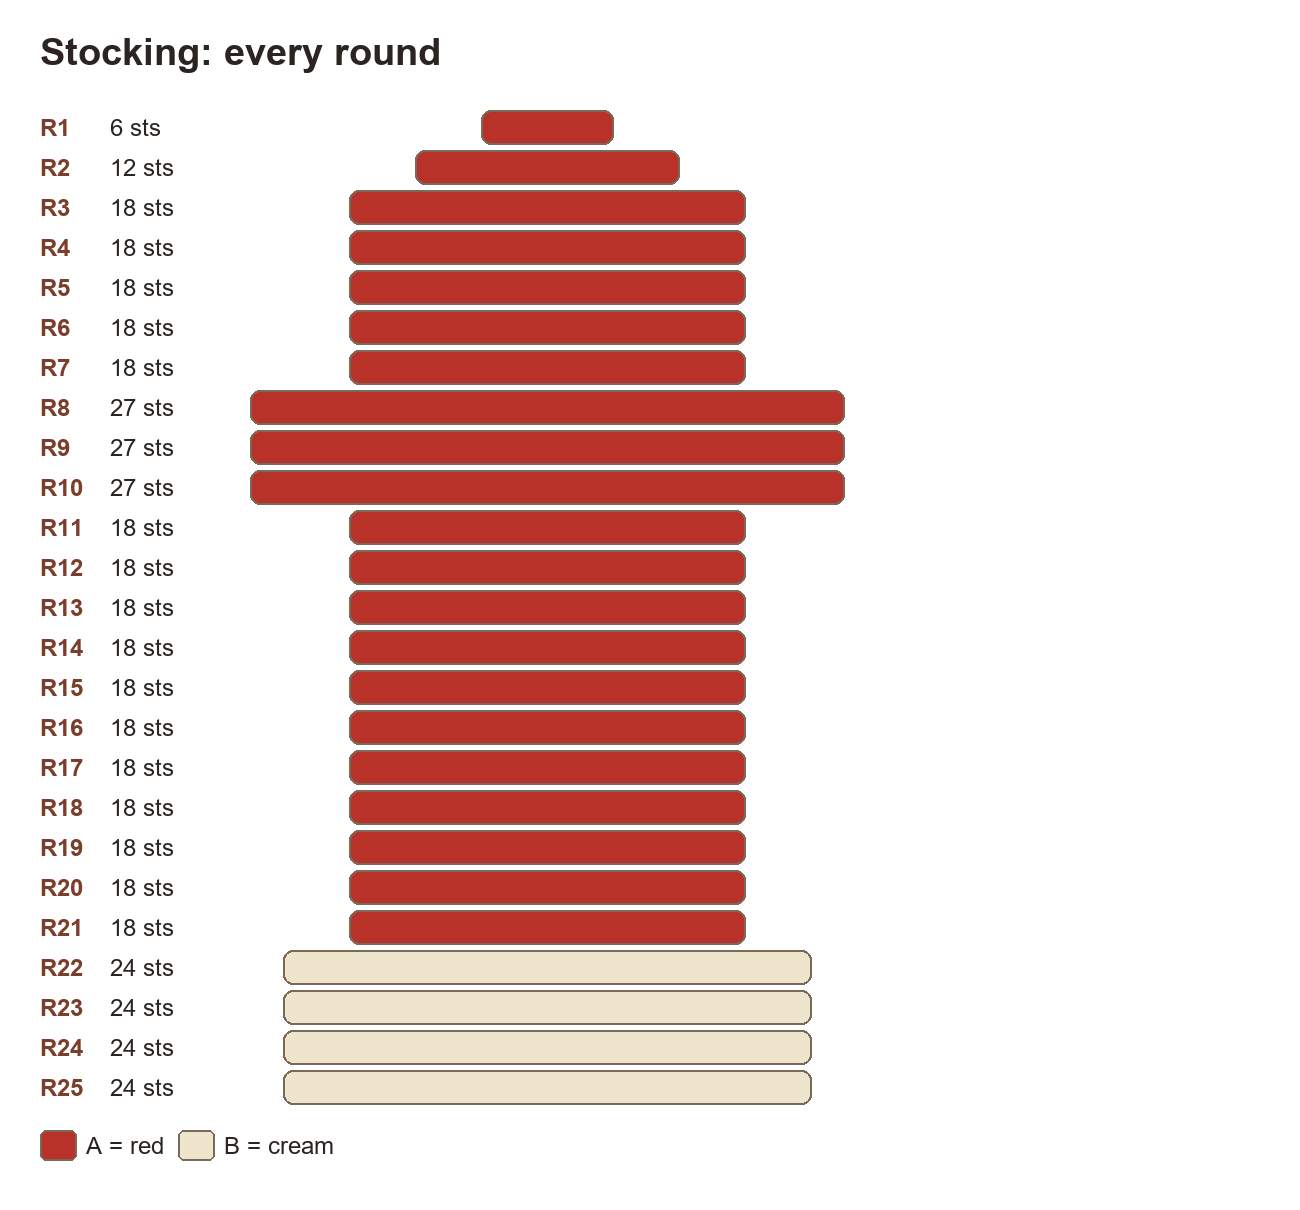
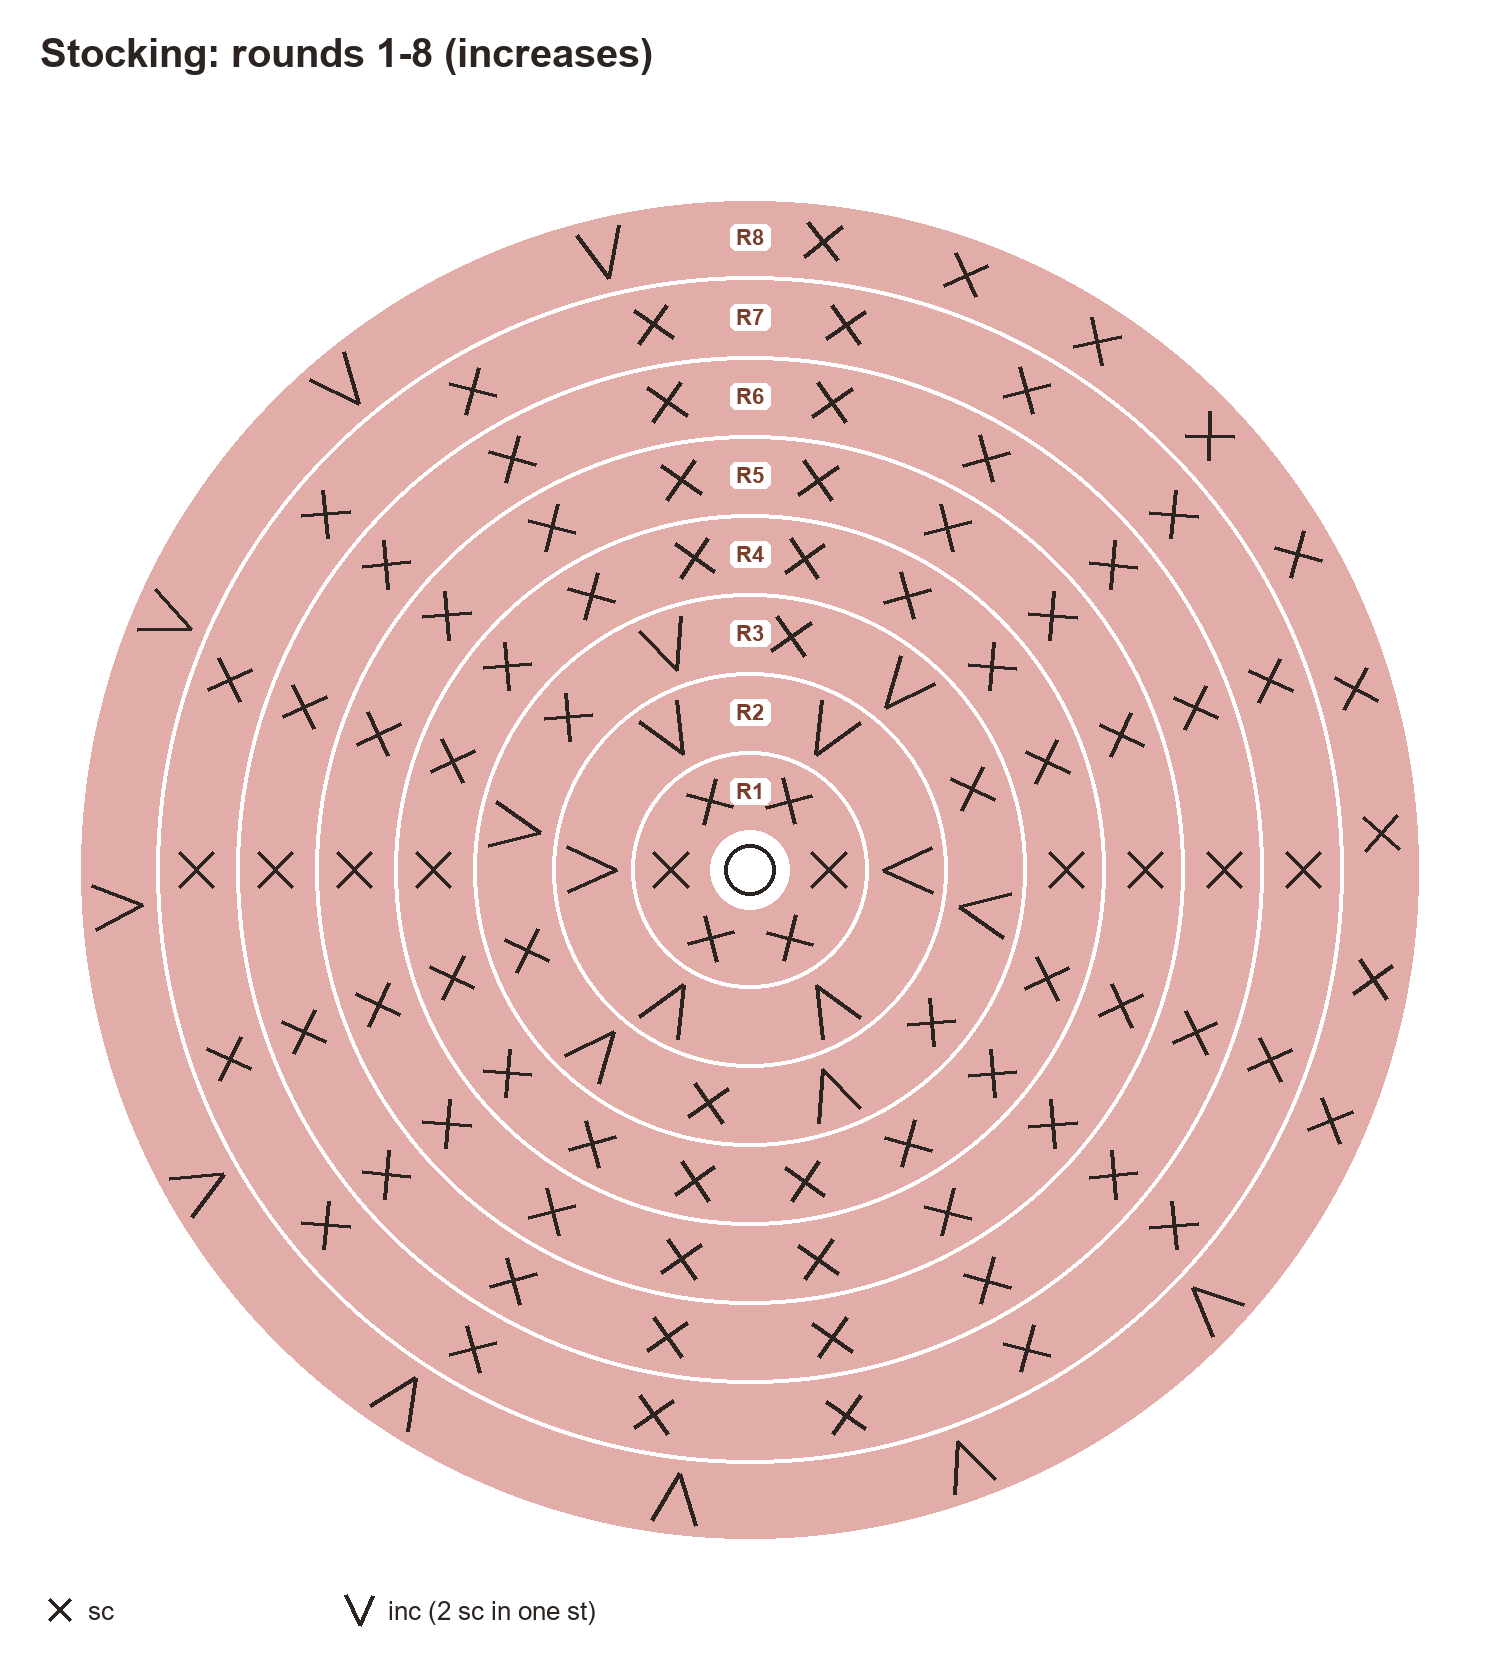
- Rnd 1: 6 sc in a magic ring. (6)
- Rnd 2: Inc ×6. (12)
- Rnd 3: (sc, inc) ×6. (18)
- Rnds 4–7: Sc around. (18)
- Rnd 8: 9 sc, inc ×9. (27)
- Rnds 9–10: Sc around. (27)
- Rnd 11: 9 sc, dec ×9. (18)
- Rnds 12–21: Sc around. (18)
- Rnd 22: Switch to B (cream). BLO (2 sc, inc) ×6. (24)
- Rnds 23–25: Sc around. (24)
Placement: The heel bulge (R8-R11) is on the back: the 9 stitches after the first 9 of each round.
Finish: Sl st in next st, FO and weave in; the toe can take a little stuffing so it keeps its round shape.
Finish: Hanging loop in C: ch 15, sl st into the back of the cuff at R25 and fasten off.
Finishing
- Weave in the ends on the inside. Push a little fiberfill into the toe if you want it rounder.
- Chain 15 in green, slip stitch into the back of the cuff at the top round and fasten off. Knot the two tails together inside the cuff.
- Press the stocking flat with your fingers so the heel sits at the back and the toe points forward.
Tips
- Heel on the wrong side? Turn the stocking: the bulge always goes to the back. If the toe points the wrong way for your tree, hang it from the other side of the cuff.
- Make a set. Green with a cream cuff, or cream with a red cuff. Same rounds, different colors.
- Add a name. Embroider a short name or initial on the cuff with backstitch before you add the loop.
- Use it as a gift tag. Tuck a folded gift card or a small chocolate into the leg.
FAQ
Can I make a bigger stocking?
Use worsted acrylic and a 3.5 mm hook with the same rounds. At a typical worsted amigurumi gauge (5 sc per inch) it grows to about 5 in / 12 cm tall.
Why does my heel look pointy?
The increases and decreases in rounds 8 and 11 should sit in the same 9 stitches. If they drift, the heel twists. Keep the marker as your guide and count 9 every time.
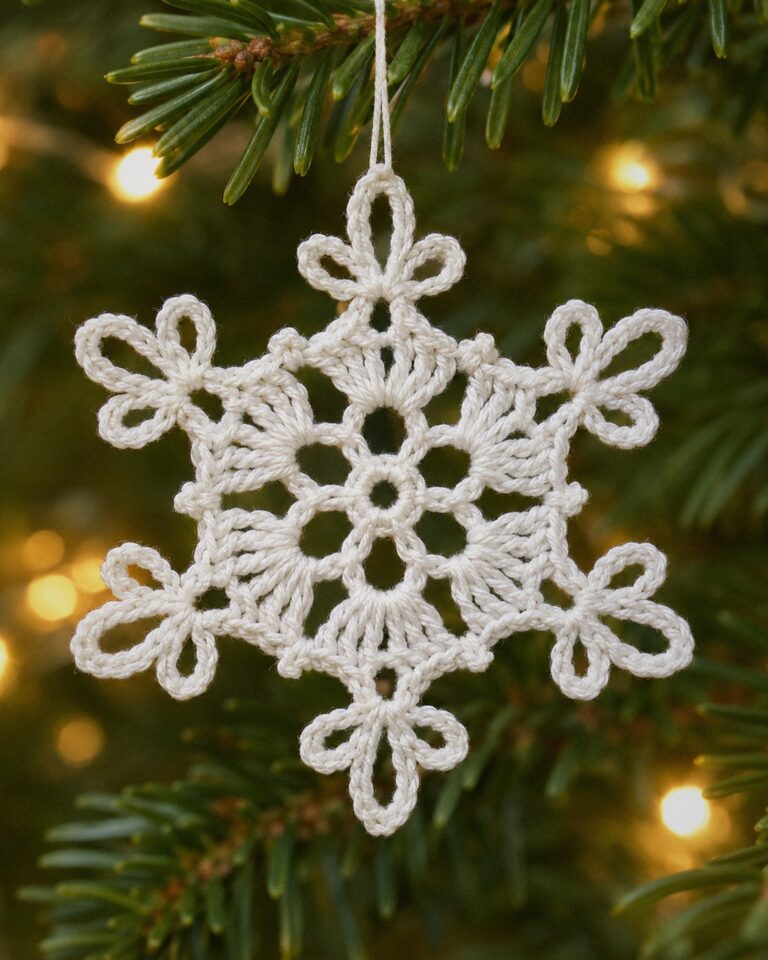
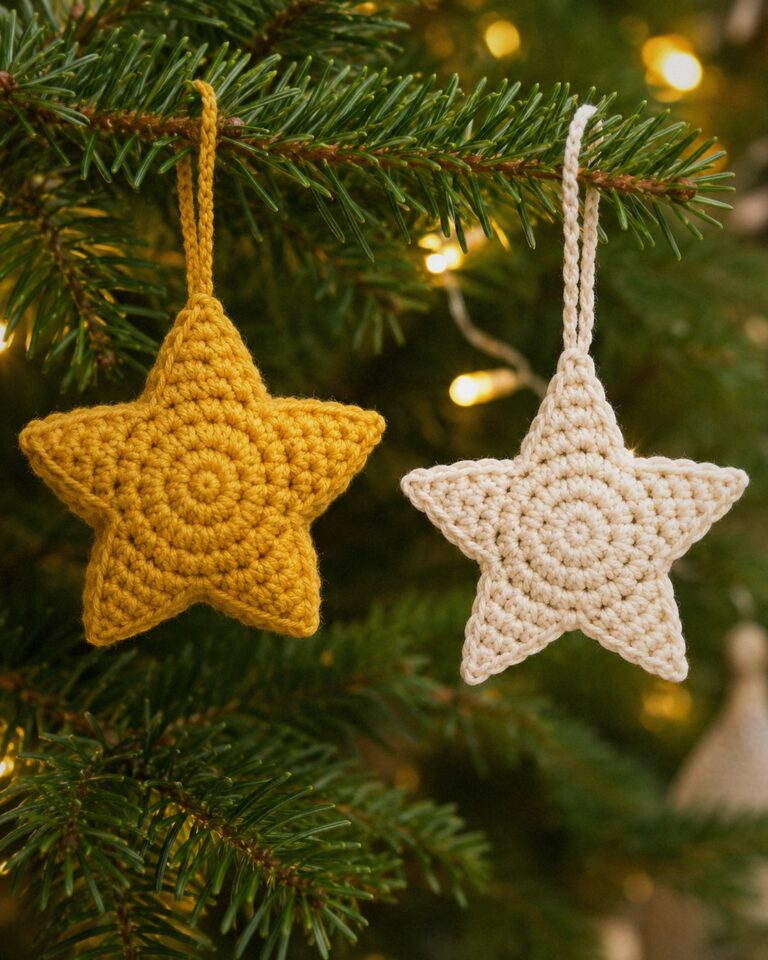
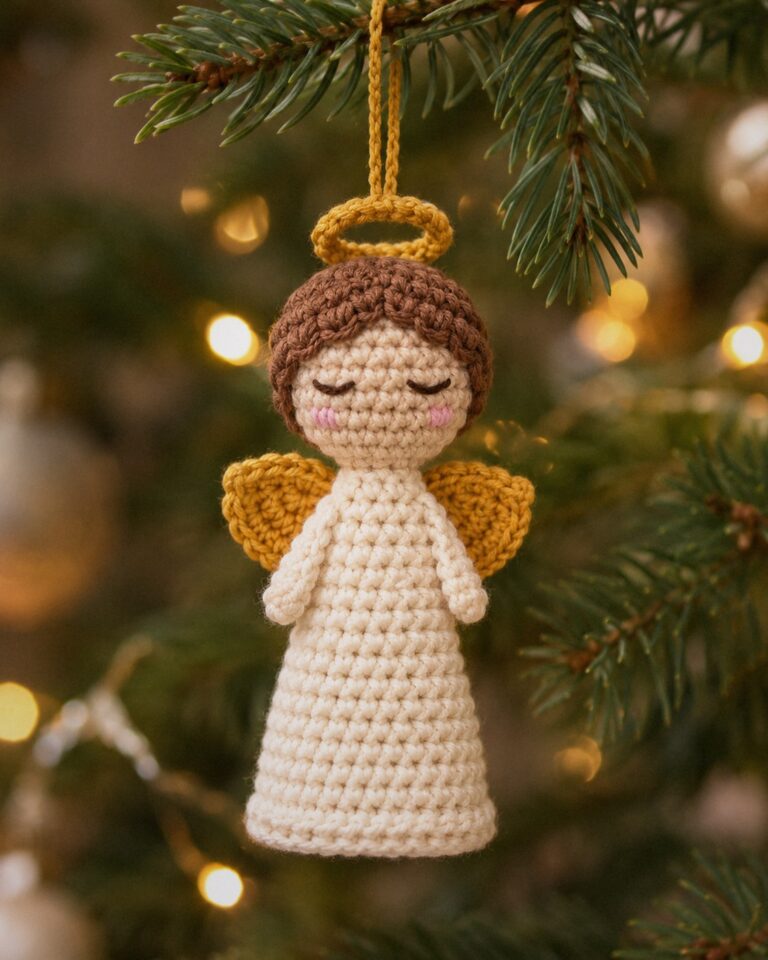
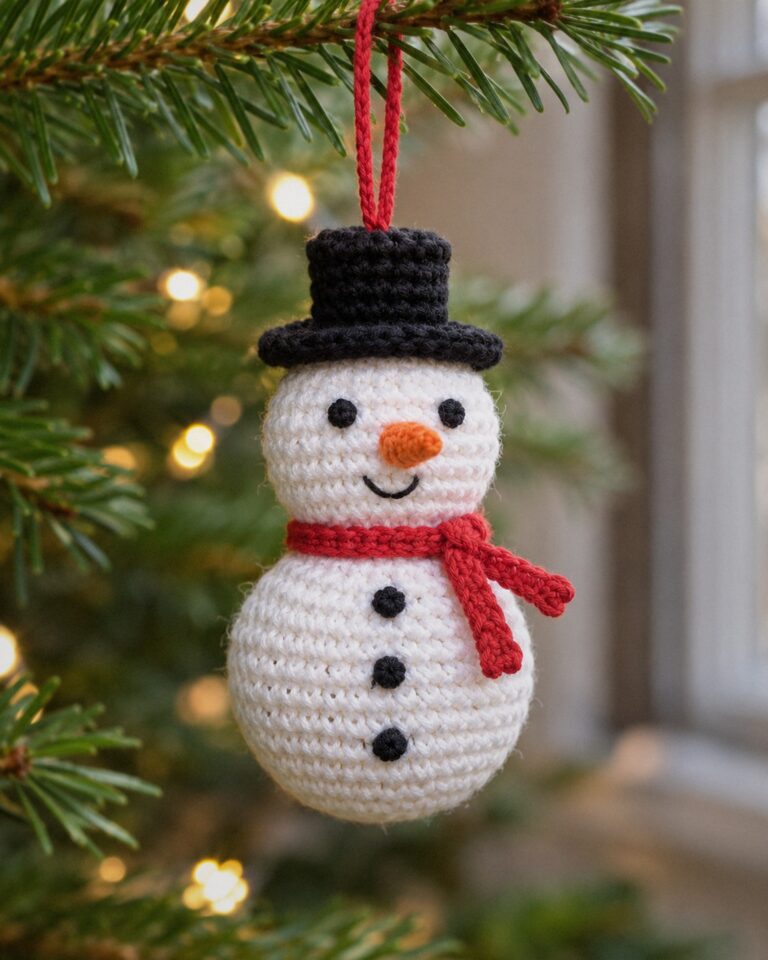
More quick ornaments in the same yarn: the amigurumi baubles, the snowman, a crochet star and a crochet snowflake.