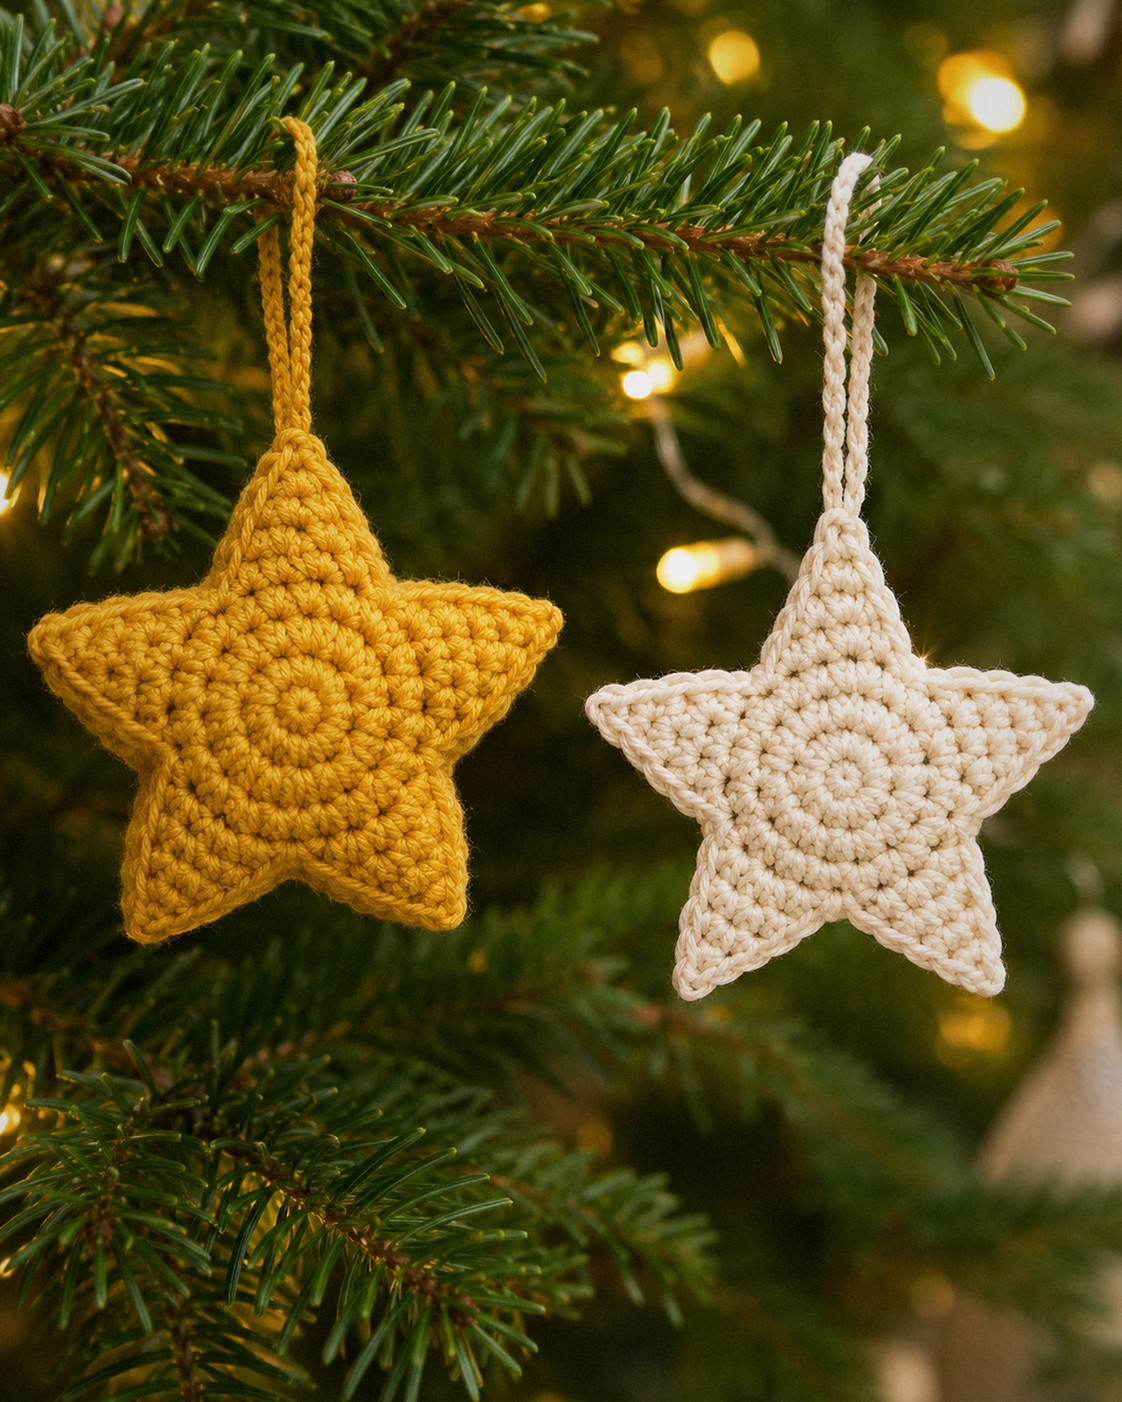
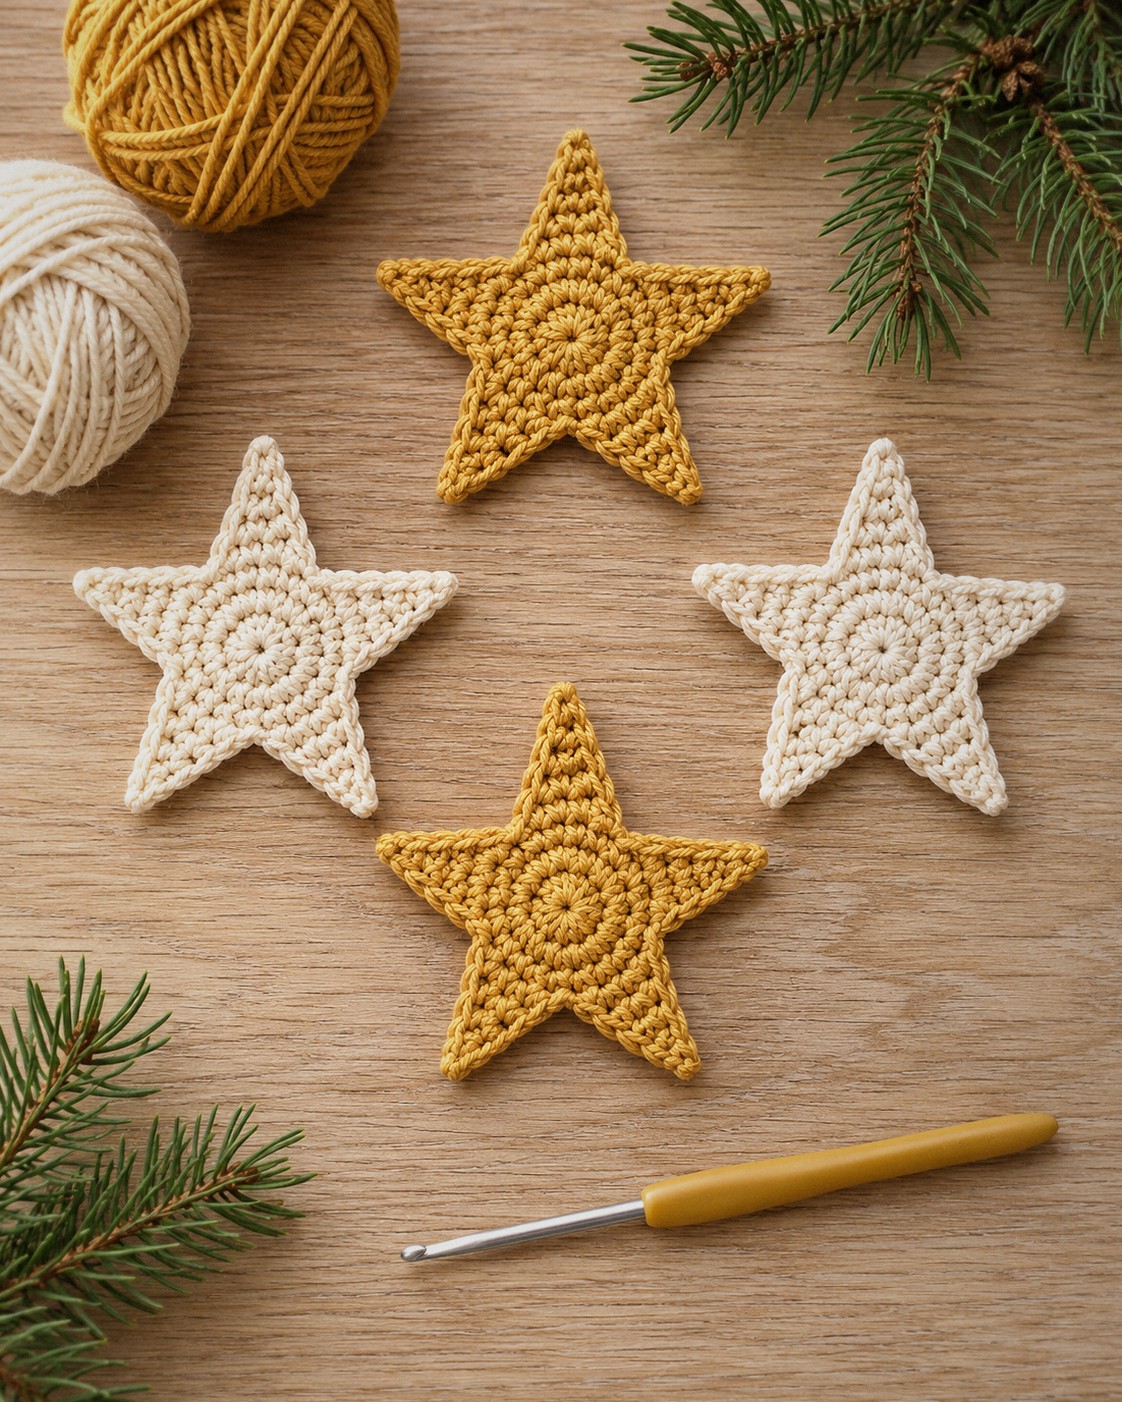
This crochet star has a round center, five arms worked in short rows, and one border round that smooths every edge into a clean outline. Use one as a flat star for garlands, gift tags and appliqués, or join two with the border round for a puffy ornament.
It comes out about 3.5 in / 9 cm across in DK cotton. Every round and every arm row has its stitch count below, and the printable PDF has the pattern and the diagram.
In this post8 sections
Pattern at a glance
- Skill level: easy (sc, inc, dec, turning rows)
- Finished size: about 3.5 in / 9 cm across
- Yarn: DK cotton, about 11 yd / 10 m per star
- Hook: 2.5 mm (US B/1–C/2)
- Time: about 30 minutes per star
Materials
- DK cotton in mustard (A) or cream (B)
- 2.5 mm hook, tapestry needle, a stitch marker, a little fiberfill for a puffy star
Abbreviations (US terms)
- MR magic ring · sc single crochet · inc 2 sc in one stitch · dec sc2tog
- ch 1 turn chain 1 and turn the work; the chain does not count as a stitch · sl st slip stitch · FO fasten off
How the star is built
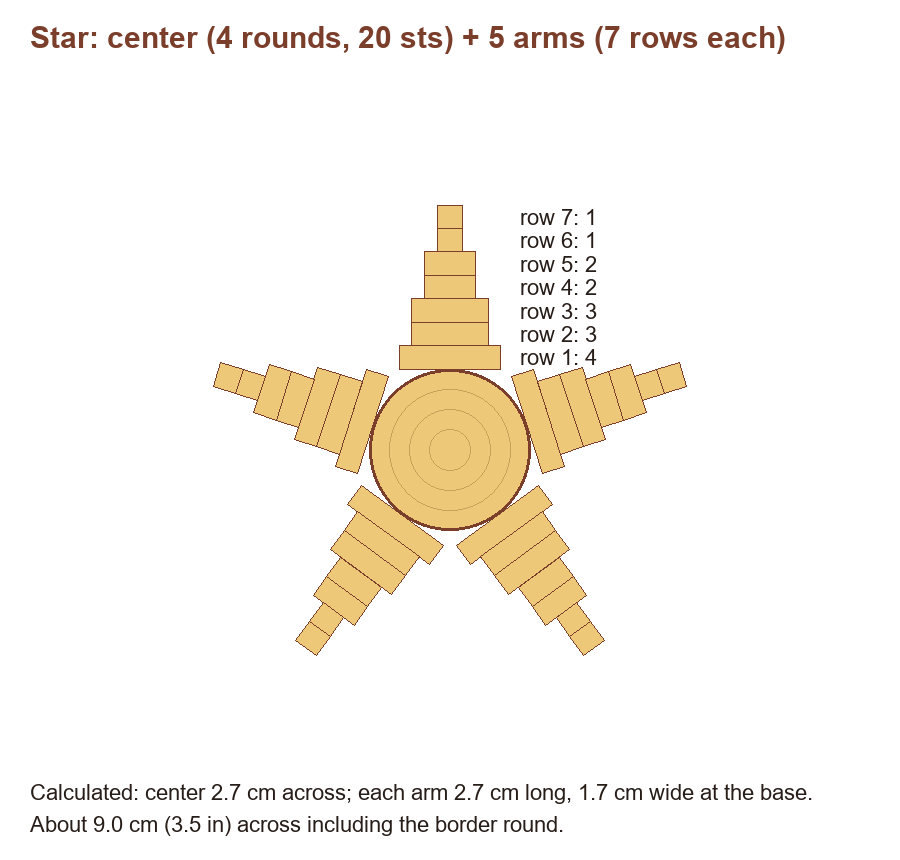
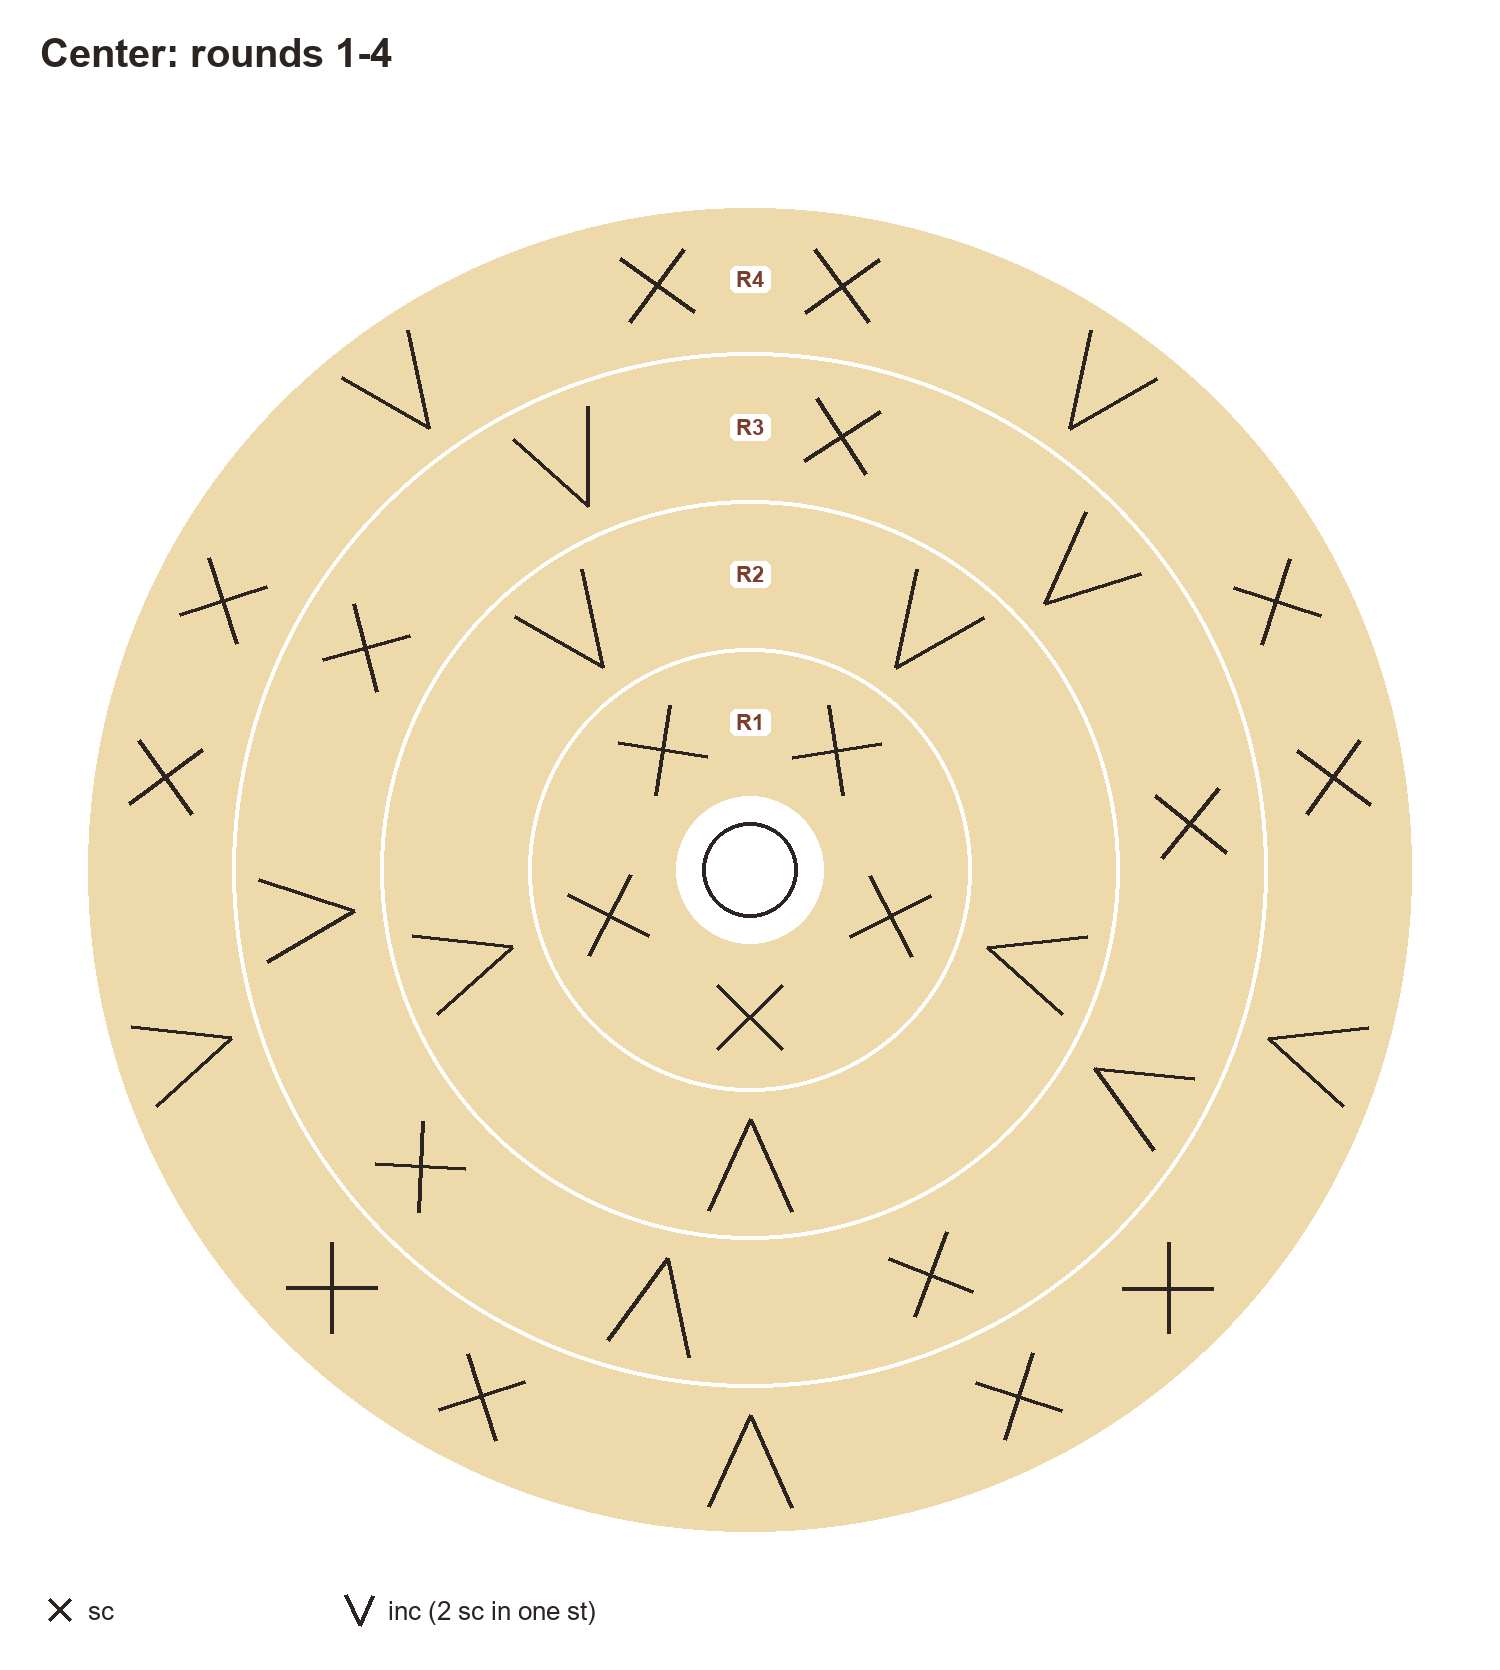
- The center is 4 rounds and ends with 20 stitches.
- Each arm sits on 4 of those stitches: 5 arms × 4 stitches = 20, so the arms use the whole center with nothing left over.
- An arm is 7 short rows that go from 4 stitches down to 1. The border round then wraps around all five arms in one go.
The pattern
Center
Color: start with A (mustard).
- Rnd 1: 5 sc in MR. (5)
- Rnd 2: Inc ×5. (10)
- Rnd 3: (sc, inc) ×5. (15)
- Rnd 4: Sc, inc, (2 sc, inc) ×4, sc. (20)
Finish: Sl st in next st; do not fasten off, start the first arm in the same place.
Arm (make 5)
Color: start with A (mustard).
Work the first arm over the 4 stitches right after the slip stitch, then each next arm over the next 4 unworked stitches.
- Rnd 1: Sc in next 4 sts. (4)
- Rnd 2: Ch 1 turn, sc, dec, sc. (3)
- Rnd 3: Ch 1 turn, 3 sc. (3)
- Rnd 4: Ch 1 turn, sc, dec. (2)
- Rnd 5: Ch 1 turn, 2 sc. (2)
- Rnd 6: Ch 1 turn, dec. (1)
- Rnd 7: Ch 1 turn, sc. (1)
Finish: FO; join the yarn in the next unworked center stitch and work the next arm over the next 4 stitches (5 arms x 4 = 20 = all of round 4).
Border
Color: start with A (mustard).
Join the yarn at the base of any arm and work all the way around the star.
- Rnd 1: (7 sc, 3 sc in next st, 7 sc) ×5. (85)
Finish: Worked around the whole star: 7 sc along each arm side (one per row end), 3 sc in the single stitch at each tip; sl st to the first sc, FO.
Finish: Puffy star: make two stars, hold them wrong sides together and work the border round through both layers, stuffing lightly before closing; add a ch 20 loop at one tip.
Finishing
- For a flat star, weave in the ends, pin it out with each tip pulled gently, mist with water and let it dry.
- For a puffy star, make two stars without the border. Hold them wrong sides together and work the border round through both layers. Stuff lightly before the last arm.
- Chain 20 at one tip and slip stitch back into the same stitch for a hanging loop.
Tips
- Straight arms: always start each arm in the stitch right next to the previous one, so no center stitch is skipped or used twice.
- Neat tips: the 3 sc in the tip stitch of the border are what make the points sharp; don’t skip them.
- Garland: make 10 flat stars and slip stitch them onto a long chain through one tip each.
- Bigger star: worsted yarn and a 3.5 mm hook give about 4.2 in / 10.8 cm across with the same rounds and rows.
FAQ
My arms are different lengths. Why?
Count the rows: every arm has 7, ending in a single stitch. A missed turning chain is the usual cause.
Can I make a six-pointed star?
Yes. Start the center with 6 sc in the magic ring and grow by 6 each round: 6, 12, 18, then (2 sc, inc) × 6 for 24. Work six arms of 4 stitches each, and the border has 6 repeats (102 stitches).
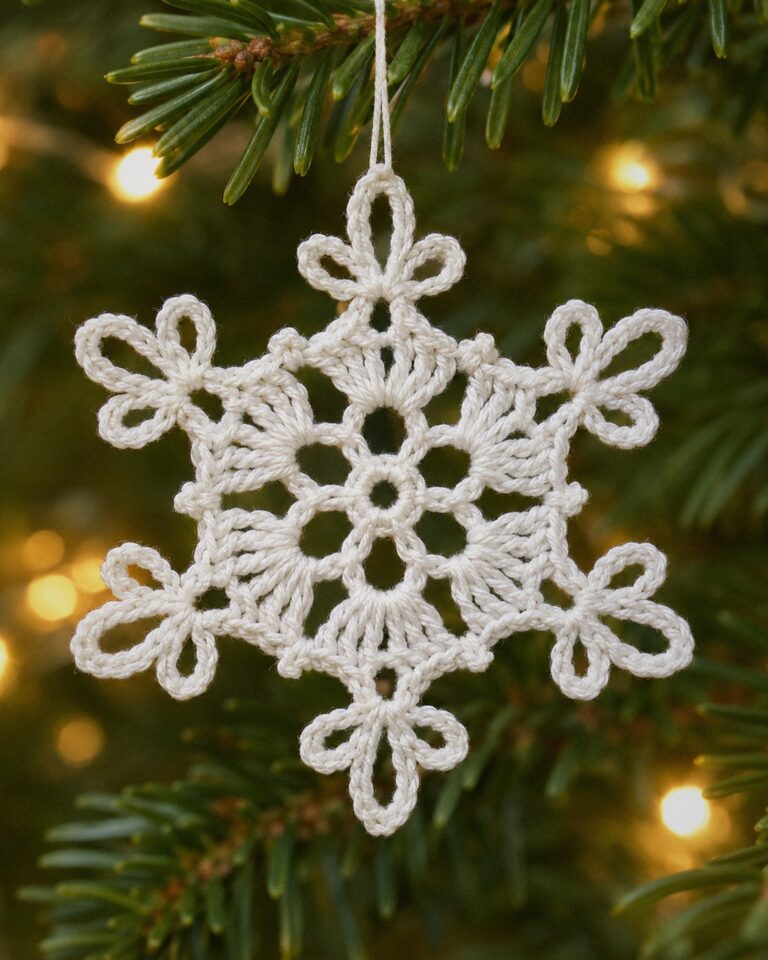
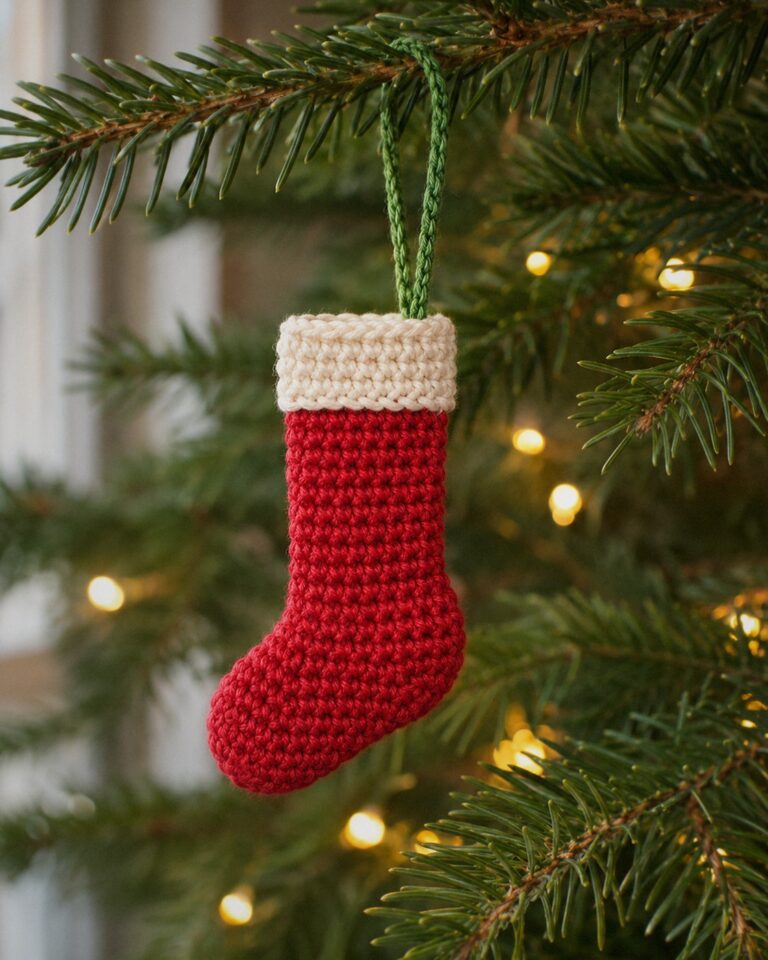
The star goes well with our crochet snowflake, the amigurumi Christmas tree and the mini stocking.