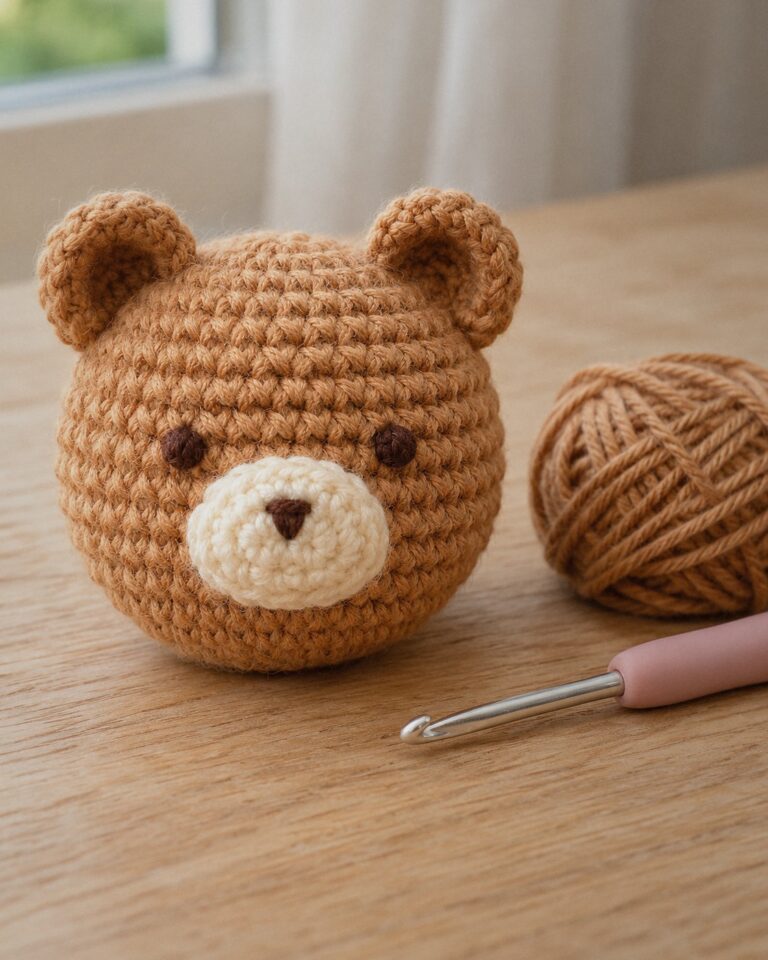
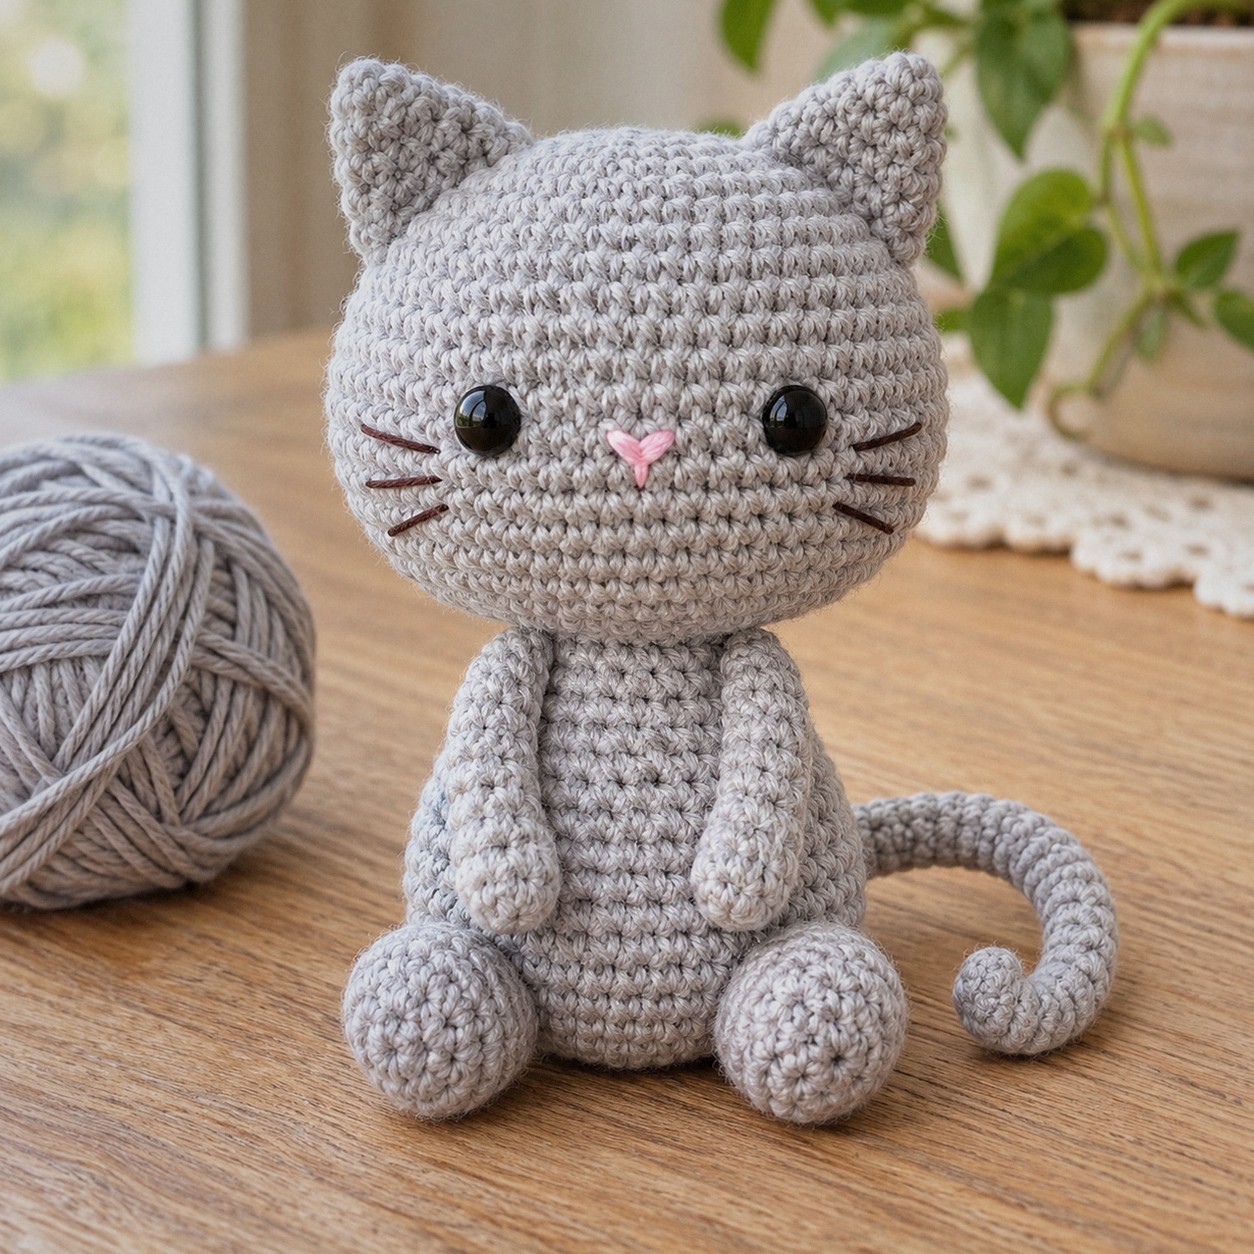
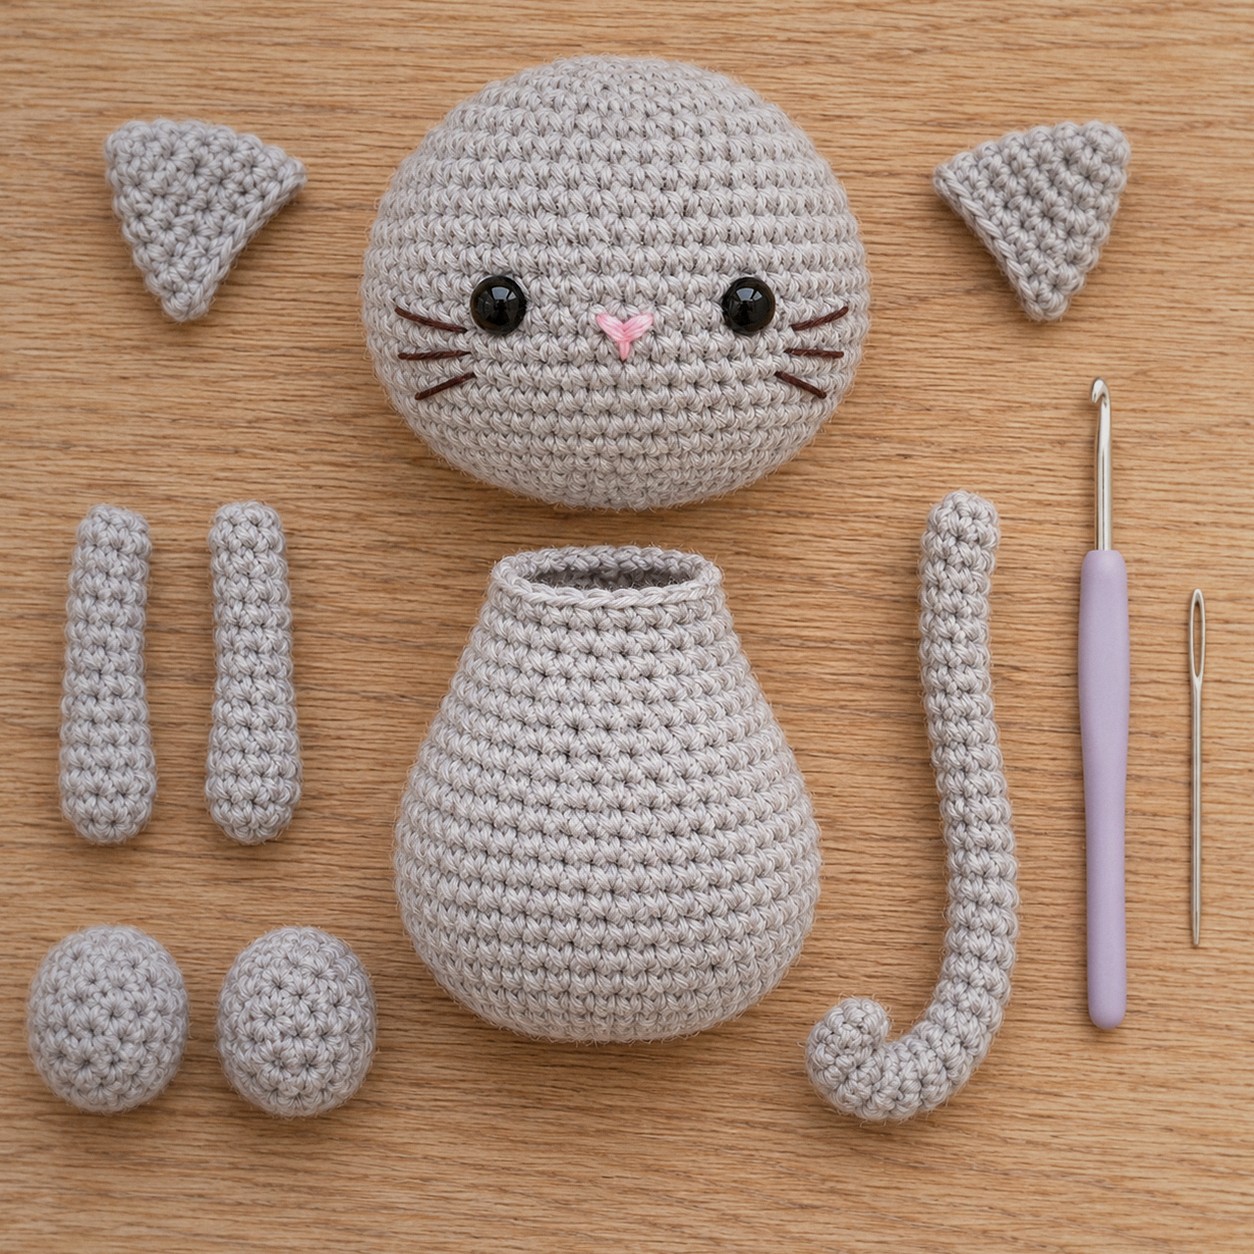
This little grey cat sits on its own, fits in one hand and is made from six simple pieces: a big round head, a pear-shaped body, two flat ears, two arms, two legs and a long thin tail. The head is wider than the body on purpose. That is what makes it read as a kitten rather than a bear.
It is about 3.5 in / 9 cm tall sitting, and the head is 1.9 in / 4.9 cm across. Every round below ends with its stitch count, and there is a printable PDF of the whole pattern.
In this post8 sections
Pattern at a glance
- Skill level: easy (MR, sc, inc, invisible dec, sewing pieces together)
- Finished size: about 3.5 in / 9 cm tall sitting
- Yarn: DK cotton, about 67 yd / 62 m
- Hook: 2.5 mm (US B/1–C/2)
- Time: about 3 hours
Materials
- DK cotton in light grey (A), about 67 yd / 62 m
- A little pink (B) for the nose and dark brown (C) for the whiskers
- 8 mm safety eyes (one pair), or black yarn to embroider them
- 2.5 mm hook, stitch marker, tapestry needle, fiberfill, pins
Abbreviations (US terms)
- MR magic ring · sc single crochet · inc 2 sc in one stitch · dec invisible decrease · FO fasten off
Before you start
- Work in continuous rounds and move the stitch marker up every round.
- Put the safety eyes in before you close the head (before round 15). Once the back is on you can’t reach inside.
- Pin every piece before you sew it. Moving an ear by one round changes the whole face.
- New to amigurumi? Our amigurumi for beginners guide covers the magic ring, the invisible decrease and stuffing.
The pattern
Head
Color: start with A (light grey).
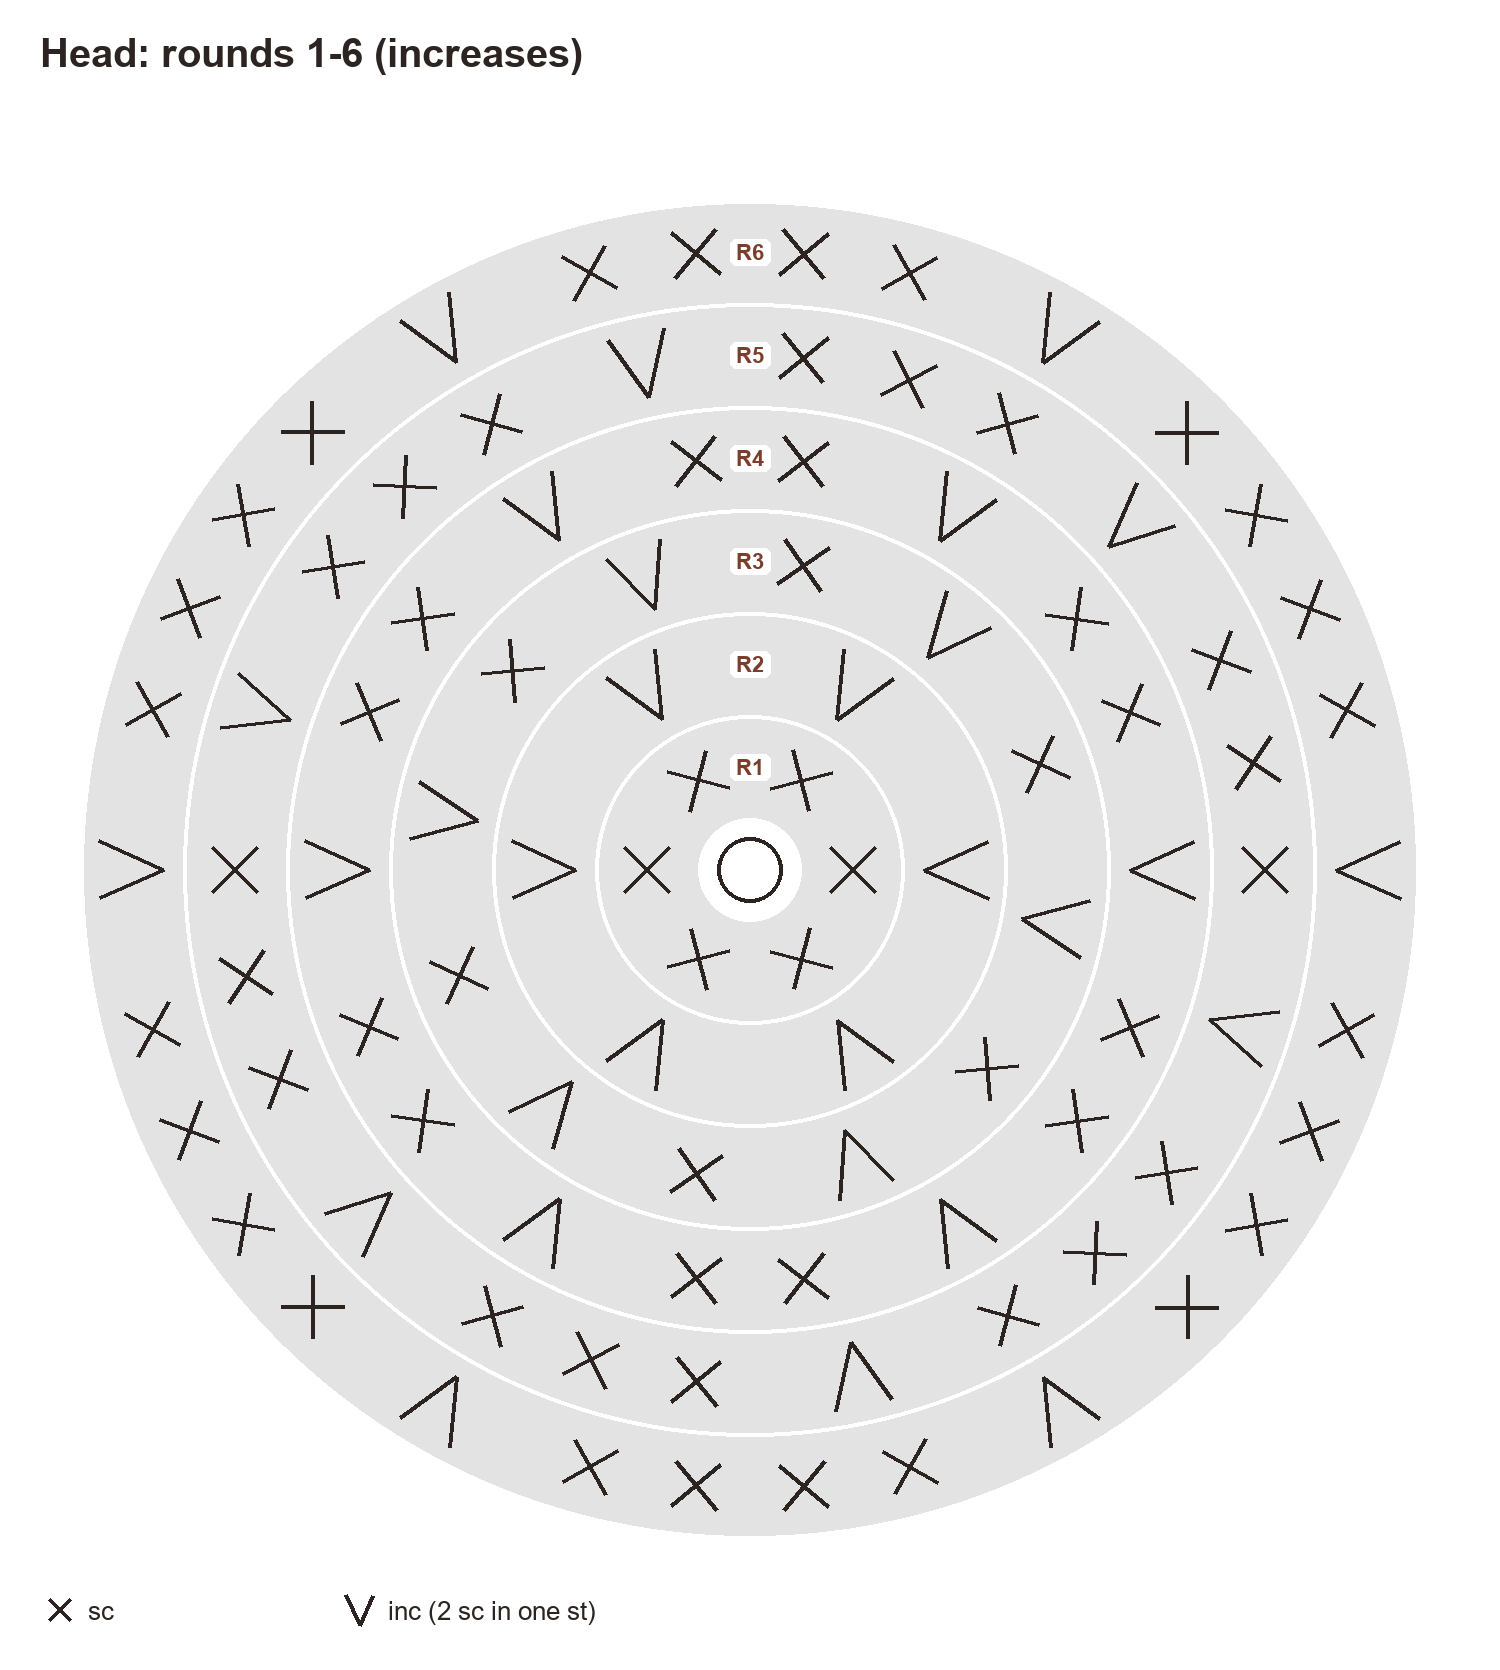
The head is the biggest piece: 36 stitches at its widest, seven straight rounds.
- Rnd 1: 6 sc in a magic ring. (6)
- Rnd 2: Inc ×6. (12)
- Rnd 3: (sc, inc) ×6. (18)
- Rnd 4: Sc, inc, (2 sc, inc) ×5, sc. (24)
- Rnd 5: (3 sc, inc) ×6. (30)
- Rnd 6: 2 sc, inc, (4 sc, inc) ×5, 2 sc. (36)
- Rnds 7–13: Sc around. (36)
- Rnd 14: (4 sc, dec) ×6. (30)
- Rnd 15: (3 sc, dec) ×6. (24)
- Rnd 16: Sc, dec, (2 sc, dec) ×5, sc. (18)
- Rnd 17: (sc, dec) ×6. (12)
- Rnd 18: Dec ×6. (6)
Placement: Eyes: 8 mm safety eyes between R10 and R11, 7 sts apart (insert before R15).
Placement: Nose in B: a small V of 3 straight stitches between the eyes, on R11-R12.
Placement: Whiskers in C: three straight stitches on each side of the nose.
Finish: Stuff firmly after R17, FO and close the hole.
Body
Color: start with A (light grey).
The body narrows in two steps and stays open at the top.
- Rnd 1: 6 sc in a magic ring. (6)
- Rnd 2: Inc ×6. (12)
- Rnd 3: (sc, inc) ×6. (18)
- Rnd 4: Sc, inc, (2 sc, inc) ×5, sc. (24)
- Rnd 5: (3 sc, inc) ×6. (30)
- Rnds 6–9: Sc around. (30)
- Rnd 10: (3 sc, dec) ×6. (24)
- Rnds 11–13: Sc around. (24)
- Rnd 14: Sc, dec, (2 sc, dec) ×5, sc. (18)
- Rnds 15–16: Sc around. (18)
Finish: FO with a long tail, stuff firmly, sew the open end under the head.
Ear (make 2)
Color: start with A (light grey).
Starting with 4 stitches gives a pointed tip.
- Rnd 1: 4 sc in MR. (4)
- Rnd 2: (sc, inc) ×2. (6)
- Rnd 3: (2 sc, inc) ×2. (8)
- Rnd 4: (3 sc, inc) ×2. (10)
- Rnd 5: Sc around. (10)
Finish: FO, flatten, do not stuff; sew on between R3 and R6 of the head, about 8 sts apart.
Arm (make 2)
Color: start with A (light grey).
- Rnd 1: 6 sc in a magic ring. (6)
- Rnd 2: (2 sc, inc) ×2. (8)
- Rnds 3–9: Sc around. (8)
Finish: Stuff only the paw, FO, flatten the top and sew on at the side of the body just below the head.
Leg (make 2)
Color: start with A (light grey).
- Rnd 1: 6 sc in a magic ring. (6)
- Rnd 2: Inc ×6. (12)
- Rnds 3–5: Sc around. (12)
- Rnd 6: (2 sc, dec) ×3. (9)
- Rnd 7: Sc around. (9)
Finish: Stuff, FO and sew on at the bottom front of the body so the cat sits.
Tail
Color: start with A (light grey).
A long 6-stitch tube.
- Rnd 1: 6 sc in a magic ring. (6)
- Rnds 2–16: Sc around. (6)
Finish: Do not stuff (or slide in a pipe cleaner), FO and sew to the back of the body at R3.
Assembly
- Sew the open end of the body to the bottom of the head, a little toward the back so the cat looks up slightly.
- Sew the ears on top of the head between rounds 3 and 6, about 8 stitches apart, the tips pointing up and a little outward.
- Sew the arms on at the sides of the body just under the head, hanging down at the front.
- Sew the legs to the bottom front of the body, side by side, so they stick forward and the cat sits.
- Sew the tail to the back at round 3 of the body and curl it around one side; a few stitches hold the curl.
Tips
- Kitten face: keep the eyes low and wide (between rounds 10 and 11, 7 stitches apart). Eyes placed higher make an older-looking cat.
- Tabby version: work the body in stripes of 2 rounds grey, 1 round white.
- Tail that stays curled: slide a 4 in / 10 cm pipe cleaner in and fold the sharp ends over first. Leave it out for small children.
FAQ
Is this cat safe for a baby?
Embroider the eyes instead of using safety eyes, leave out the pipe cleaner and sew every piece on very firmly. The arms and tail are small, so check the seams often.
Can I make it bigger?
Use worsted acrylic and a 3.5 mm hook. Every piece grows in proportion and the cat comes out about a fifth bigger.
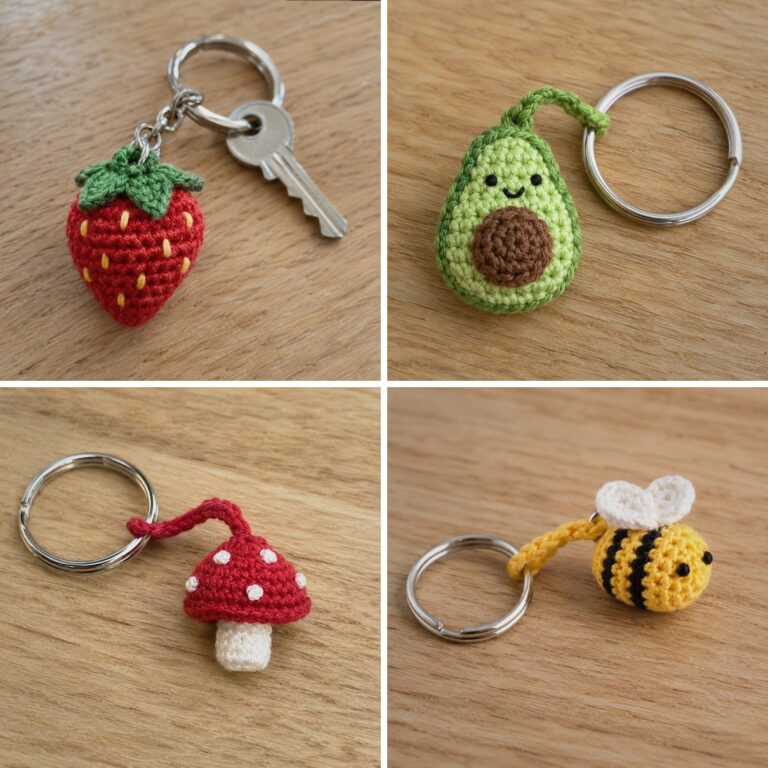
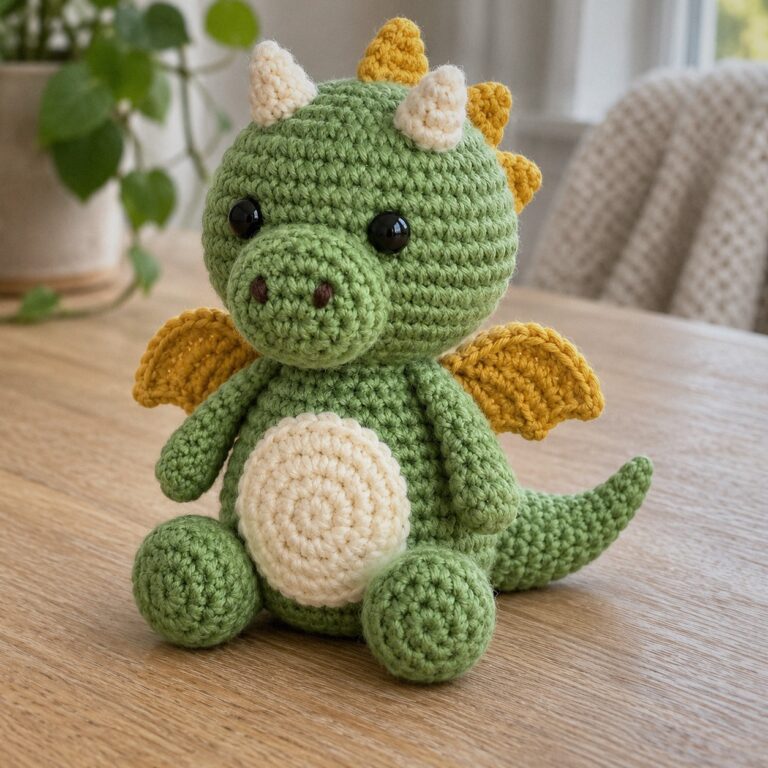
Want something else to make in grey? Try the little dragon, which is built the same way, or browse our mini keychain patterns.