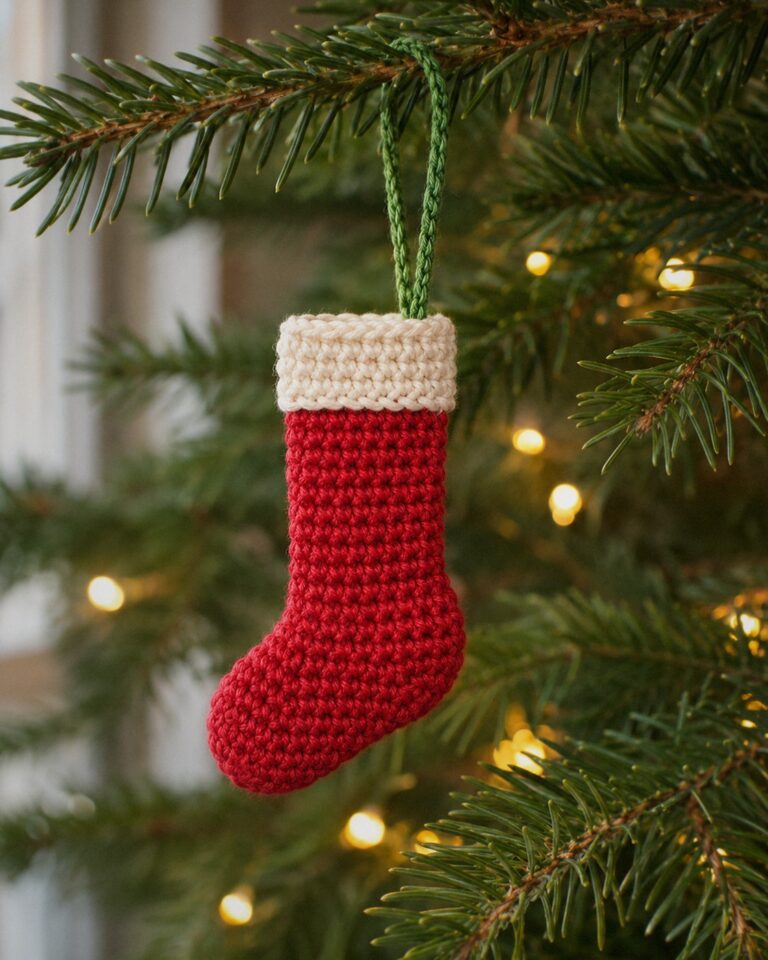
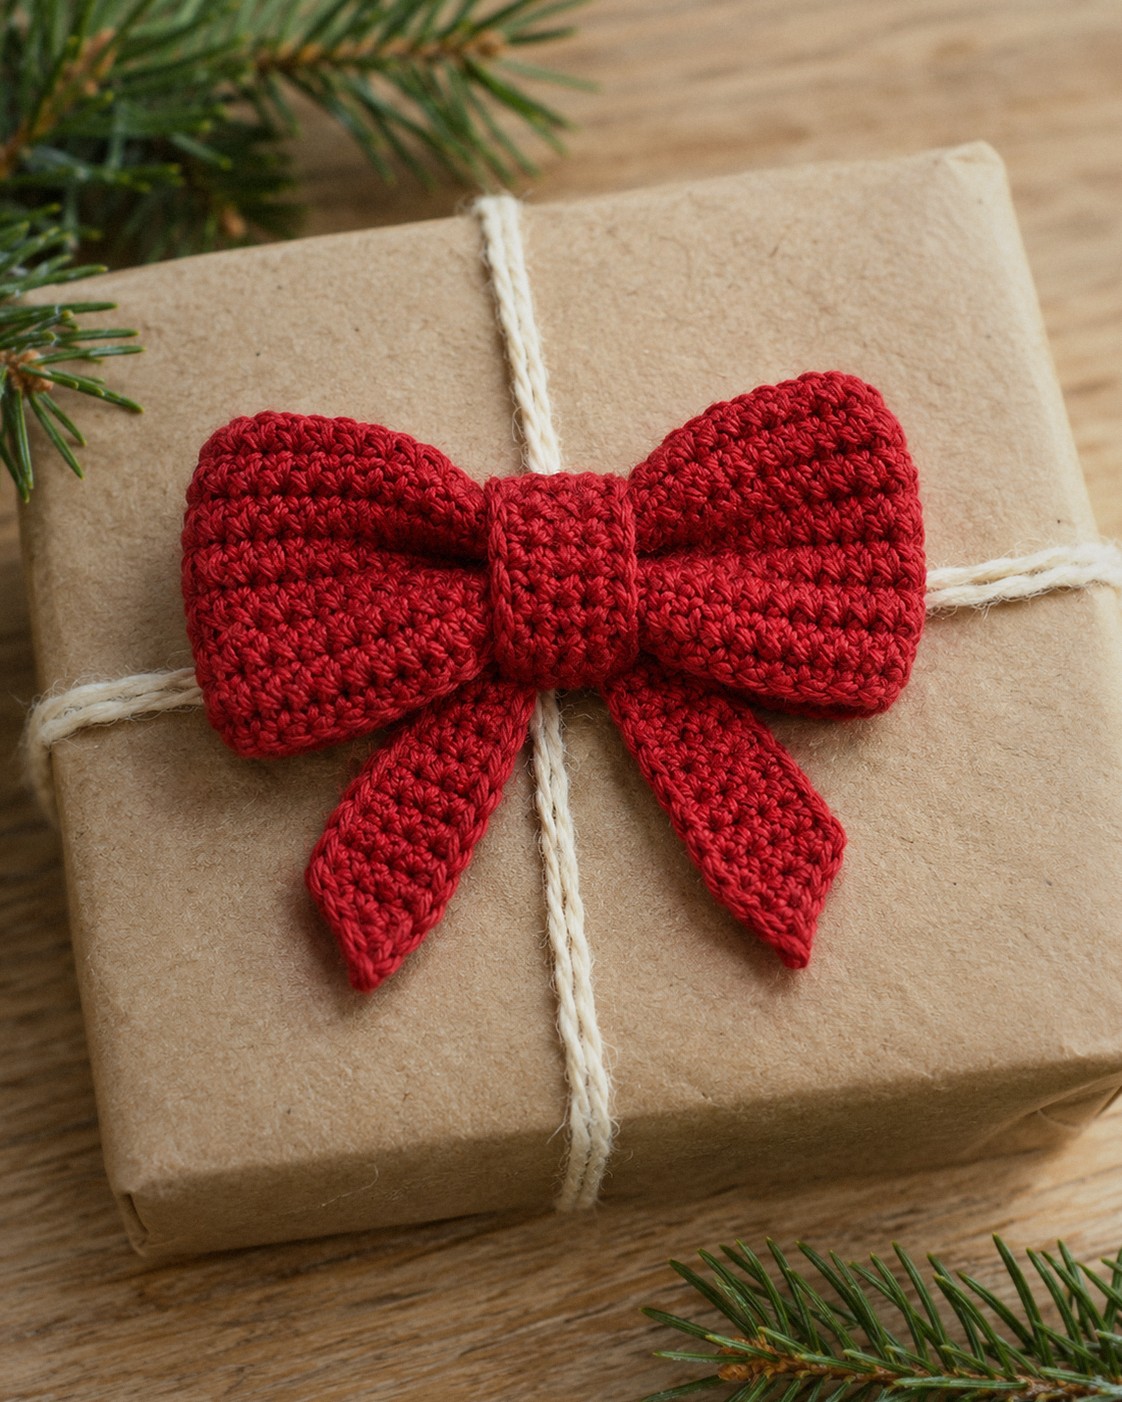
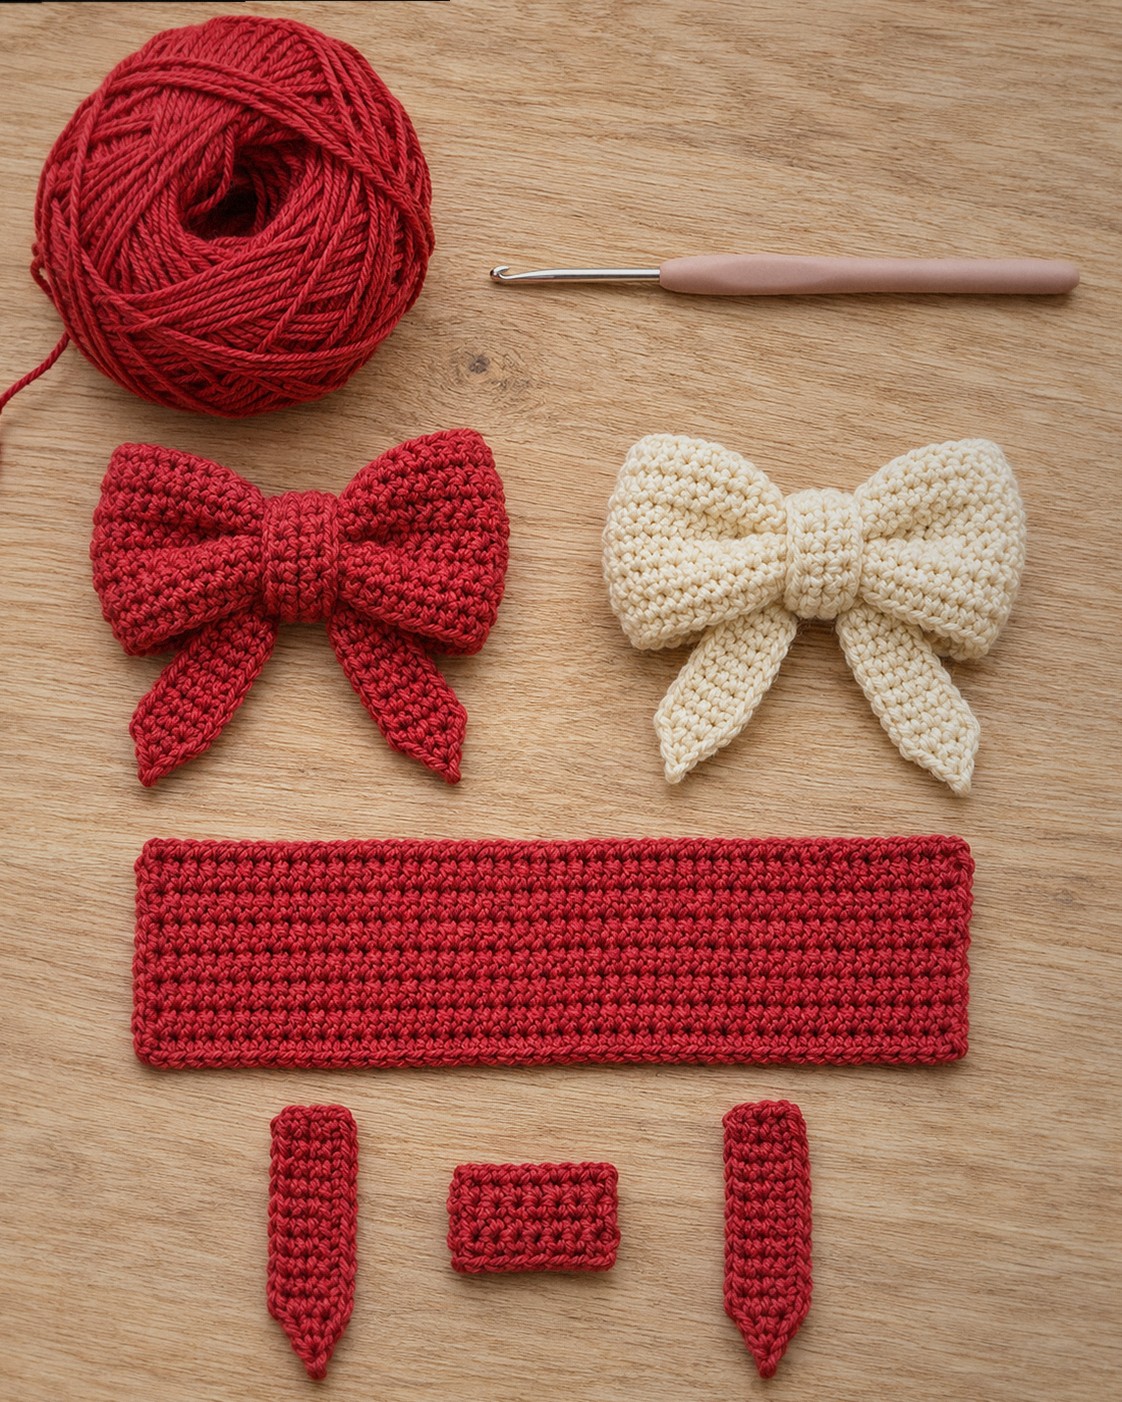
This crochet bow is made from three flat strips and no shaping at all: a rectangle that becomes the loop, a short band that pinches the middle, and two little tails. If you can work single crochet in rows, you can make it in about 40 minutes, and it is sturdy enough for a gift box, a wreath or a hair clip.
The finished bow is about 2.5 in / 6.3 cm wide and 1.5 in / 3.9 cm tall, with the tails hanging below. The cream bow in the photos is the same pattern in a different yarn.
In this post8 sections
Pattern at a glance
- Skill level: easy (chain, sc, turning rows, simple sewing)
- Finished size: about 2.5 in / 6.3 cm wide, 1.5 in / 3.9 cm tall, tails about 1.7 in / 4.2 cm
- Yarn: DK cotton, about 21 yd / 19 m in one color
- Hook: 2.5 mm (US B/1–C/2)
- Time: about 40 minutes
Materials
- DK cotton in red (or cream), about 21 yd / 19 m
- 2.5 mm hook, tapestry needle, scissors
- Optional: a hair clip or a small safety pin for the back
Abbreviations (US terms)
- ch chain · sc single crochet
- ch 1 turn: chain 1 and turn; the chain does not count as a stitch
How it goes together
The big rectangle is sewn into a ring and flattened so the seam sits at the back, in the middle. The narrow band wraps tightly around that middle and pinches it, which makes the two loops of the bow. The tails are sewn under the band last.
The pattern
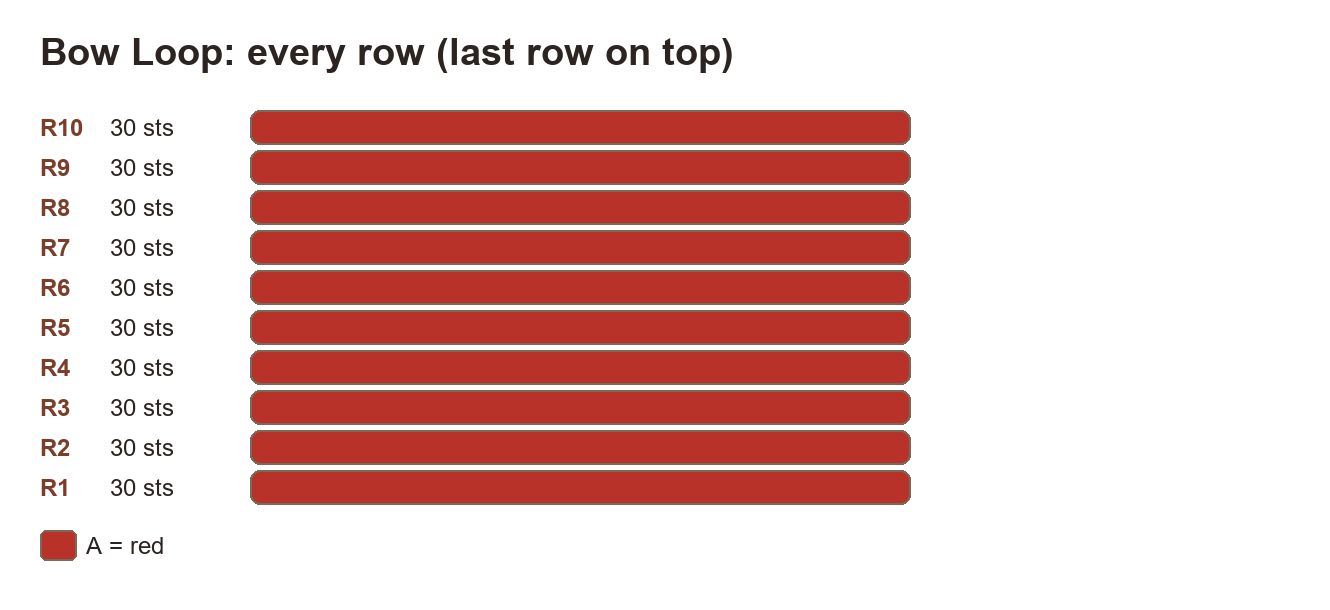
Bow Loop
Color: start with A (red).
Chain 31 to start.
- Rnd 1: Sc around. (30)
- Rnds 2–10: Ch 1 turn, sc around. (30)
Finish: Work R1 into a chain of 31 (2nd ch from the hook); sew the two short ends together to make a ring, flatten with the seam at the back center.
Center Band
Color: start with A (red).
Chain 6 to start.
- Rnd 1: Sc around. (5)
- Rnds 2–9: Ch 1 turn, sc around. (5)
Finish: Work R1 into a chain of 6; wrap tightly around the middle of the flattened loop and sew the short ends together at the back.
Tail (make 2)
Color: start with A (red).
Chain 11 to start. Make two.
- Rnd 1: Sc around. (10)
- Rnds 2–3: Ch 1 turn, sc around. (10)
Finish: Work R1 into a chain of 11; fold the two corners of one end to the back and tack them down to make a point; sew the straight end under the band so the tails hang down at an angle.
Assembly
- Sew the short ends of the loop together and turn it so the seam is on the inside. Flatten it with the seam at the back center.
- Pinch the middle with your fingers, wrap the band around it as tightly as you can and sew the band’s short ends together at the back.
- Slide the straight ends of the two tails under the band at the back, angle them out and down, and sew them in place.
- Weave in all ends under the band. For a hair bow, sew a clip to the back of the band.
Tips
- Puffier loops: push a small wad of fiberfill into each loop before you wrap the band.
- Crisper shape: spray with starch and let the bow dry flat with the loops shaped.
- Two colors: make the band in a contrast color, like a red bow with a cream band.
FAQ
How do I make a bigger bow?
The easiest way is thicker yarn: worsted acrylic and a 3.5 mm hook make the same bow about a fifth bigger without changing the pattern. If you add stitches to the loop, make the band a row or two longer too.
My band is loose.
Take out a row from the band. It should only just reach around the pinched middle.
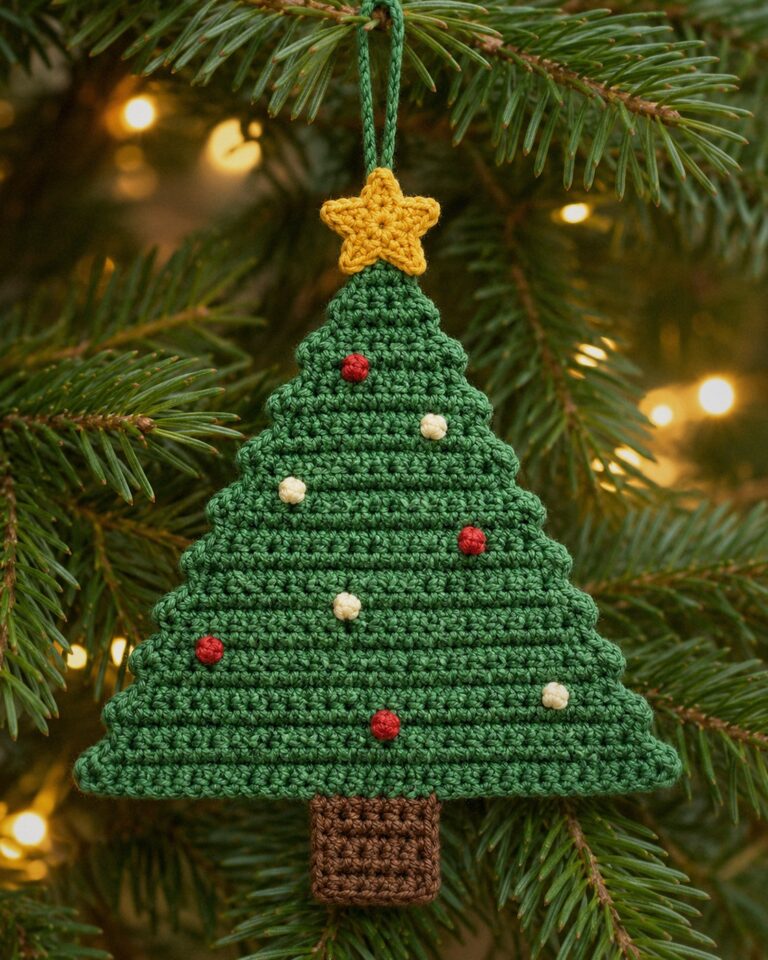
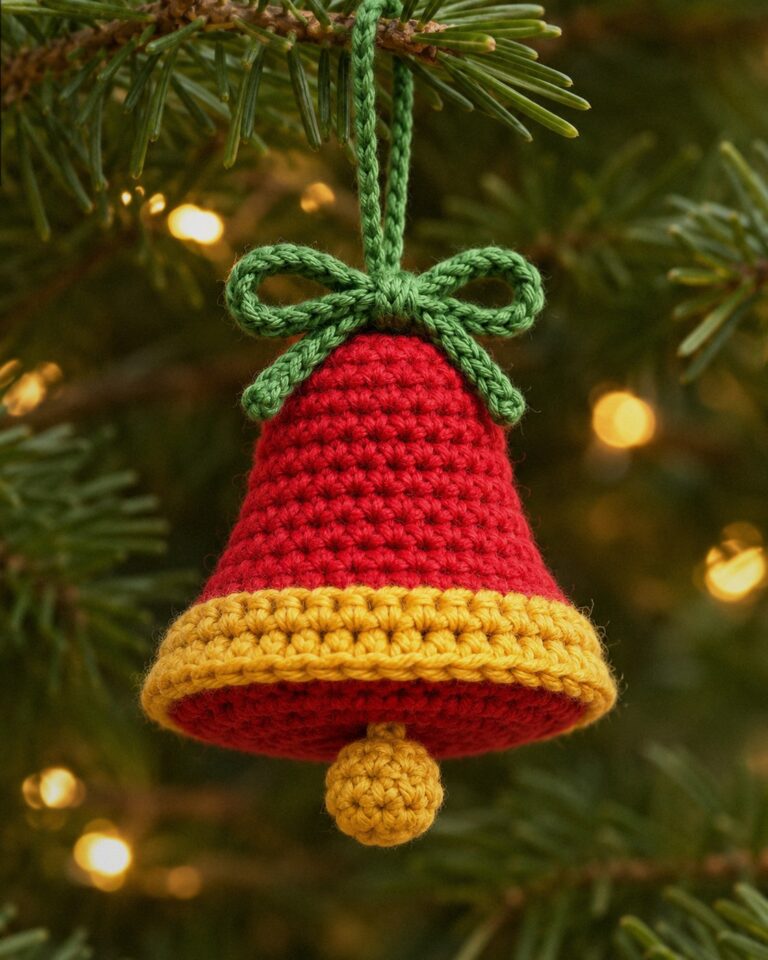
Put it on a gift with a crochet bell or a flat Christmas tree, or browse the full Christmas collection.