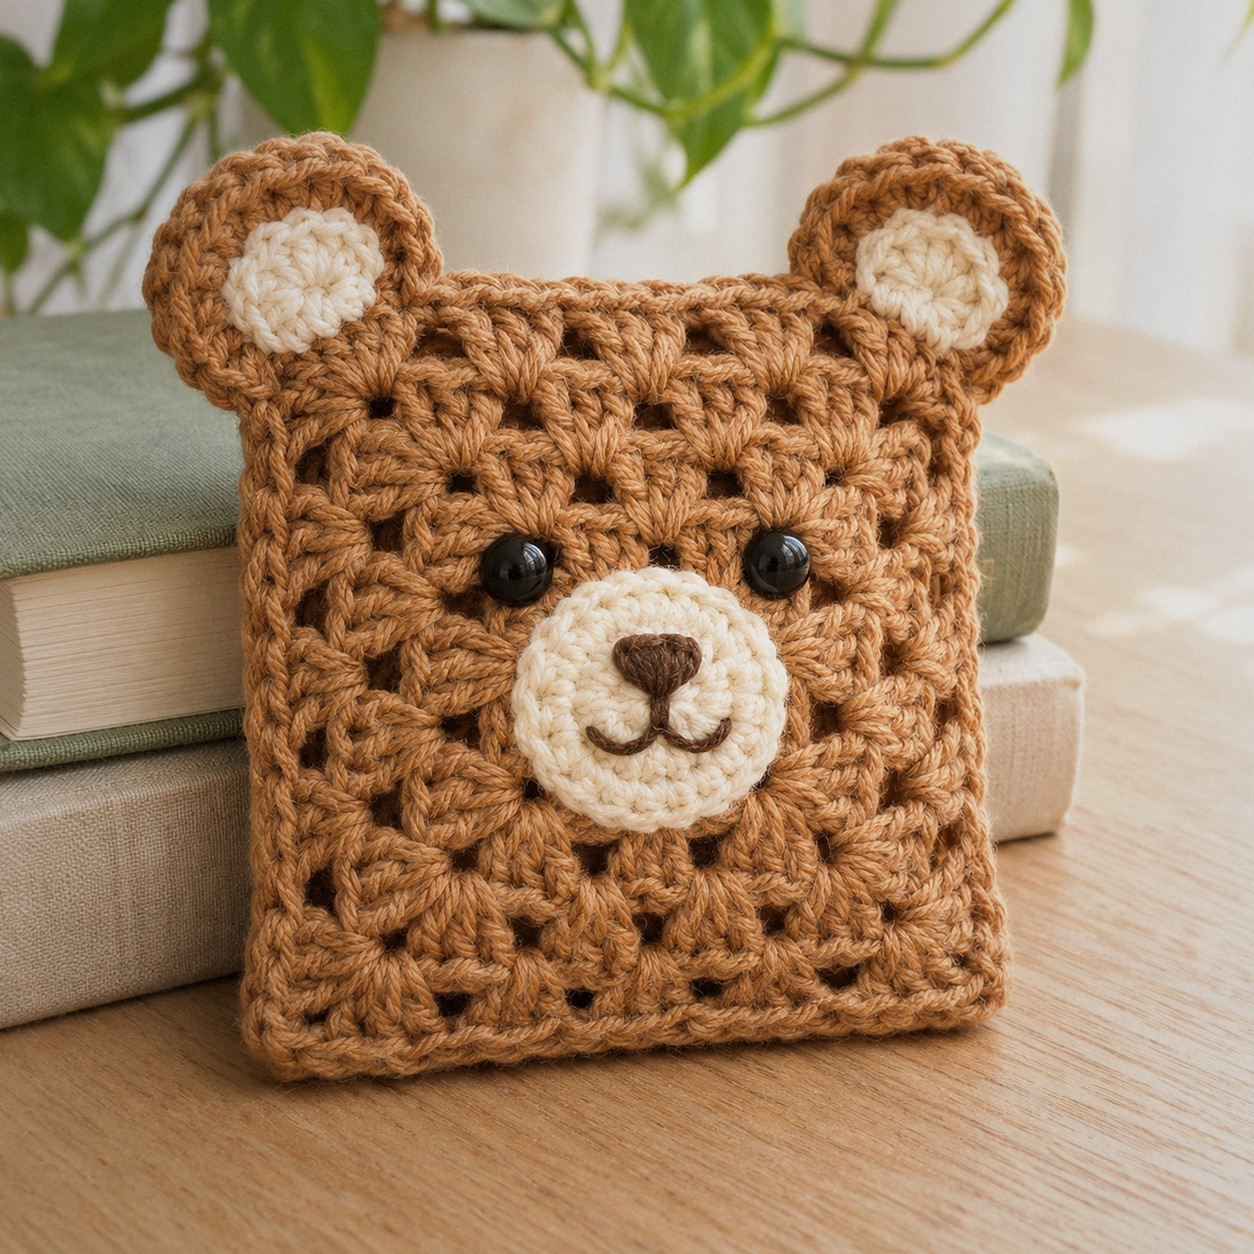
This crochet bear is built from two granny squares. Crochet a front and a back, sew them together, stuff them lightly, and add round ears, a muzzle and two eyes. The result is a soft, square little bear about 3.5 in / 9 cm across: half pillow, half toy, and a good way to use the granny square you already know how to make.
If you’ve never made a granny square, this is a gentle first one: four rounds, one color, and every round below says exactly how many stitches and spaces you should have.
In this post7 sections
Pattern at a glance
- Skill level: easy (granny square rounds, sc, inc, sewing)
- Finished size: about 3.5 in / 9 cm square, plus the ears
- Yarn: DK cotton, about 23 yd / 21 m in total, mostly caramel
- Hooks: 3.0 mm (US C/2–D/3) for the squares, 2.5 mm (US B/1–C/2) for the ears and muzzle
- Time: about 2 hours
Materials
- DK cotton in caramel (A), cream (B) for the muzzle and inner ears, and a little dark brown (C)
- 10 mm safety eyes (one pair)
- 3.0 mm and 2.5 mm hooks, tapestry needle, a small handful of fiberfill
Abbreviations (US terms)
- ch chain · sl st slip stitch · dc double crochet · sp space · cluster 3 dc worked into the same space
- MR magic ring · sc single crochet · inc 2 sc in one stitch · FO fasten off
The pattern
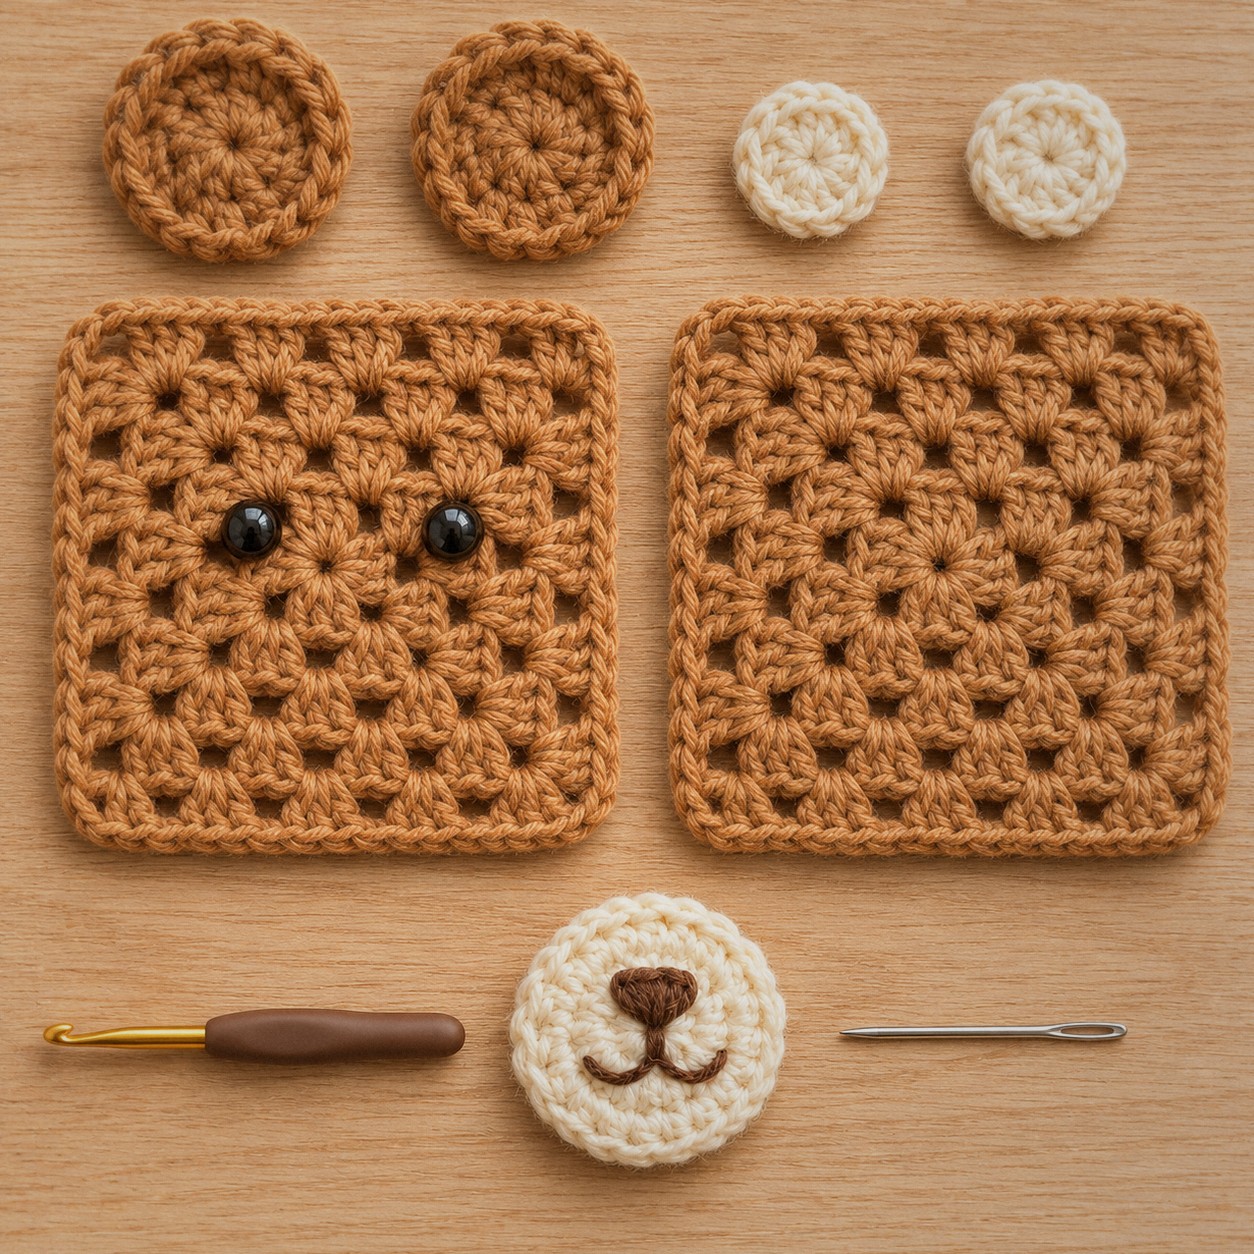
Granny square (make 2)
Color A, 3.0 mm hook. The ch-3 at the start of each round counts as the first dc.
- Round 1: Make a magic ring (or ch 4 and join). Ch 3, 2 dc in the ring, ch 2, (3 dc, ch 2) three times in the ring. Sl st to the top of the ch-3. [12 dc, 4 corner ch-2 spaces]
- Round 2: Sl st in the next 2 dc and into the corner space. Ch 3, (2 dc, ch 2, 3 dc) in the same space. *Ch 1, (3 dc, ch 2, 3 dc) in the next corner space. Repeat from * two more times. Ch 1, sl st to the top of the ch-3. [24 dc, 4 corners, 4 ch-1 spaces]
- Round 3: Sl st to the corner space. Ch 3, (2 dc, ch 2, 3 dc) in the same space. *Ch 1, 3 dc in the next ch-1 space, ch 1, (3 dc, ch 2, 3 dc) in the next corner. Repeat from * two more times. Ch 1, 3 dc in the last ch-1 space, ch 1, sl st to the top of the ch-3. [36 dc, 4 corners, 8 ch-1 spaces]
- Round 4: Work the same way, with two 3-dc clusters along each side between the corners. [48 dc, 4 corners, 12 ch-1 spaces]
Each round adds 12 dc: one new cluster on every side. Fasten off the first square. Leave a long tail on the second for sewing.
Ear (make 2)
Color: start with A (caramel).
Color A, 2.5 mm hook. Flat circles, folded in half to sew on.
- Rnd 1: 6 sc in a magic ring. (6)
- Rnd 2: Inc ×6. (12)
- Rnd 3: (sc, inc) ×6. (18)
Finish: Fold in half and sew the fold to an upper corner of the head, through both squares.
Inner Ear (make 2)
Color: start with B (cream).
- Rnd 1: 6 sc in a magic ring. (6)
- Rnd 2: Inc ×6. (12)
Finish: Sew to the front of each ear.
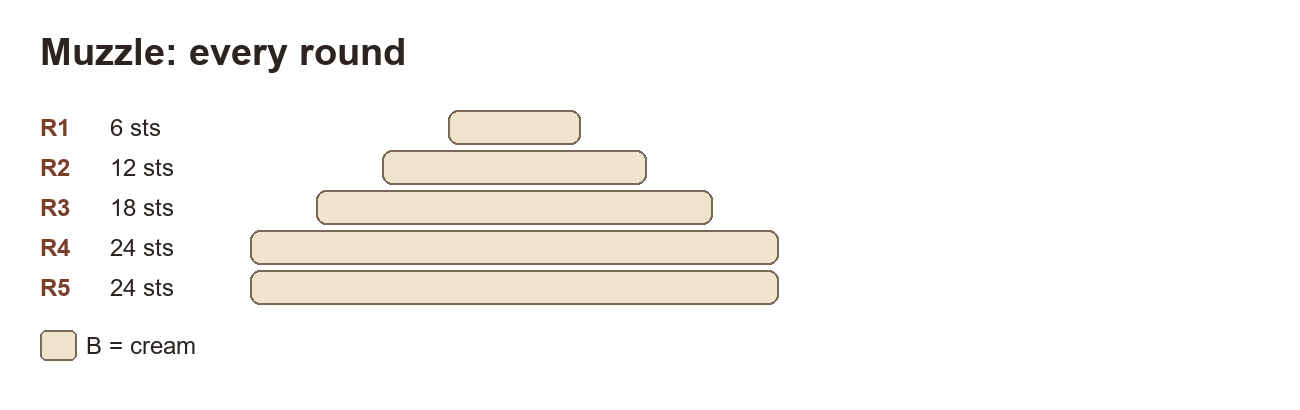
Muzzle
Color: start with B (cream).
A shallow cup that sticks out from the face.
- Rnd 1: 6 sc in a magic ring. (6)
- Rnd 2: Inc ×6. (12)
- Rnd 3: (sc, inc) ×6. (18)
- Rnd 4: Sc, inc, (2 sc, inc) ×5, sc. (24)
- Rnd 5: Sc around. (24)
Placement: Nose in C: embroider a triangle over R1-R2, mouth: two straight stitches down and out.
Finish: Stuff lightly and sew on to the lower center of the front square.
Assembly
- Sew the muzzle to the lower center of one square, stuffing it lightly. Embroider the nose and mouth if you haven’t yet.
- Push the safety eyes through the gaps of round 2, just above the muzzle, and lock the washers on the back.
- Sew the inner ears onto the ears, fold each ear in half and sew it to an upper corner of the front square.
- Place the back square behind the front, wrong sides together. Sew or sc all around the edge through both squares, adding a small handful of stuffing before you close the last side.
Ideas
- Scrappy bear: work each round of the squares in a different color for a classic granny look.
- Bigger bear: keep adding rounds; every round adds about 0.4 in / 1 cm to each side.
- Bunny or cat: swap the round ears for long or pointed ones.
FAQ
Does the stuffing show through the gaps?
A little, if you stuff firmly. Keep it light, or use a 2.5 mm hook for the squares for smaller gaps. A colored stuffing bag (an old sock works) also hides it.
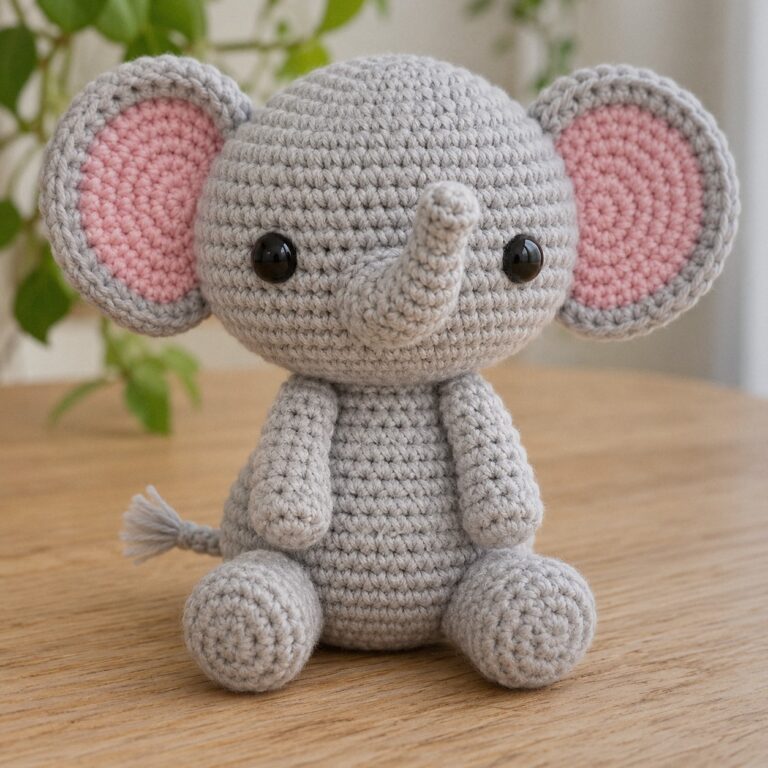
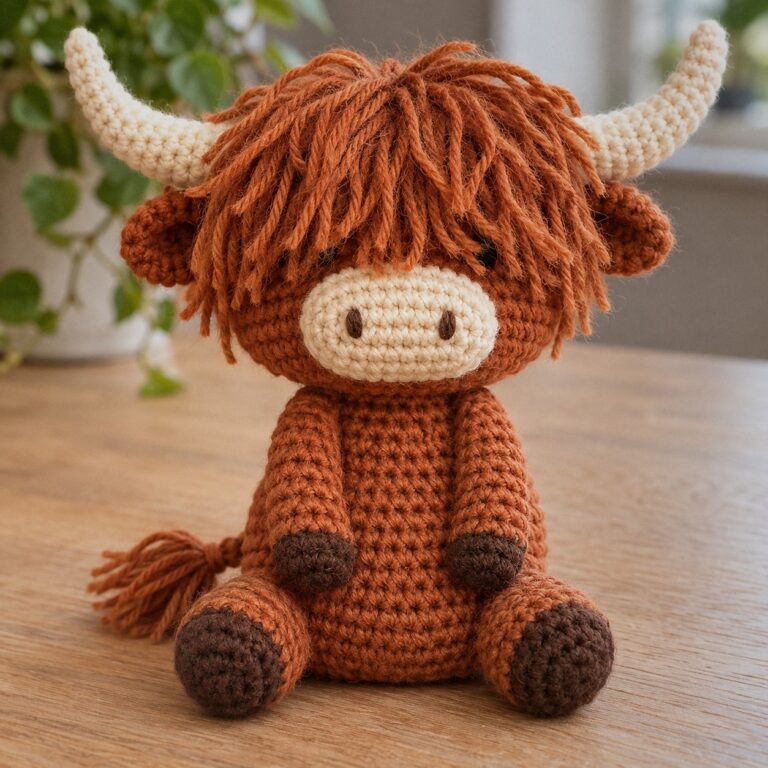
Prefer a classic stuffed bear? See our amigurumi for beginners round bear. More animals: the cow and the baby elephant.