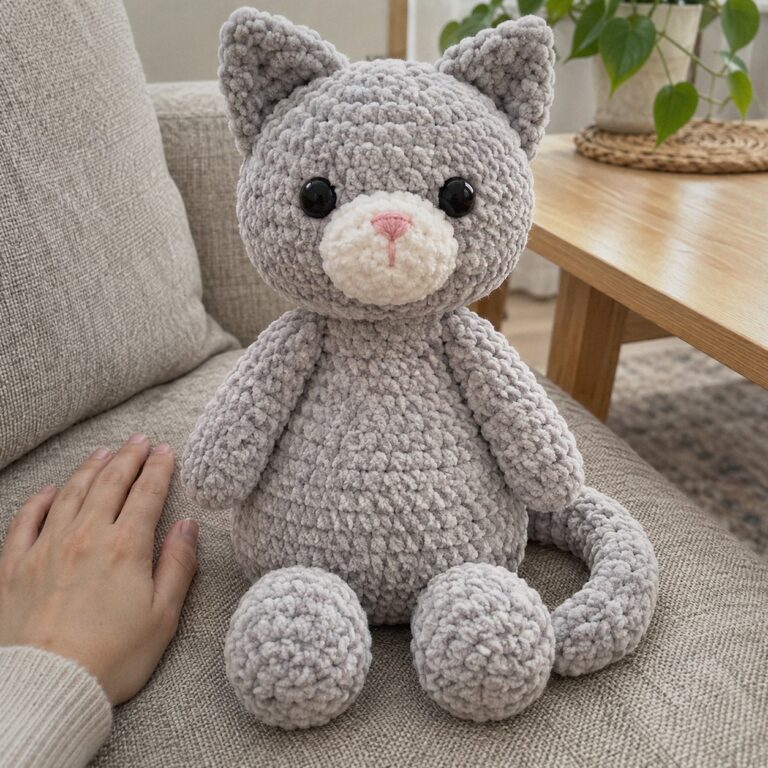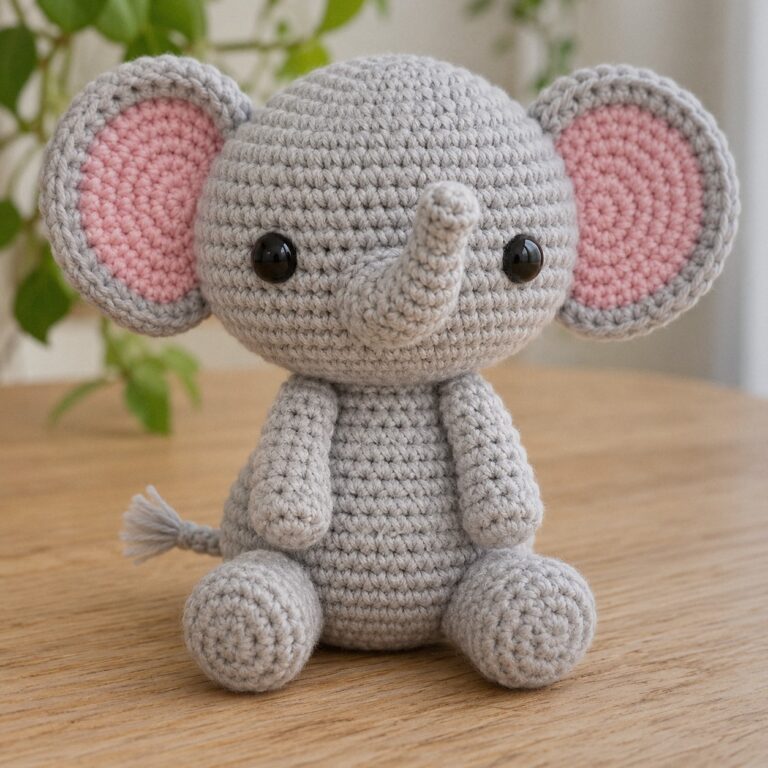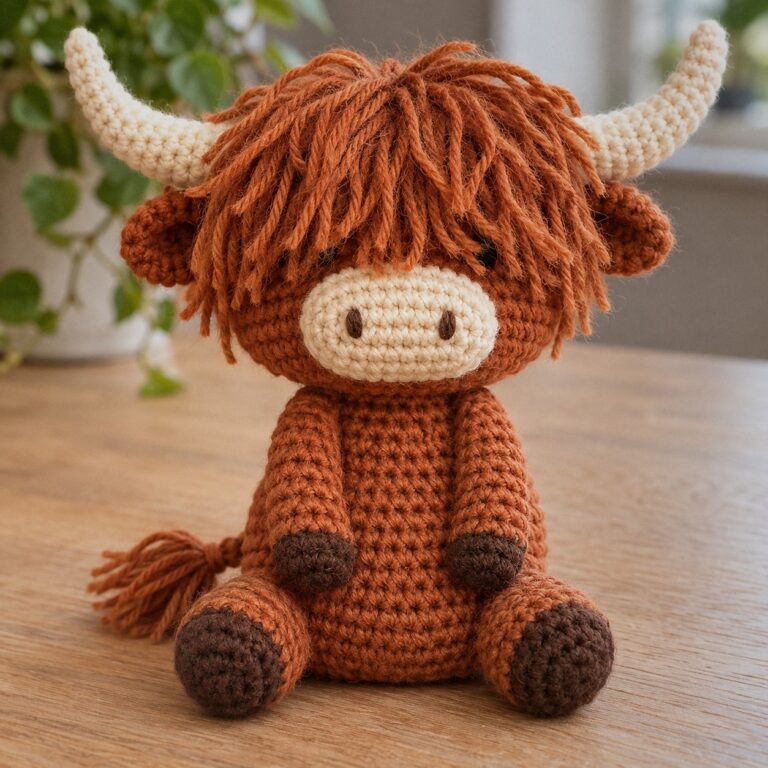
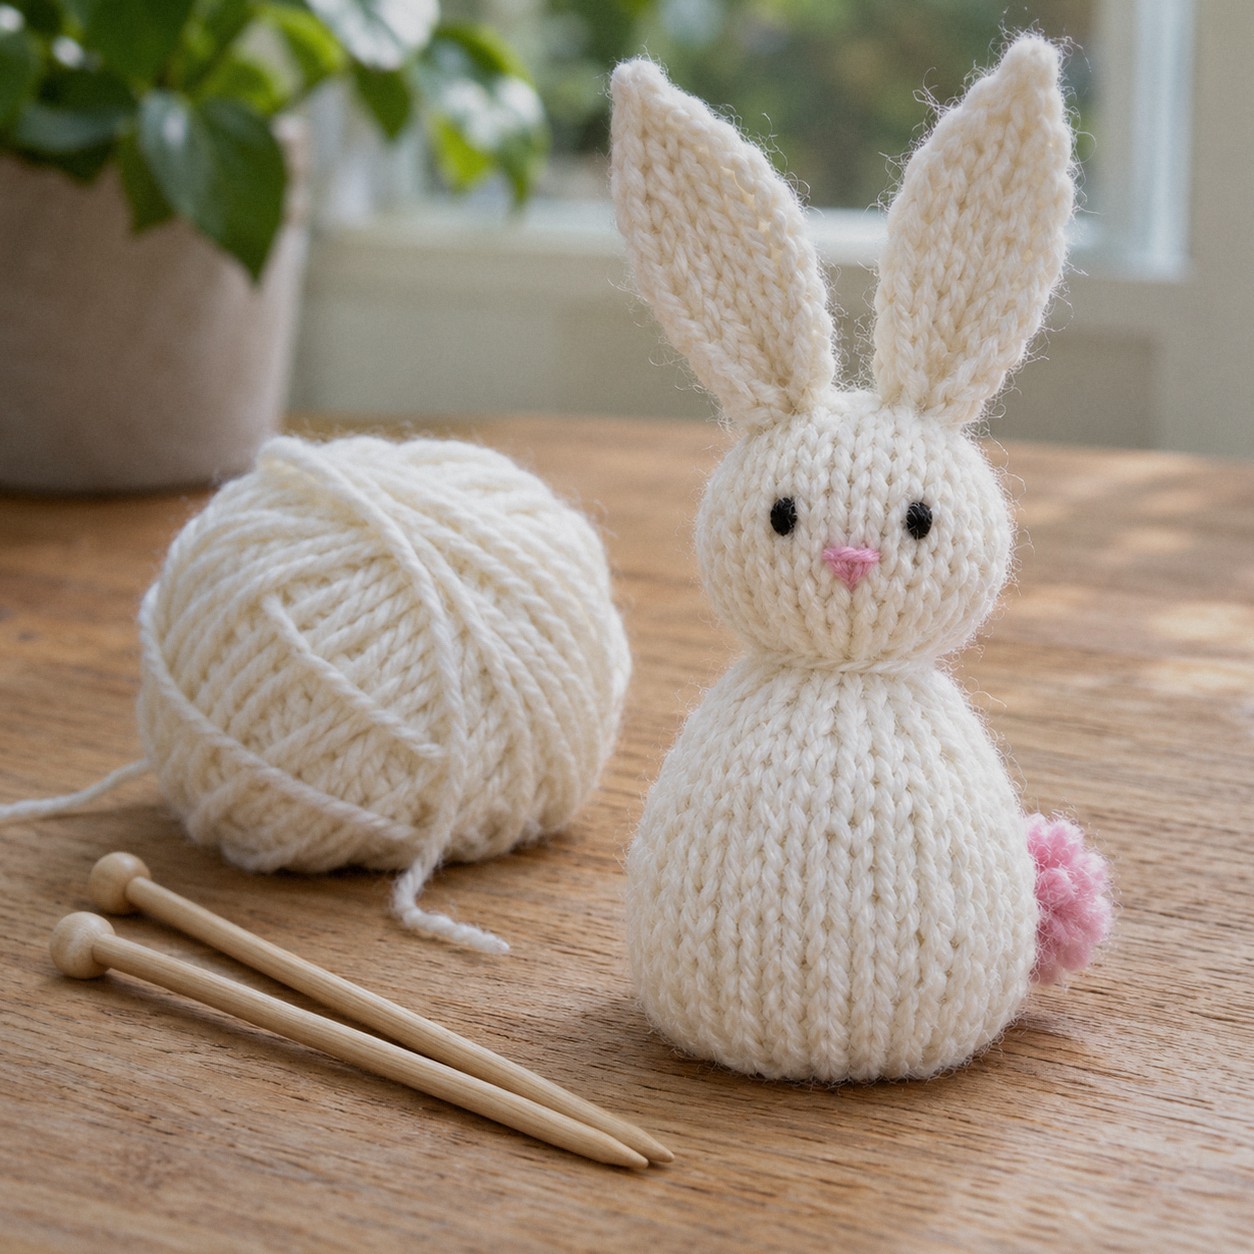
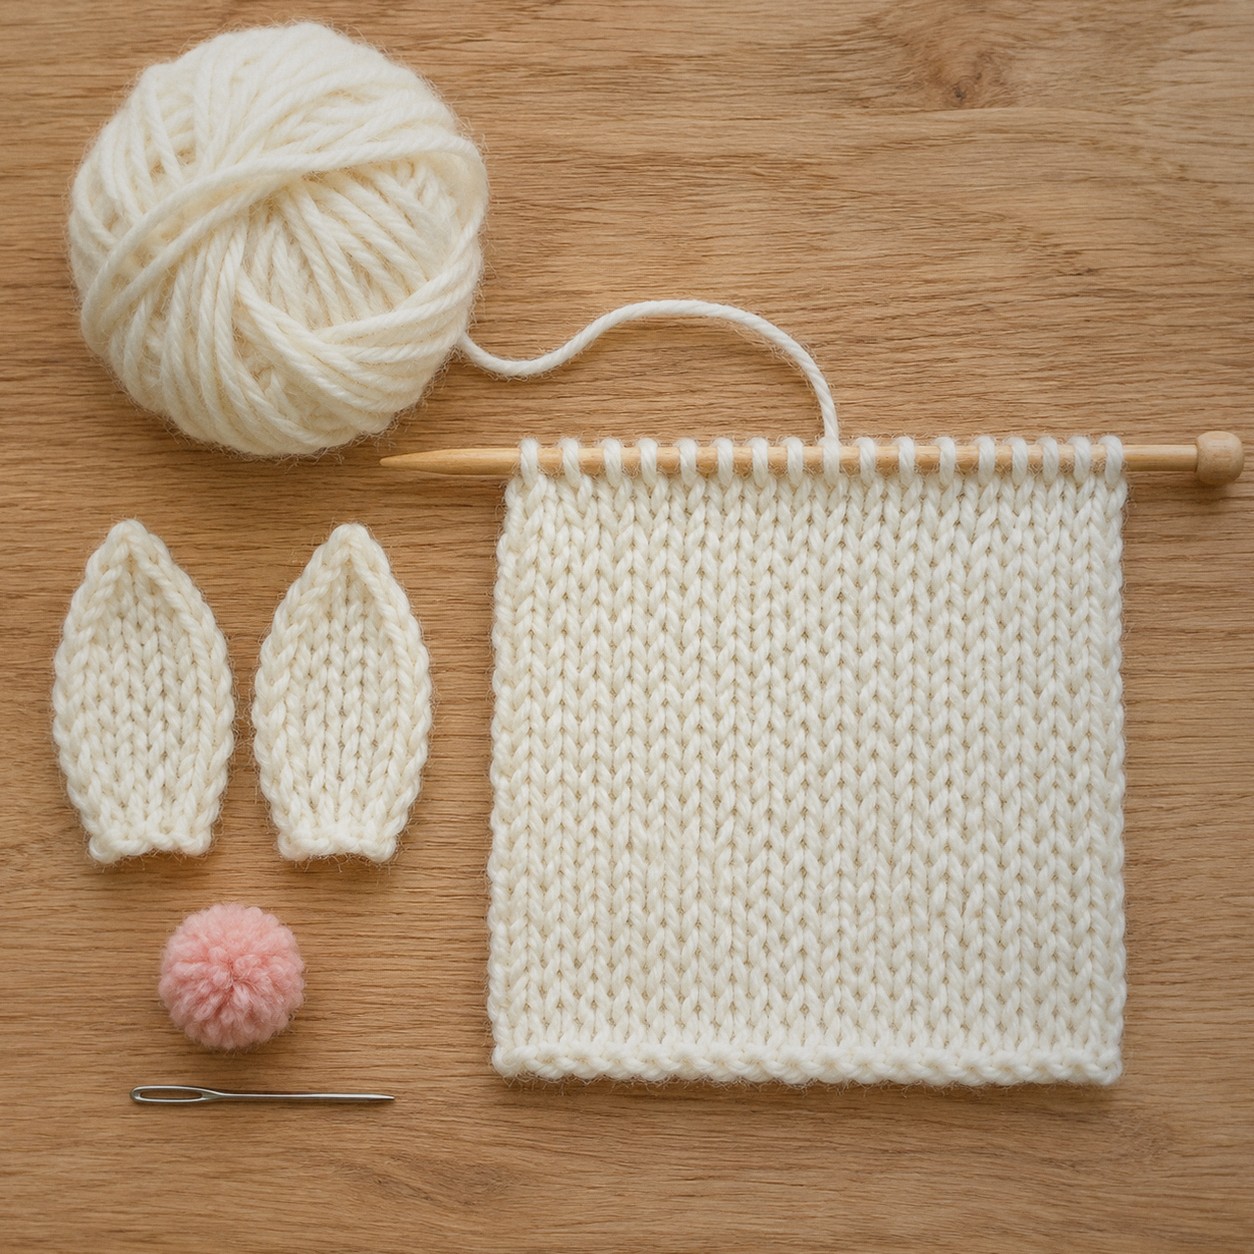
Most amigurumi is crocheted, but you can knit small stuffed toys too, and this little bunny is one of the easiest ways to start. The whole body is a single flat rectangle in stockinette stitch, sewn into a tube, stuffed and tied at the neck to make the head. The ears are two tiny flat pieces with pointed tips. No double-pointed needles, no picking up stitches.
The bunny is about 5 in / 13 cm tall with its ears. Every row count is given and checked, and there is a printable PDF.
In this post7 sections
Pattern at a glance
- Skill level: beginner knitter (cast on, knit, purl, k2tog, mattress stitch)
- Finished size: about 5 in / 13 cm tall with the ears
- Yarn: DK (light worsted) wool or cotton blend, about 27 yd / 25 m
- Needles: 3.25 mm (US 3) straight needles
- Gauge: about 22 sts x 30 rows = 4 in / 10 cm in stockinette (not critical for a toy)
- Time: about 2 hours
Materials
- DK yarn in white or cream, plus scraps of pink and black or dark brown
- 3.25 mm (US 3) needles, a tapestry needle, fiberfill
- A small pompom maker or a fork for the tail (optional)
Abbreviations
- CO cast on · k knit · p purl · st st stockinette stitch (knit the right-side rows, purl the wrong-side rows)
- k2tog knit 2 stitches together · p3tog purl 3 together · RS / WS right side / wrong side
The pattern
Body and head (one piece)
- CO 24 sts, leaving a 12 in / 30 cm tail for sewing.
- Work 30 rows in st st, starting with a knit row. You now have a rectangle about 4.4 in / 11 cm wide and 4 in / 10 cm tall.
- Cut the yarn, leaving a long tail. Thread it onto a tapestry needle and pass it through all 24 live stitches. Pull tight: this closes the top of the head.
- With the same tail, sew the two side edges together with mattress stitch, right side out, to make a tube.
- Stuff firmly. Run the cast-on tail in and out around the cast-on edge, pull tight to close the bottom and fasten off.
- Tie a strand of yarn tightly around the tube 12 rows down from the top and knot it at the back. The top part becomes the head.
Ears (make 2)
- CO 6 sts.
- Work 10 rows in st st.
- Next row (RS): k2tog three times. [3 sts]
- Next row (WS): p3tog. [1 st] Fasten off.
Finishing
- Sew the cast-on edge of each ear to the top of the head, about 1 in / 2.5 cm apart, pinching the base slightly so the ears cup.
- Embroider two eyes in black, 3 rows above the neck tie and 6 stitches apart, and a small pink nose in between.
- Make a small pink pompom (or a few loops of yarn) and sew it to the back for the tail.
Tips
- Neater tube: mattress stitch on the right side gives an invisible seam. Put the seam at the back.
- A firm neck: pull the neck tie very tight and wrap it twice before knotting.
- Bigger bunny: worsted yarn and 4 mm (US 6) needles make it about 6.5 in / 16 cm tall with the same stitch counts.
FAQ
Is knitted or crocheted amigurumi better?
Crochet makes a firmer fabric that holds detailed shapes; knitting is softer and stretchier and suits simple toys like this one. If you know how to crochet, our what is amigurumi guide covers the crochet side.
Prefer crochet? Try the no-sew amigurumi patterns or the mini bunny keychain.