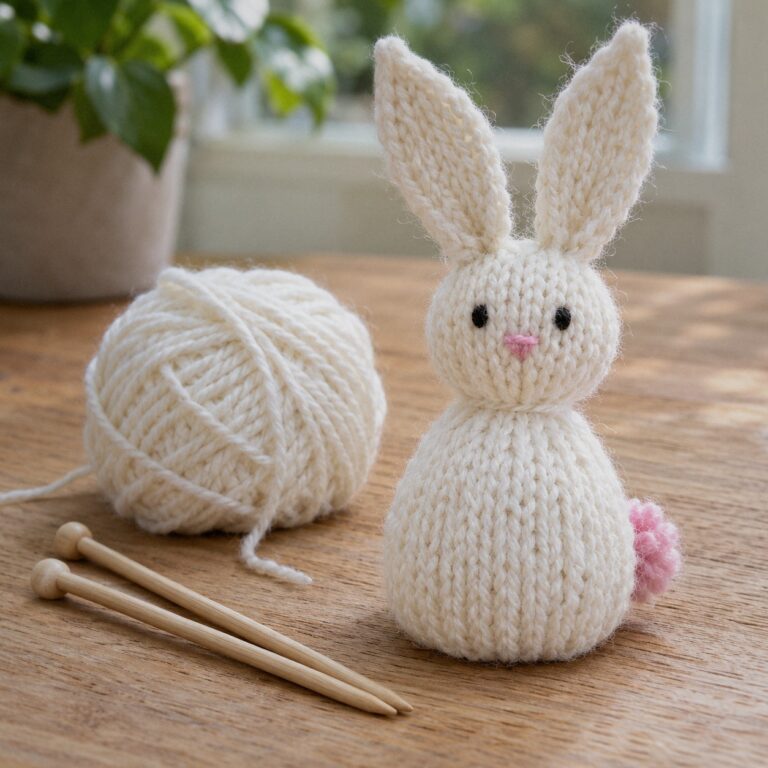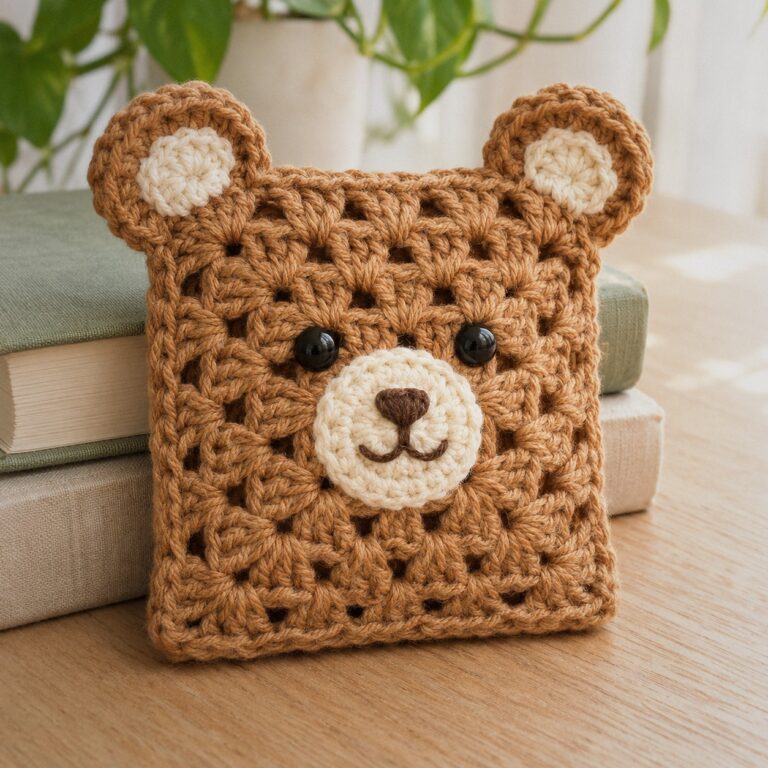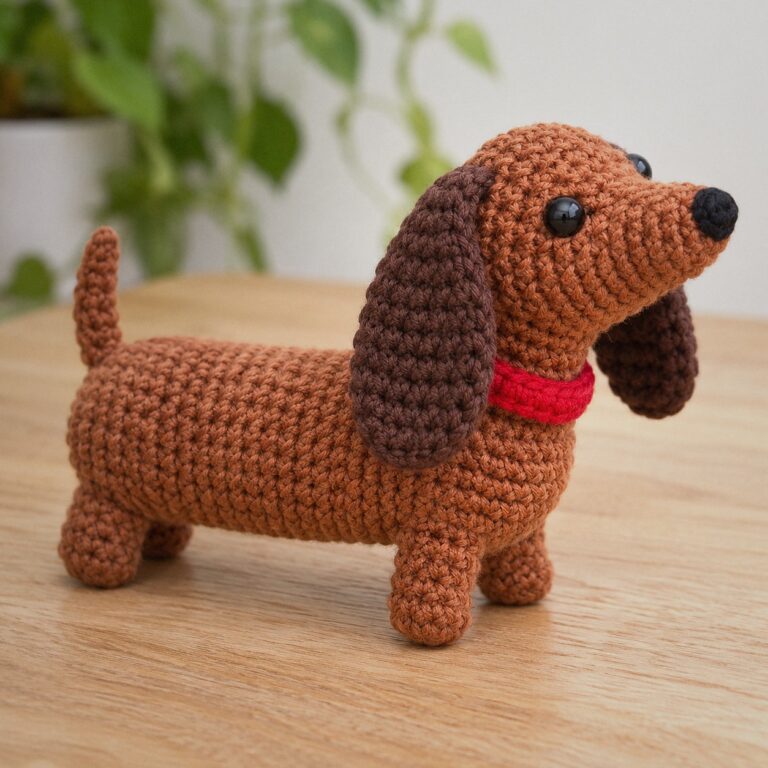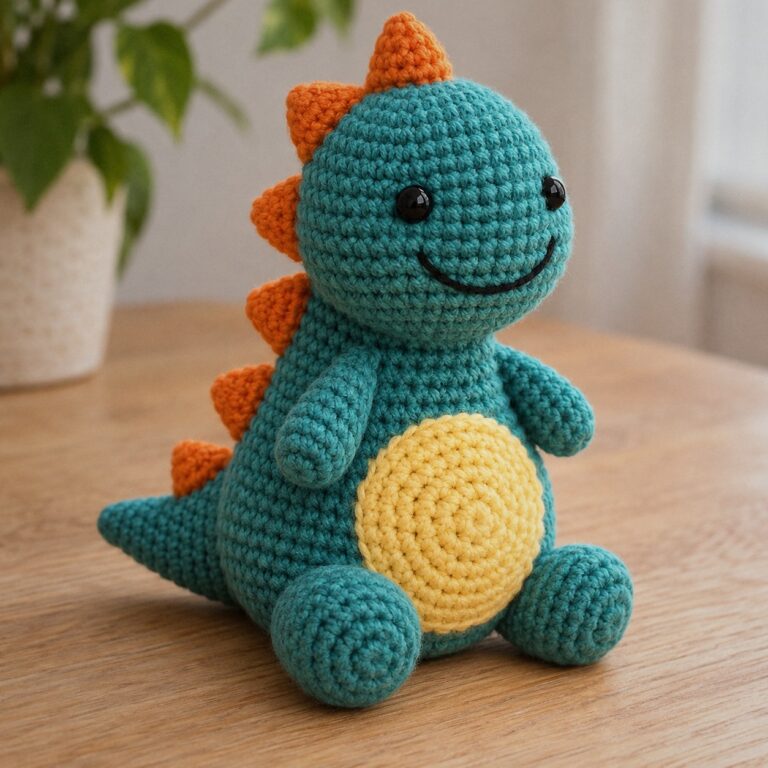
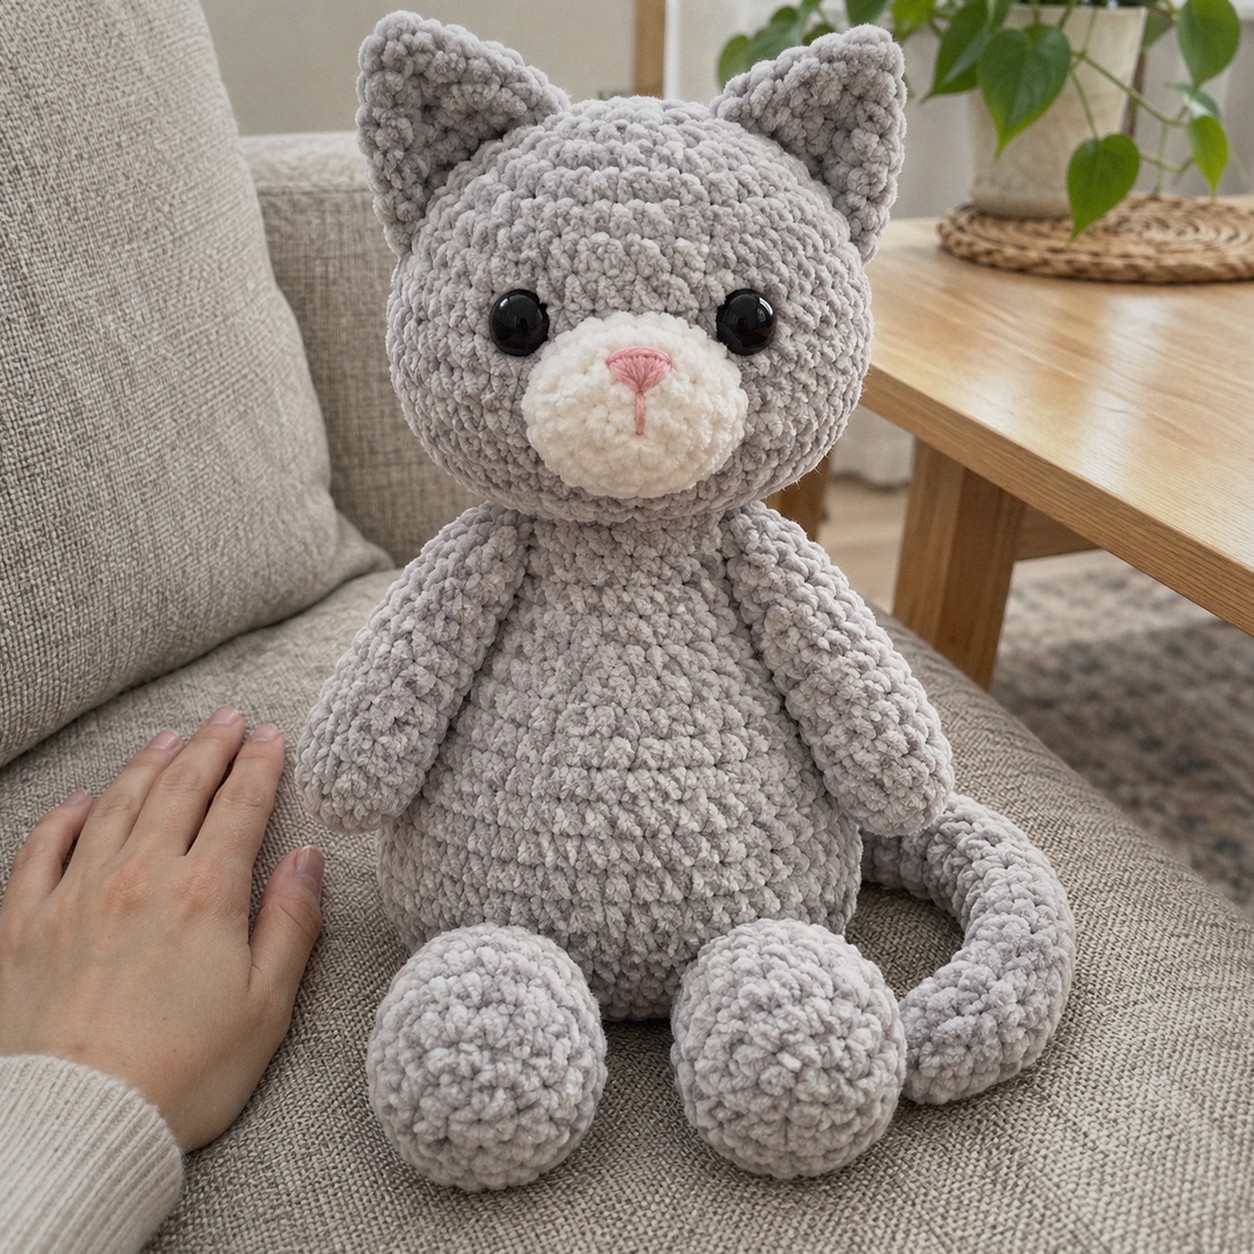
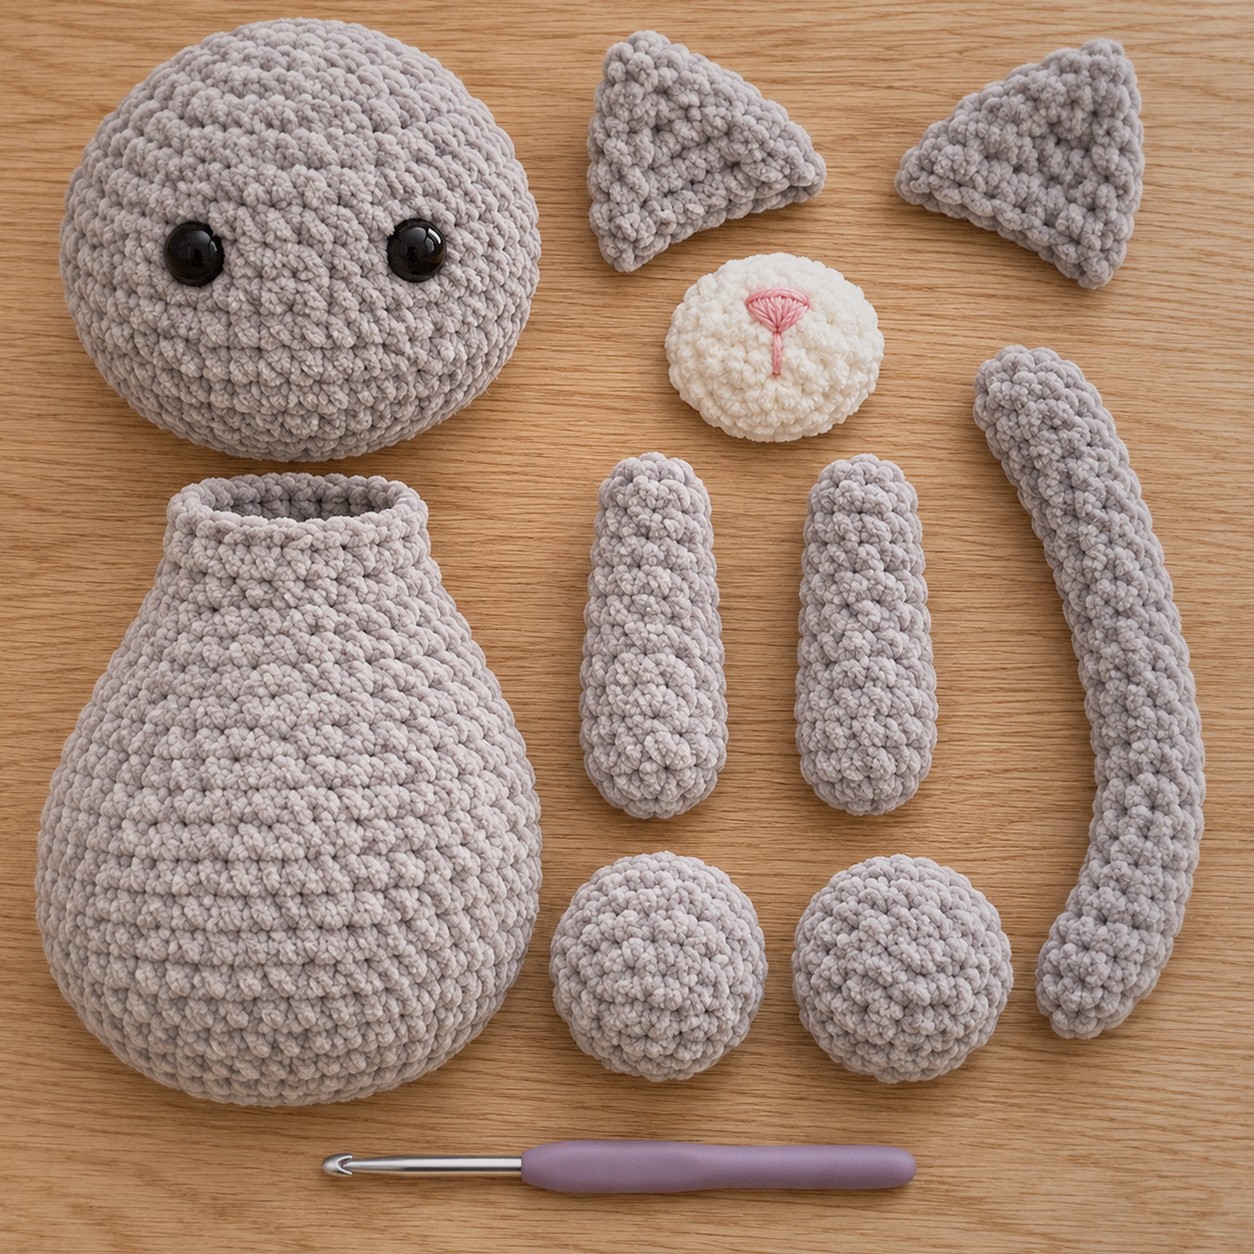
A big, squishy cat plush in chenille yarn, about 10 in / 25 cm tall sitting: the kind you can actually hug. It uses the same simple shapes as a small amigurumi cat (a round head, a pear-shaped body, tube arms and a long tail), just scaled up with thick velvet yarn and a 5 mm hook so it works up quickly.
The head alone is about 5 in / 13 cm across. Every round has its stitch count, and the full pattern is in a printable PDF.
In this post8 sections
Pattern at a glance
- Skill level: easy to intermediate (chenille is slippery and hard to count)
- Finished size: about 10 in / 25 cm tall sitting
- Yarn: DK cotton, about 201 yd / 184 m in total
- Hook: 5 mm (US H/8)
- Time: about 4 hours
Materials
- Bulky chenille (velvet) yarn in light grey (A), about 198 yd / 181 m
- A little white chenille (B) for the muzzle and pink yarn (C) for the nose
- 18 mm safety eyes (one pair)
- 5 mm (US H/8) hook, several stitch markers, a large tapestry needle, about 7 oz / 200 g fiberfill
Abbreviations (US terms)
- MR magic ring · sc single crochet · inc 2 sc in one stitch · dec invisible decrease · FO fasten off
- blo / flo back loop only / front loop only · ch chain · sl st slip stitch · hdc / dc half double / double crochet
Working with chenille
- Count with markers. Chenille hides stitches. Put a marker in the first stitch of every round and another every 6 or 12 stitches if you need to.
- Feel for the top loops rather than looking for them; the fuzzy pile covers them.
- No frogging if you can help it. Chenille sheds and gets bald when pulled out more than once. Count before you move on.
- Close the holes with a regular yarn. Sewing with chenille is hard; a matching DK or worsted yarn is much easier for the seams.
The pattern
Head
Color: start with A (light grey chenille).
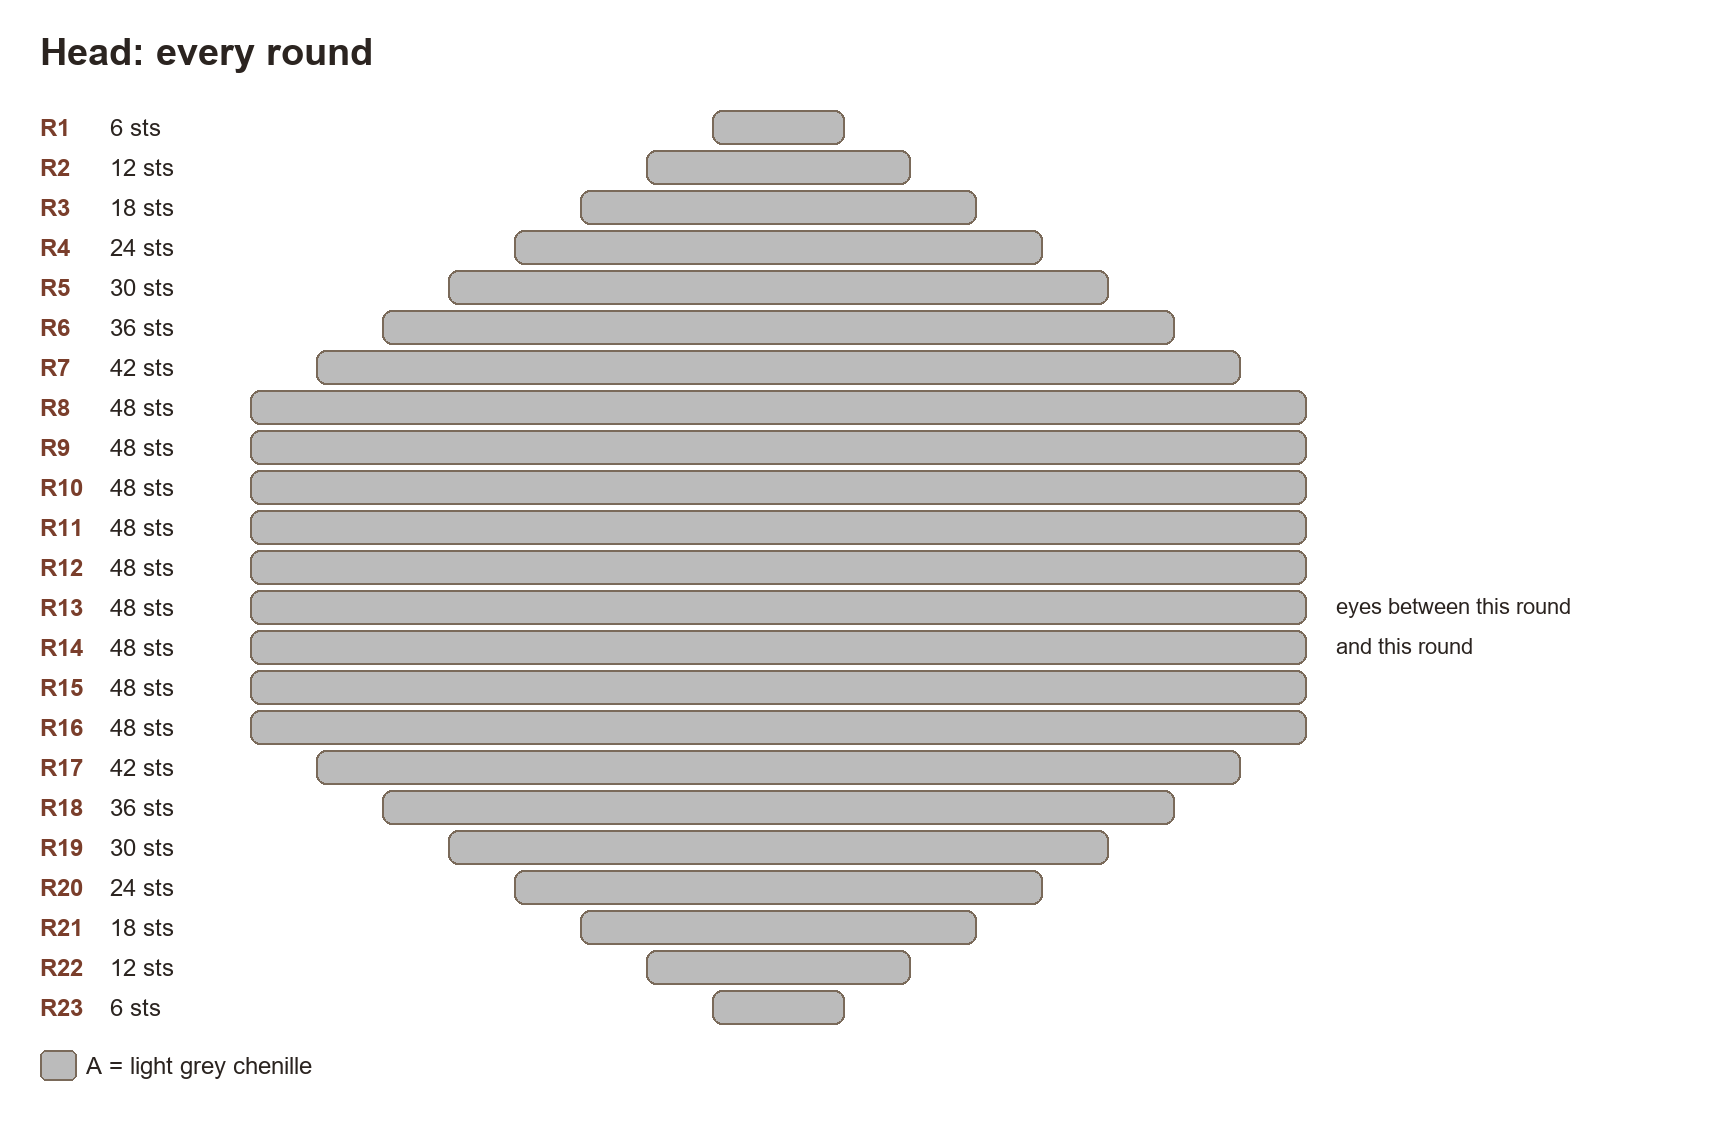
48 stitches at the widest, eight straight rounds.
- Rnd 1: 6 sc in a magic ring. (6)
- Rnd 2: Inc ×6. (12)
- Rnd 3: (sc, inc) ×6. (18)
- Rnd 4: Sc, inc, (2 sc, inc) ×5, sc. (24)
- Rnd 5: (3 sc, inc) ×6. (30)
- Rnd 6: 2 sc, inc, (4 sc, inc) ×5, 2 sc. (36)
- Rnd 7: (5 sc, inc) ×6. (42)
- Rnd 8: 3 sc, inc, (6 sc, inc) ×5, 3 sc. (48)
- Rnds 9–16: Sc around. (48)
- Rnd 17: 3 sc, dec, (6 sc, dec) ×5, 3 sc. (42)
- Rnd 18: (5 sc, dec) ×6. (36)
- Rnd 19: 2 sc, dec, (4 sc, dec) ×5, 2 sc. (30)
- Rnd 20: (3 sc, dec) ×6. (24)
- Rnd 21: Sc, dec, (2 sc, dec) ×5, sc. (18)
- Rnd 22: (sc, dec) ×6. (12)
- Rnd 23: Dec ×6. (6)
Placement: Eyes: 18 mm safety eyes between R13 and R14, 10 sts apart (insert before R19).
Placement: Muzzle centered between the eyes, its top edge on R14.
Finish: Stuff firmly after R22, FO and close.
Muzzle
Color: start with B (white chenille).
- Rnd 1: 6 sc in a magic ring. (6)
- Rnd 2: Inc ×6. (12)
- Rnd 3: (sc, inc) ×6. (18)
Placement: Nose in C: embroider a small triangle at the top center.
Finish: Sew on flat with a little stuffing behind it.
Ear (make 2)
Color: start with A (light grey chenille).
- Rnd 1: 4 sc in MR. (4)
- Rnd 2: (sc, inc) ×2. (6)
- Rnd 3: (2 sc, inc) ×2. (8)
- Rnd 4: (3 sc, inc) ×2. (10)
- Rnd 5: (4 sc, inc) ×2. (12)
- Rnd 6: Sc around. (12)
Finish: Flatten, sew on top of the head between R4 and R8, about 12 sts apart.
Body
Color: start with A (light grey chenille).
The body narrows in three steps and stays open at the top.
- Rnd 1: 6 sc in a magic ring. (6)
- Rnd 2: Inc ×6. (12)
- Rnd 3: (sc, inc) ×6. (18)
- Rnd 4: Sc, inc, (2 sc, inc) ×5, sc. (24)
- Rnd 5: (3 sc, inc) ×6. (30)
- Rnd 6: 2 sc, inc, (4 sc, inc) ×5, 2 sc. (36)
- Rnd 7: (5 sc, inc) ×6. (42)
- Rnds 8–12: Sc around. (42)
- Rnd 13: (5 sc, dec) ×6. (36)
- Rnds 14–16: Sc around. (36)
- Rnd 17: 2 sc, dec, (4 sc, dec) ×5, 2 sc. (30)
- Rnds 18–19: Sc around. (30)
- Rnd 20: (3 sc, dec) ×6. (24)
Finish: FO with a long tail, stuff firmly, sew the open end under the head.
Arm (make 2)
Color: start with A (light grey chenille).
- Rnd 1: 6 sc in a magic ring. (6)
- Rnd 2: (sc, inc) ×3. (9)
- Rnd 3: (2 sc, inc) ×3. (12)
- Rnds 4–12: Sc around. (12)
Finish: Stuff the lower half, flatten the top and sew on at the sides just under the head.
Leg (make 2)
Color: start with A (light grey chenille).
- Rnd 1: 6 sc in a magic ring. (6)
- Rnd 2: Inc ×6. (12)
- Rnd 3: (sc, inc) ×6. (18)
- Rnds 4–7: Sc around. (18)
- Rnd 8: (sc, dec) ×6. (12)
- Rnd 9: Sc around. (12)
Finish: Stuff and sew on at the bottom front of the body so the cat sits.
Tail
Color: start with A (light grey chenille).
A long tube; stuff it lightly so it stays soft and bendy.
- Rnd 1: 6 sc in a magic ring. (6)
- Rnd 2: (sc, inc) ×3. (9)
- Rnds 3–20: Sc around. (9)
Finish: Stuff lightly, sew to the back at R4, curving around one side.
Assembly
- Sew the muzzle to the lower center of the face with a little stuffing behind it, its top edge on round 14, between the eyes.
- Sew the ears on top of the head between rounds 4 and 8, about 12 stitches apart.
- Sew the body under the head with a strong yarn, going around twice. Big heads are heavy, so stuff the neck firmly.
- Sew the arms just under the head, the legs at the bottom front, and the tail at the back so it curls around one side.
Tips
- Safety: for a baby or toddler, embroider the eyes instead of using safety eyes.
- Other colors: ginger with a white muzzle, black with green eyes, or calico with a few sewn-on patches.
- Smaller cat: the same pattern in DK cotton with a 2.5 mm hook is about 4.5 in / 12 cm tall. Our small amigurumi cat is a simpler version for DK.
FAQ
Can I use regular worsted yarn?
Yes. Worsted acrylic with a 3.5 mm hook gives a firmer cat about 5.5 in / 14 cm tall. Chenille gives the soft plush look.
More plush animals: the baby elephant and the sausage dog.