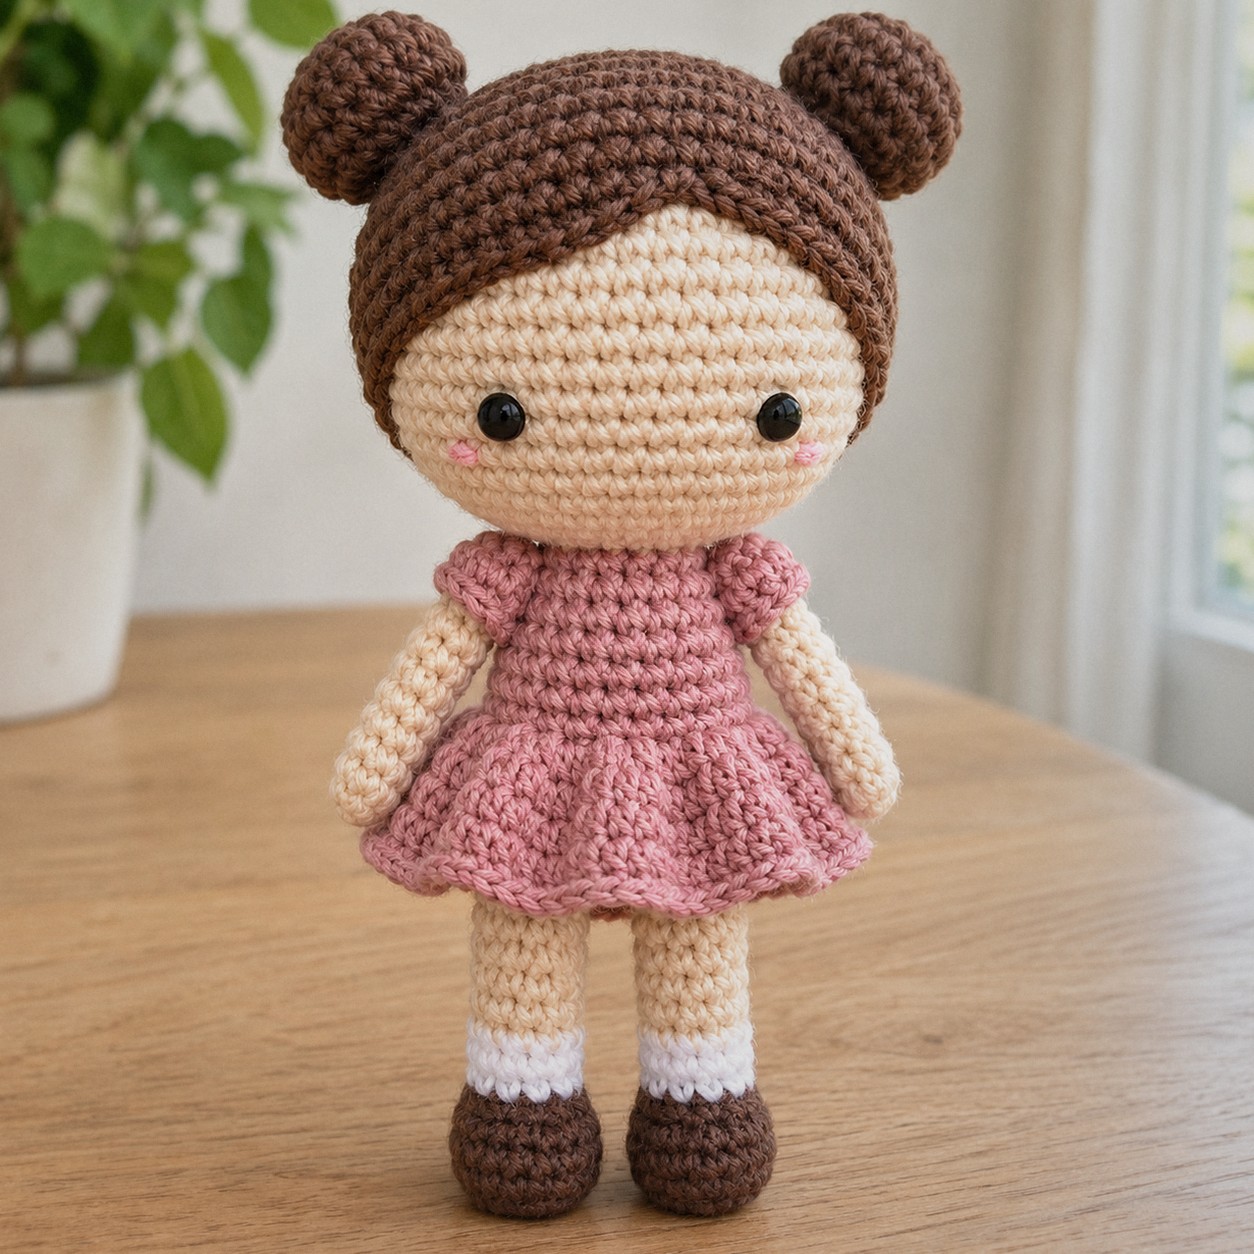
This is a basic amigurumi doll body you can dress and change as you like: a big round head, a hair cap with two buns, a body that grows straight out of the legs, and a little skirt worked into the body so it never slips off. The legs are joined into the body as you crochet, so there is no leg sewing at all.
The finished doll is about 5 in / 13 cm tall. Every round has its stitch count and the full pattern is in a printable PDF.
In this post8 sections
Pattern at a glance
- Skill level: easy to intermediate (joining legs, working into front loops, color changes)
- Finished size: about 5 in / 13 cm tall
- Yarn: DK cotton, about 99 yd / 90 m in total
- Hook: 2.5 mm (US B/1–C/2)
- Time: about 4 hours
Materials
- DK cotton in a skin tone (A), about 44 yd / 40 m
- Brown (B) for the hair and shoes, about 25 yd / 23 m
- Dusty pink (C) for the dress, about 29 yd / 26 m
- Small amounts of white (D) for the socks and dark brown (E)
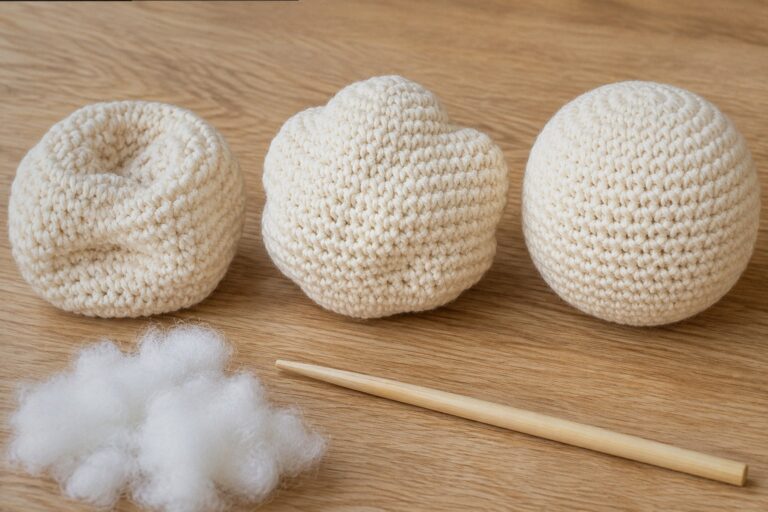
- 6 mm safety eyes, 2.5 mm hook, stitch markers, tapestry needle, fiberfill
Abbreviations (US terms)
- MR magic ring · sc single crochet · inc 2 sc in one stitch · dec invisible decrease
- blo / flo back loop only / front loop only · ch chain · FO fasten off
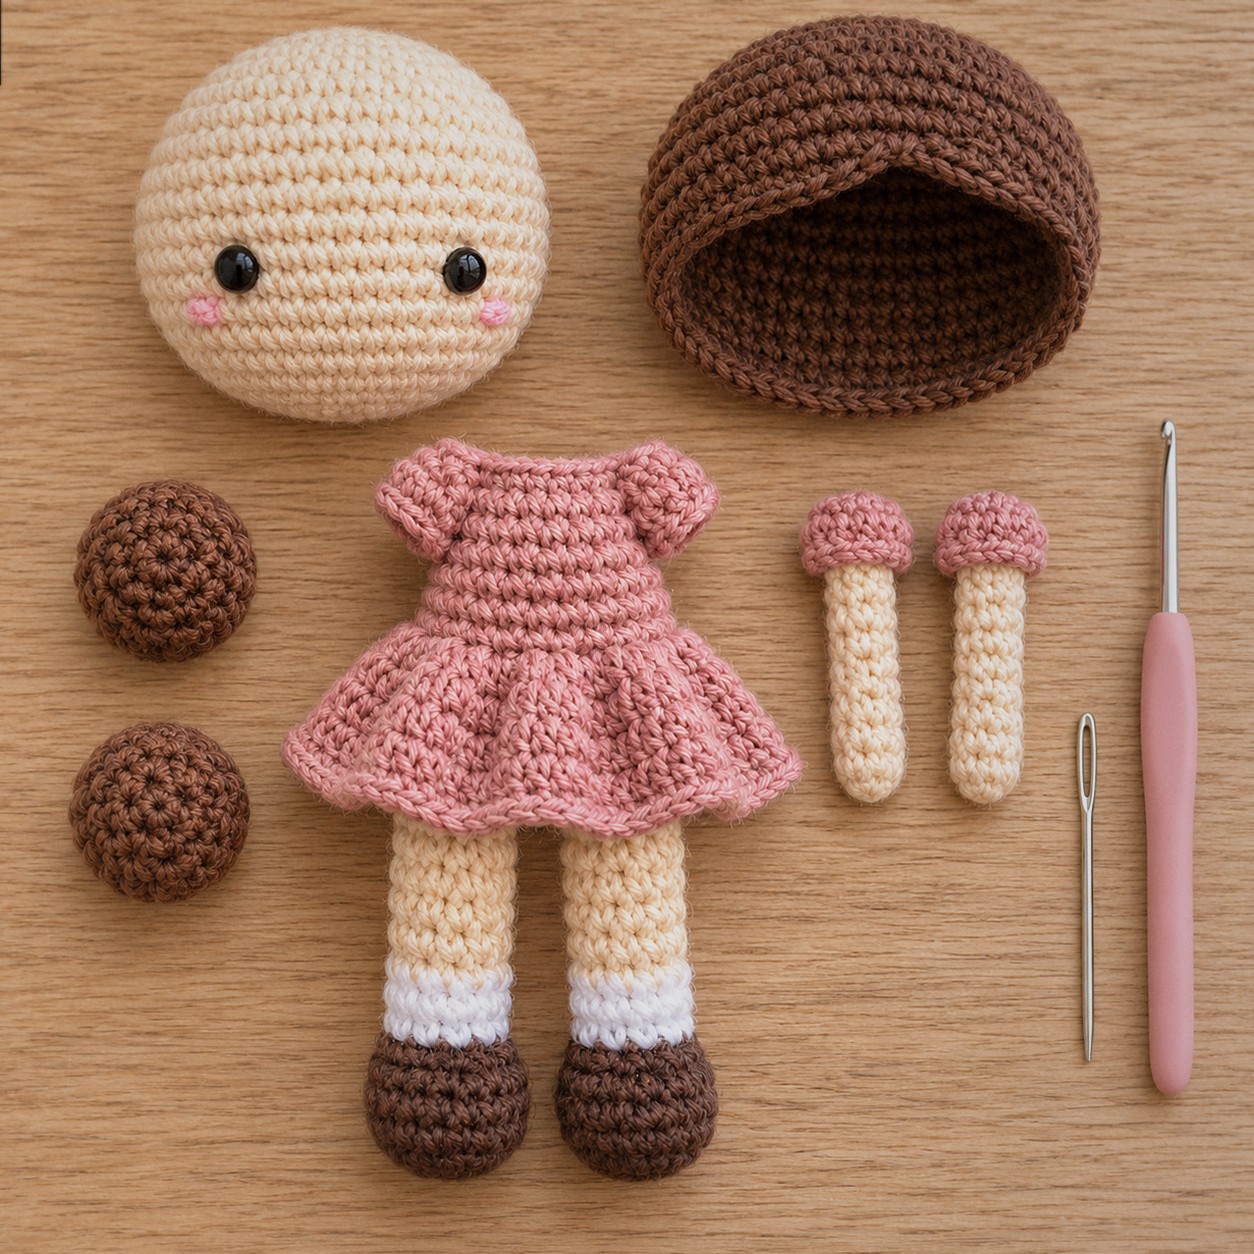
How the doll is built
- Make two legs. Cut the yarn on the first one only.
- From the second leg, chain 3 and keep going around the first leg, back along the chain and around the second leg. That first body round has 30 stitches and joins everything.
- Round 3 of the body is worked in back loops only. Later you turn the doll upside down and crochet the skirt into the front loops left behind.
- The head, hair cap, buns and arms are made separately and sewn on.
The pattern
Leg (make 2)
Color: start with B (brown).
Shoe, sock and leg in one piece. Make two.
- Rnd 1: 6 sc in a magic ring. (6)
- Rnd 2: Inc ×6. (12)
- Rnd 3: Switch to D (white). Sc around. (12)
- Rnd 4: Switch to A (skin beige). Sc around. (12)
- Rnds 5–12: Sc around. (12)
Finish: R1-R2 brown are the shoe, R3 white is the sock; FO the first leg, do not cut the yarn on the second leg.
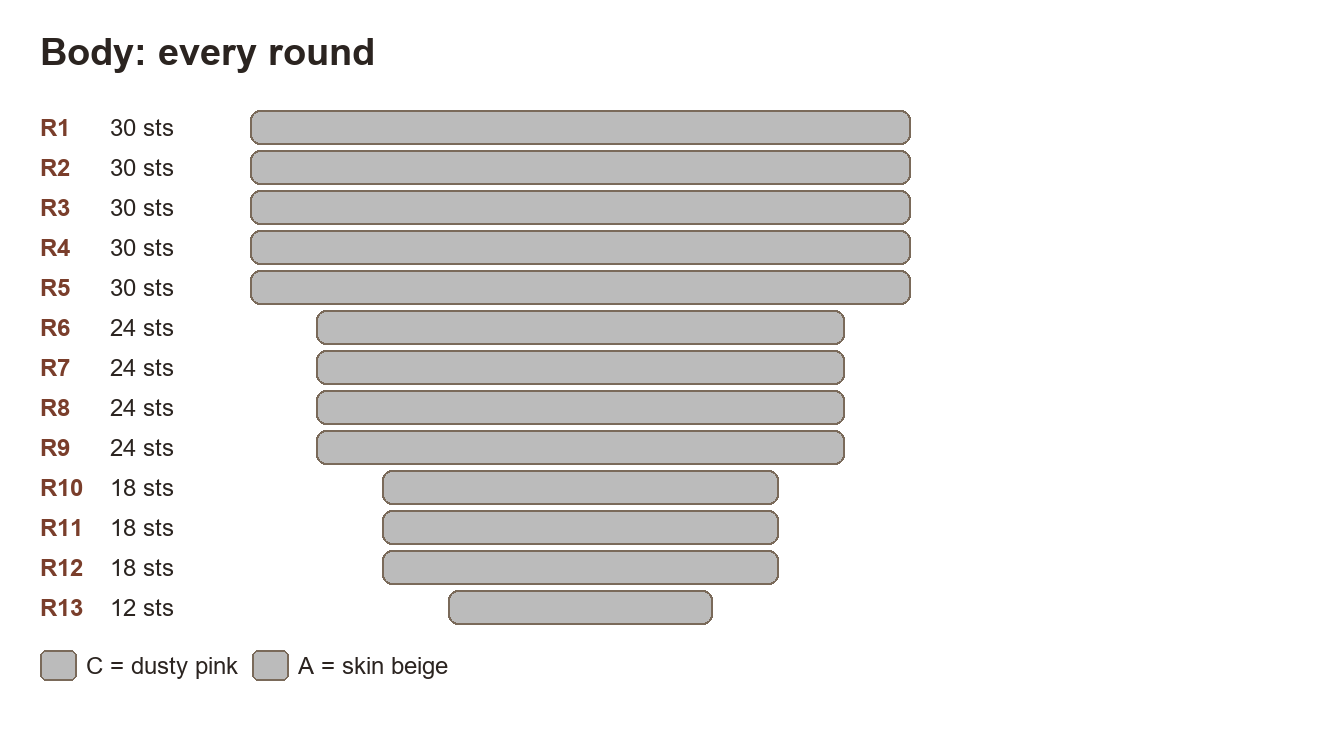
Body
Color: start with C (dusty pink).
Joins the two legs in the first round.
- Rnd 1: Sc around. (30)
- Rnd 2: Sc around. (30)
- Rnd 3: BLO sc around. (30)
- Rnds 4–5: Sc around. (30)
- Rnd 6: (3 sc, dec) ×6. (24)
- Rnds 7–9: Sc around. (24)
- Rnd 10: Sc, dec, (2 sc, dec) ×5, sc. (18)
- Rnds 11–12: Sc around. (18)
- Rnd 13: Switch to A (skin beige). (sc, dec) ×6. (12)
Finish: R1: change to C, ch 3, sc around the first leg (12), work 3 sc along the chain, sc around the second leg (12), 3 sc along the other side of the chain; stuff the legs and body as you go; FO and sew the head on.
Skirt
Color: start with C (dusty pink).
Worked into the front loops of body round 3.
- Rnd 1: (2 sc, inc) ×10. (40)
- Rnds 2–5: Sc around. (40)
Finish: Work into the front loops left on R3 of the body, with the doll upside down; FO and weave in.
Head
Color: start with A (skin beige).
- Rnd 1: 6 sc in a magic ring. (6)
- Rnd 2: Inc ×6. (12)
- Rnd 3: (sc, inc) ×6. (18)
- Rnd 4: Sc, inc, (2 sc, inc) ×5, sc. (24)
- Rnd 5: (3 sc, inc) ×6. (30)
- Rnd 6: 2 sc, inc, (4 sc, inc) ×5, 2 sc. (36)
- Rnds 7–13: Sc around. (36)
- Rnd 14: (4 sc, dec) ×6. (30)
- Rnd 15: (3 sc, dec) ×6. (24)
- Rnd 16: Sc, dec, (2 sc, dec) ×5, sc. (18)
- Rnd 17: (sc, dec) ×6. (12)
- Rnd 18: Dec ×6. (6)
Placement: Eyes: 6 mm safety eyes between R11 and R12, 6 sts apart (or two French knots in E).
Placement: Cheeks in C: two small straight-stitch blushes just below and outside the eyes.
Finish: Stuff firmly after R17, FO and close the hole.
Hair Cap
Color: start with B (brown).
A cup that sits on the head like a helmet of hair.
- Rnd 1: 6 sc in a magic ring. (6)
- Rnd 2: Inc ×6. (12)
- Rnd 3: (sc, inc) ×6. (18)
- Rnd 4: Sc, inc, (2 sc, inc) ×5, sc. (24)
- Rnd 5: (3 sc, inc) ×6. (30)
- Rnd 6: 2 sc, inc, (4 sc, inc) ×5, 2 sc. (36)
- Rnds 7–12: Sc around. (36)
Finish: FO with a long tail; put the cap on the head so its edge sits on R12 at the back and R7 at the front; sew around the edge.
Bun (make 2)
Color: start with B (brown).
- Rnd 1: 6 sc in a magic ring. (6)
- Rnd 2: Inc ×6. (12)
- Rnds 3–4: Sc around. (12)
- Rnd 5: Dec ×6. (6)
Finish: Stuff, FO and sew one on each side of the top of the head.
Arm (make 2)
Color: start with A (skin beige).
The last three rounds in dress color make the sleeve.
- Rnd 1: 6 sc in a magic ring. (6)
- Rnd 2: (2 sc, inc) ×2. (8)
- Rnds 3–9: Sc around. (8)
- Rnd 10: Switch to C (dusty pink). Sc around. (8)
- Rnds 11–12: Sc around. (8)
Finish: Stuff only the hand, flatten the top and sew on at the sides of the body at R11.
Assembly
- Sew the head onto the neck so the doll looks straight ahead.
- Pin the hair cap on: its edge sits low at the back (round 12) and higher at the front (round 7), showing the forehead. Sew all around the edge.
- Sew a bun on each side of the top of the head.
- Sew the arms on at the sides of body round 11, hanging down.
Ideas to change it
- Different hair: skip the buns and sew lengths of yarn into the cap for braids, or make one big bun on top.
- Trousers instead of a dress: work the legs in the trouser color from round 4 and leave out the skirt.
- Other skin tones: use any skin-tone cotton for color A; nothing else changes.
FAQ
How do I keep the doll standing?
Stuff the legs very firmly, push a little more stuffing into the shoes, and sew the bottom of the legs flat. A small flat button inside each shoe also helps.
Can I make it bigger?
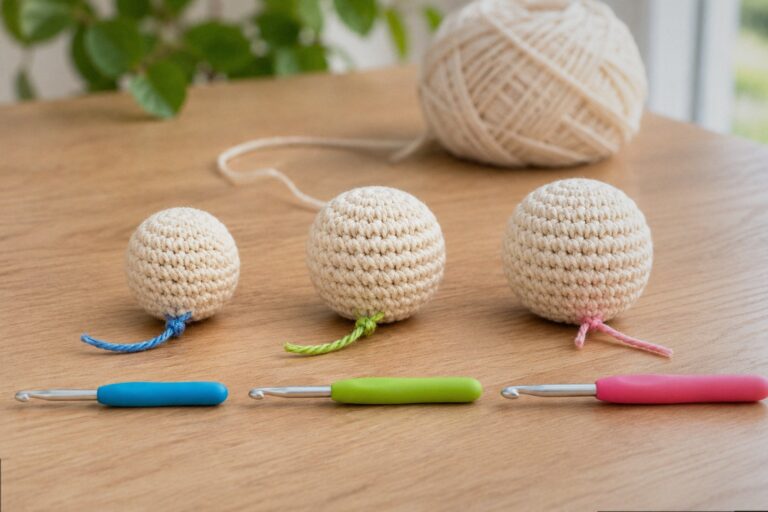
Use worsted acrylic and a 3.5 mm hook; the doll comes out about 6 in / 15 cm tall without changing any rounds.
New to amigurumi? Start with our amigurumi for beginners guide, then come back for the doll.