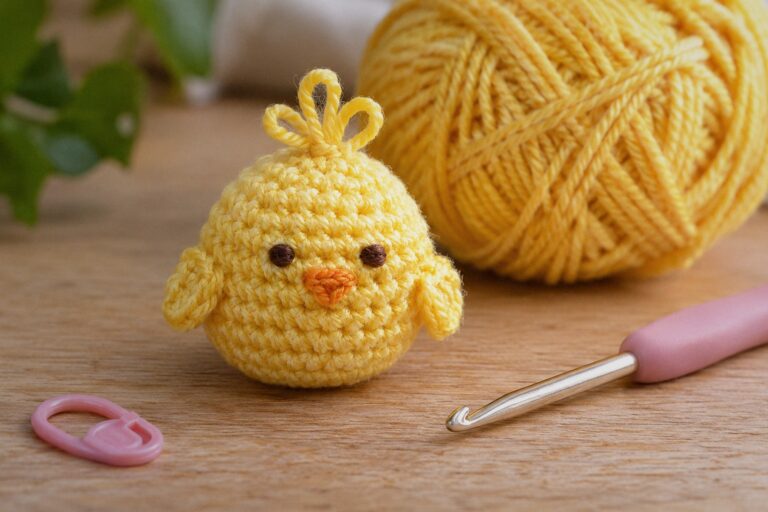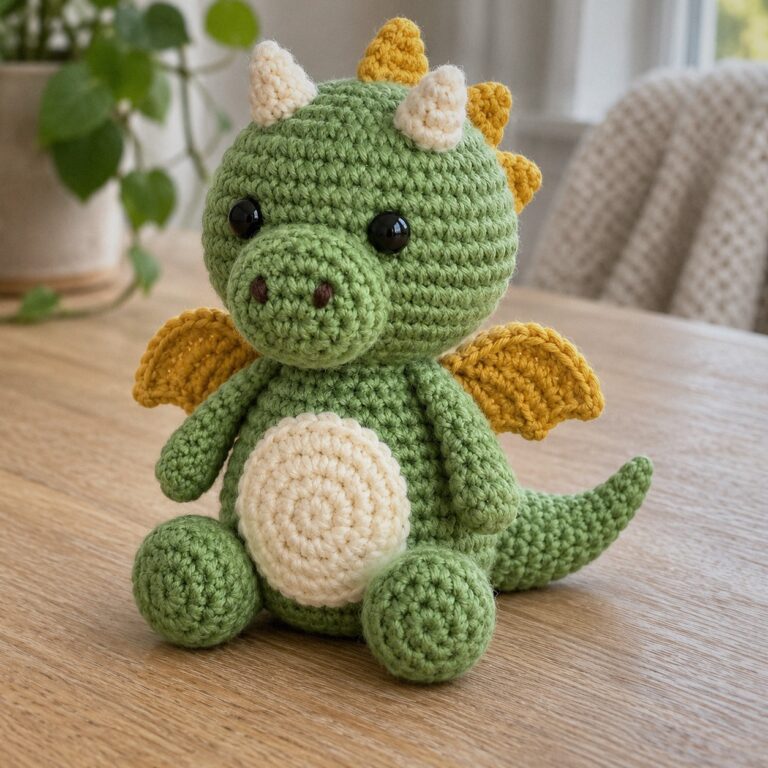
Stuffing decides whether an amigurumi looks smooth and round or saggy and lumpy. The crochet can be perfect and the toy still looks wrong if the stuffing is too little, too much or packed in big clumps. The good news: it is the easiest part to fix, and once you have felt the difference on a practice ball you won’t forget it.
In this post5 sections
What to stuff with
- Polyester fiberfill: the standard. Light, washable, springs back. Look for a soft, silky one rather than a stiff, coarse one.
- Cotton or wool stuffing: heavier and denser, nice for a natural toy, but it compacts over time and needs more.
- Poly pellets in a small fabric bag: add weight to a base so a toy sits up. Never loose, and never in toys for small children.
- Yarn scraps: they make lumps you can feel. Only for very small pieces.
The five rules of even stuffing
1. Pull it apart first
Tease the fiberfill into small, loose tufts about the size of a walnut before it goes in. Big clumps never spread out once they are inside; that is where most lumps come from.
2. Fill the far end first
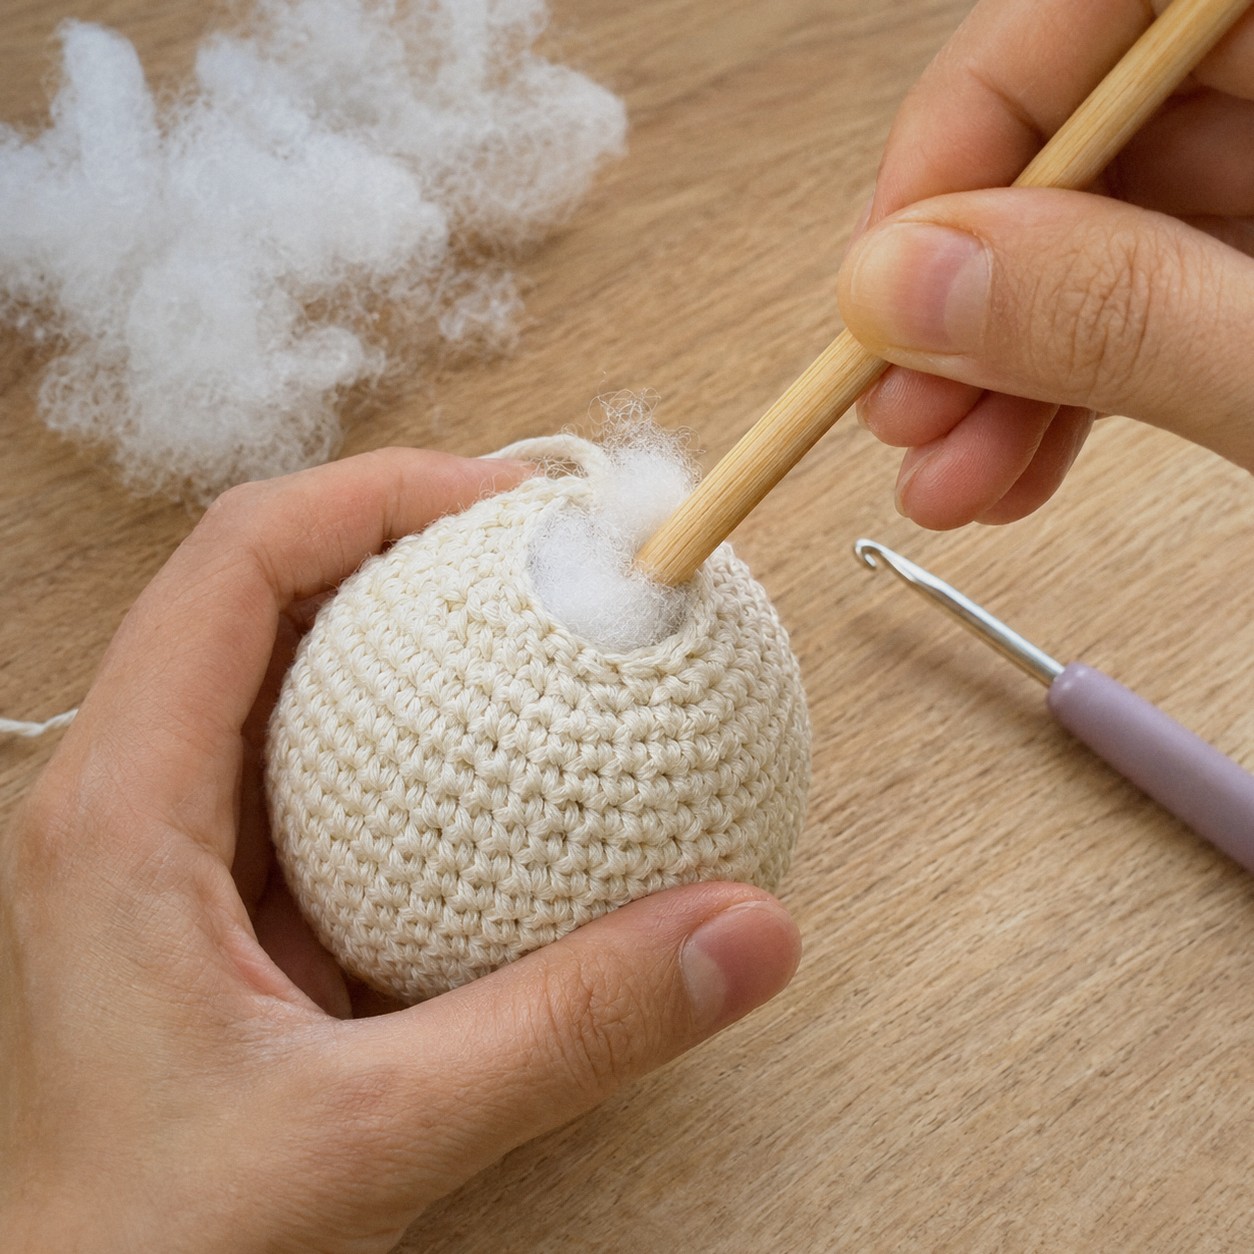
Push the first tufts all the way to the bottom, then build up layer by layer toward the opening. Use a chopstick, the back of a crochet hook or a stuffing fork to push them into place.
3. Stuff before the opening gets small
Most patterns say to stuff when the opening is about the size of a coin, and to add a little more after the next round. Waiting until the hole is tiny means you can’t reach the top evenly.
4. Firm, not hard
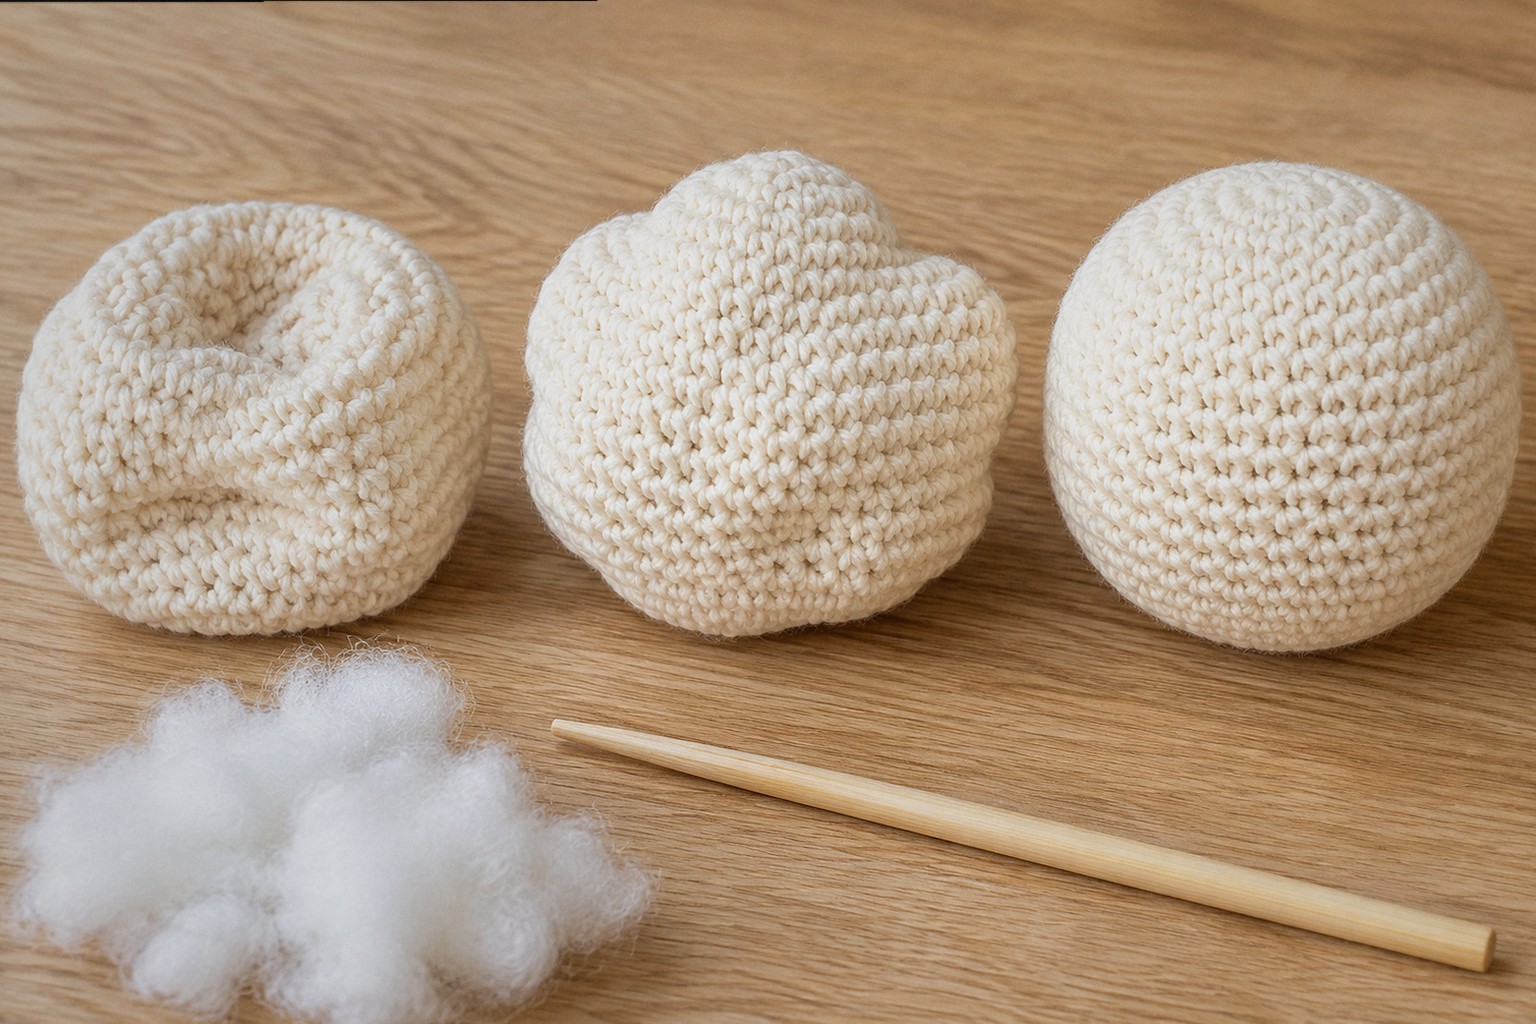
A well-stuffed piece keeps its shape when you squeeze it and springs back. If the stitches stretch so much you can see white between them, take some out. If the piece wrinkles or dents when you squeeze, add more.
5. Shape it from the outside
After closing, roll the piece between your palms like dough. That spreads the stuffing evenly and rounds out a slightly lumpy ball.
Common problems
- Lumps: the tufts were too big. Pull the stuffing out, break it into smaller pieces and start again.
- Stuffing shows through: the piece is over-stuffed or the hook is too big. See our hook size guide.
- A floppy neck: stuff the neck of the body and the bottom of the head firmly, and sew the head on through both pieces several times.
- Arms and legs that stick out stiffly: stuff only the hands and feet and leave the top empty, so they hang.
- Toy won’t sit up: stuff the bottom very firmly, or add a small bag of pellets or a flat plastic disc in the base.
Practice: the stuffing ball
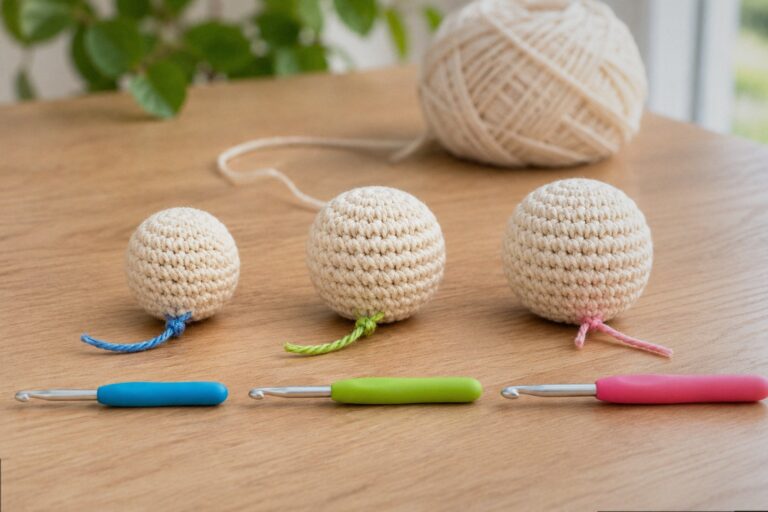
Make two or three of these balls, about 1.6 in / 4.0 cm across, and stuff them differently: one too little, one with big clumps, one with small tufts until it is firm. Squeeze them side by side. It is the quickest way to learn what “stuff firmly” means.
- Yarn: DK cotton, about 17 yd / 16 m per ball, and a 2.5 mm (US B/1–C/2) hook
- Abbreviations: MR magic ring, sc single crochet, inc 2 sc in one stitch, dec invisible decrease, FO fasten off
Practice Ball
Color: start with A (cream).
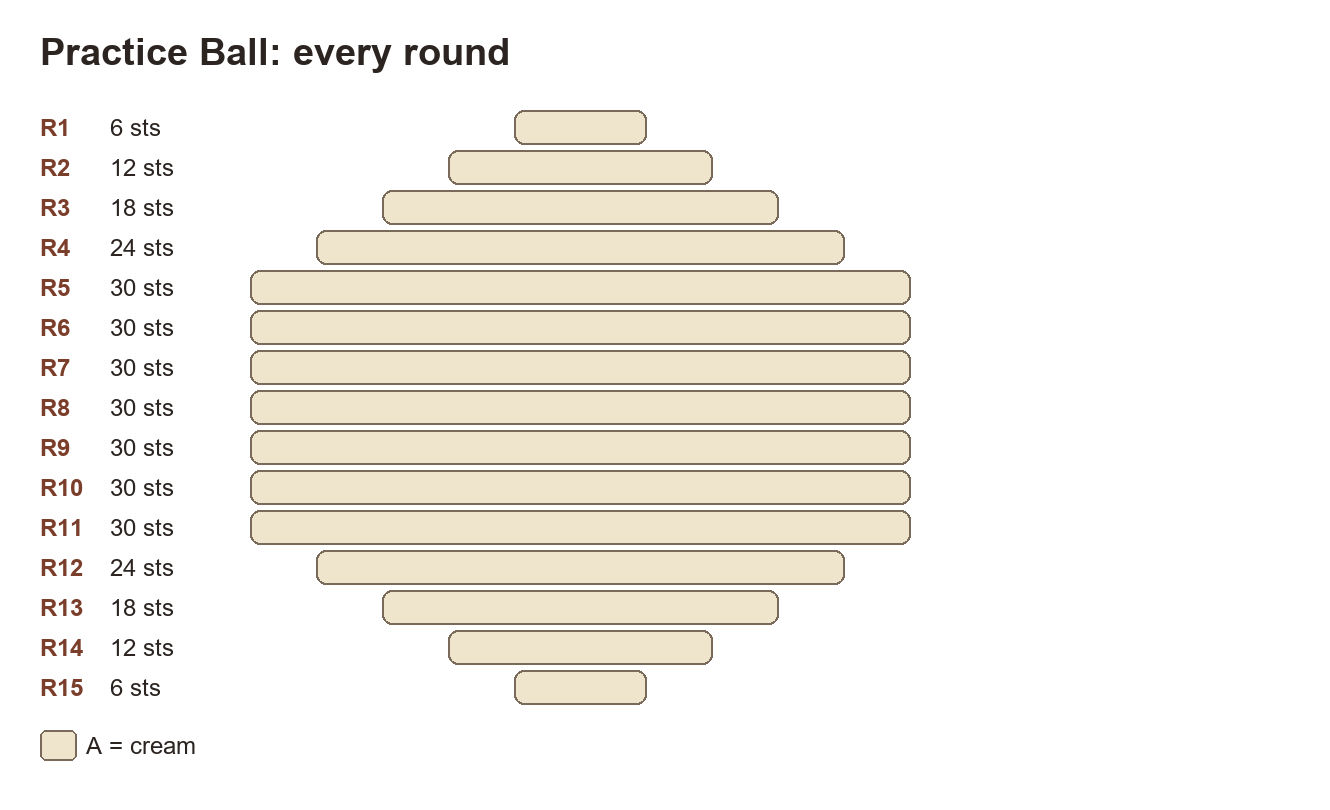
- Rnd 1: 6 sc in a magic ring. (6)
- Rnd 2: Inc ×6. (12)
- Rnd 3: (sc, inc) ×6. (18)
- Rnd 4: Sc, inc, (2 sc, inc) ×5, sc. (24)
- Rnd 5: (3 sc, inc) ×6. (30)
- Rnds 6–11: Sc around. (30)
- Rnd 12: (3 sc, dec) ×6. (24)
- Rnd 13: Sc, dec, (2 sc, dec) ×5, sc. (18)
- Rnd 14: (sc, dec) ×6. (12)
- Rnd 15: Dec ×6. (6)
Finish: Stuff after R13 and again after R14, FO and close the hole.
FAQ
How much stuffing does an amigurumi need?
Much more than you expect: a 3.5 in / 9 cm toy can take a good handful. Keep adding small tufts until the piece springs back.
Can I wash stuffed amigurumi?
With polyester fiberfill, yes: hand-wash in cool water, press out the water in a towel and dry it on its side. Reshape it while damp.
Put it into practice with the amigurumi cat or the amigurumi puppy, or start at the beginning with amigurumi for beginners.